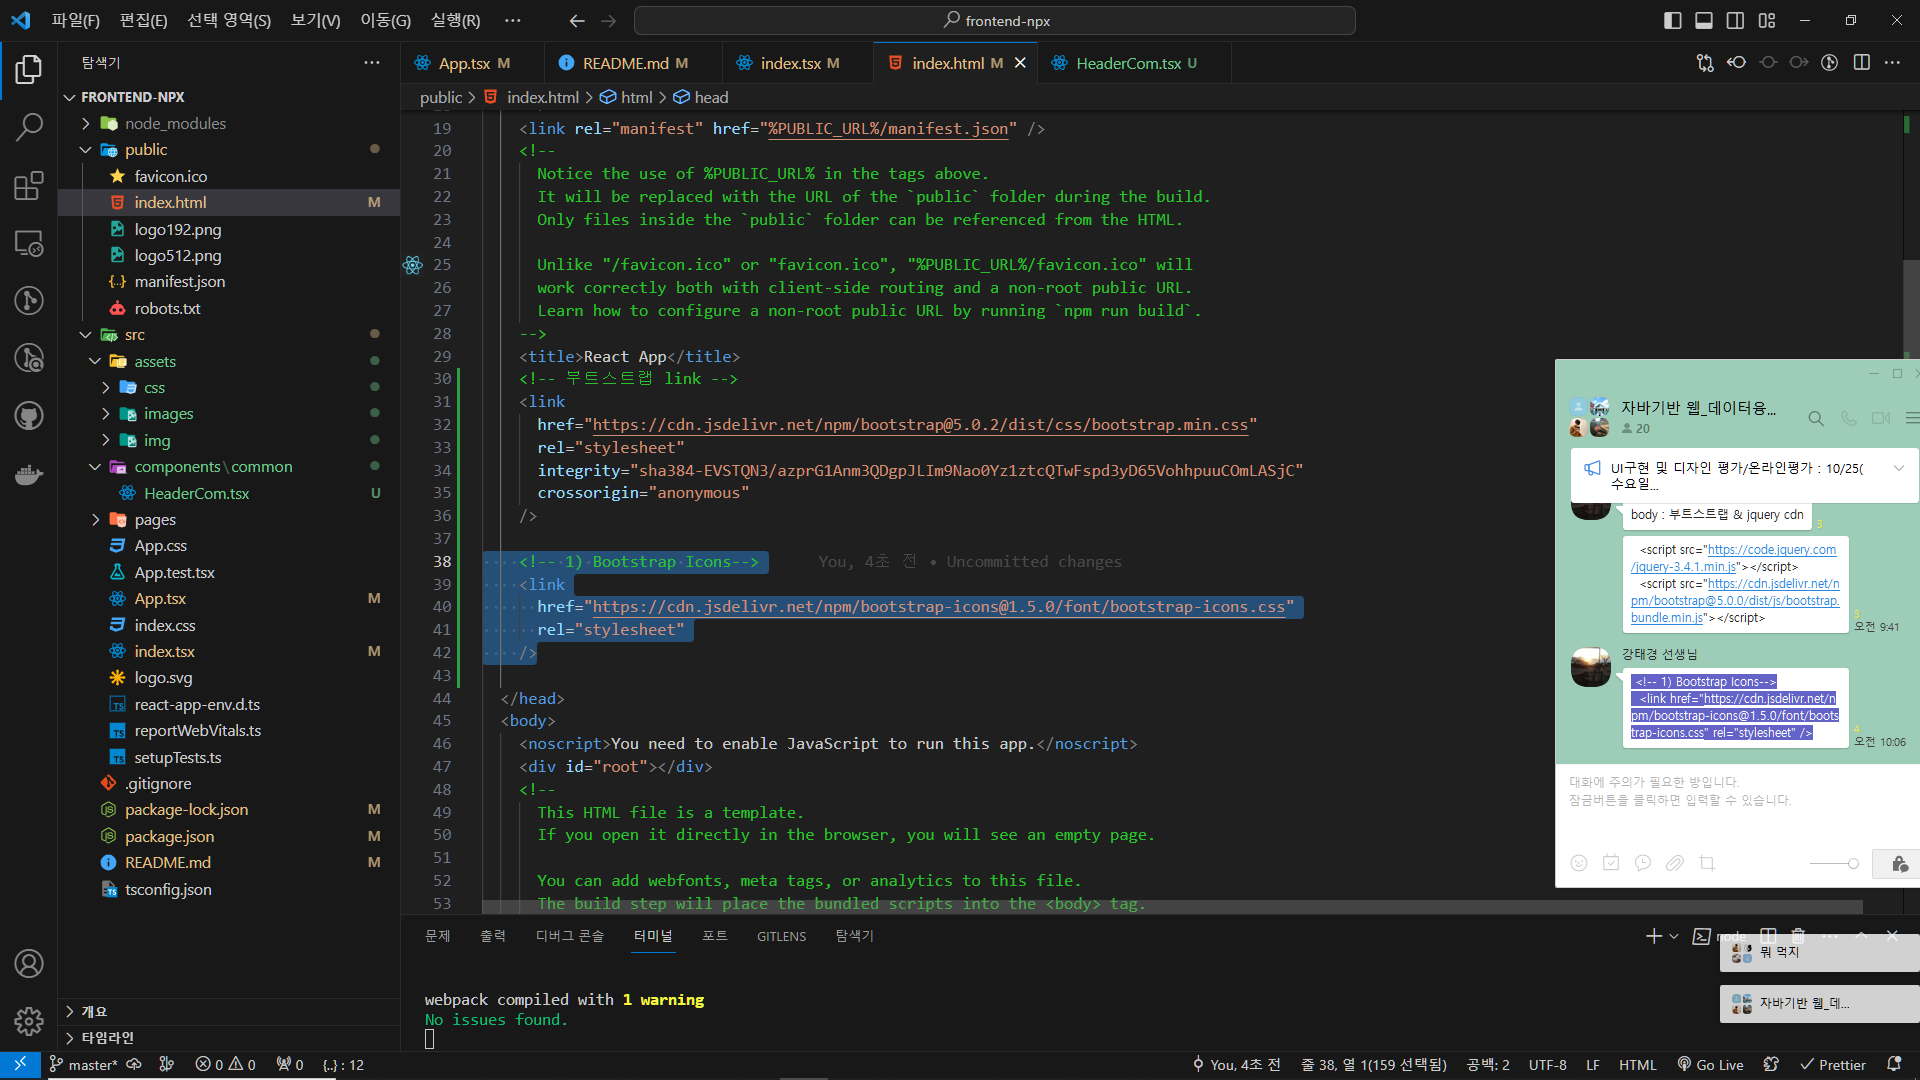
{/* TODO: 공홈 : https://icons.getbootstrap.com/ */}
{/* 1) Bootstrap Icons : 홈페이지 각각의 아이콘 모양을 쉽게 제공 */}
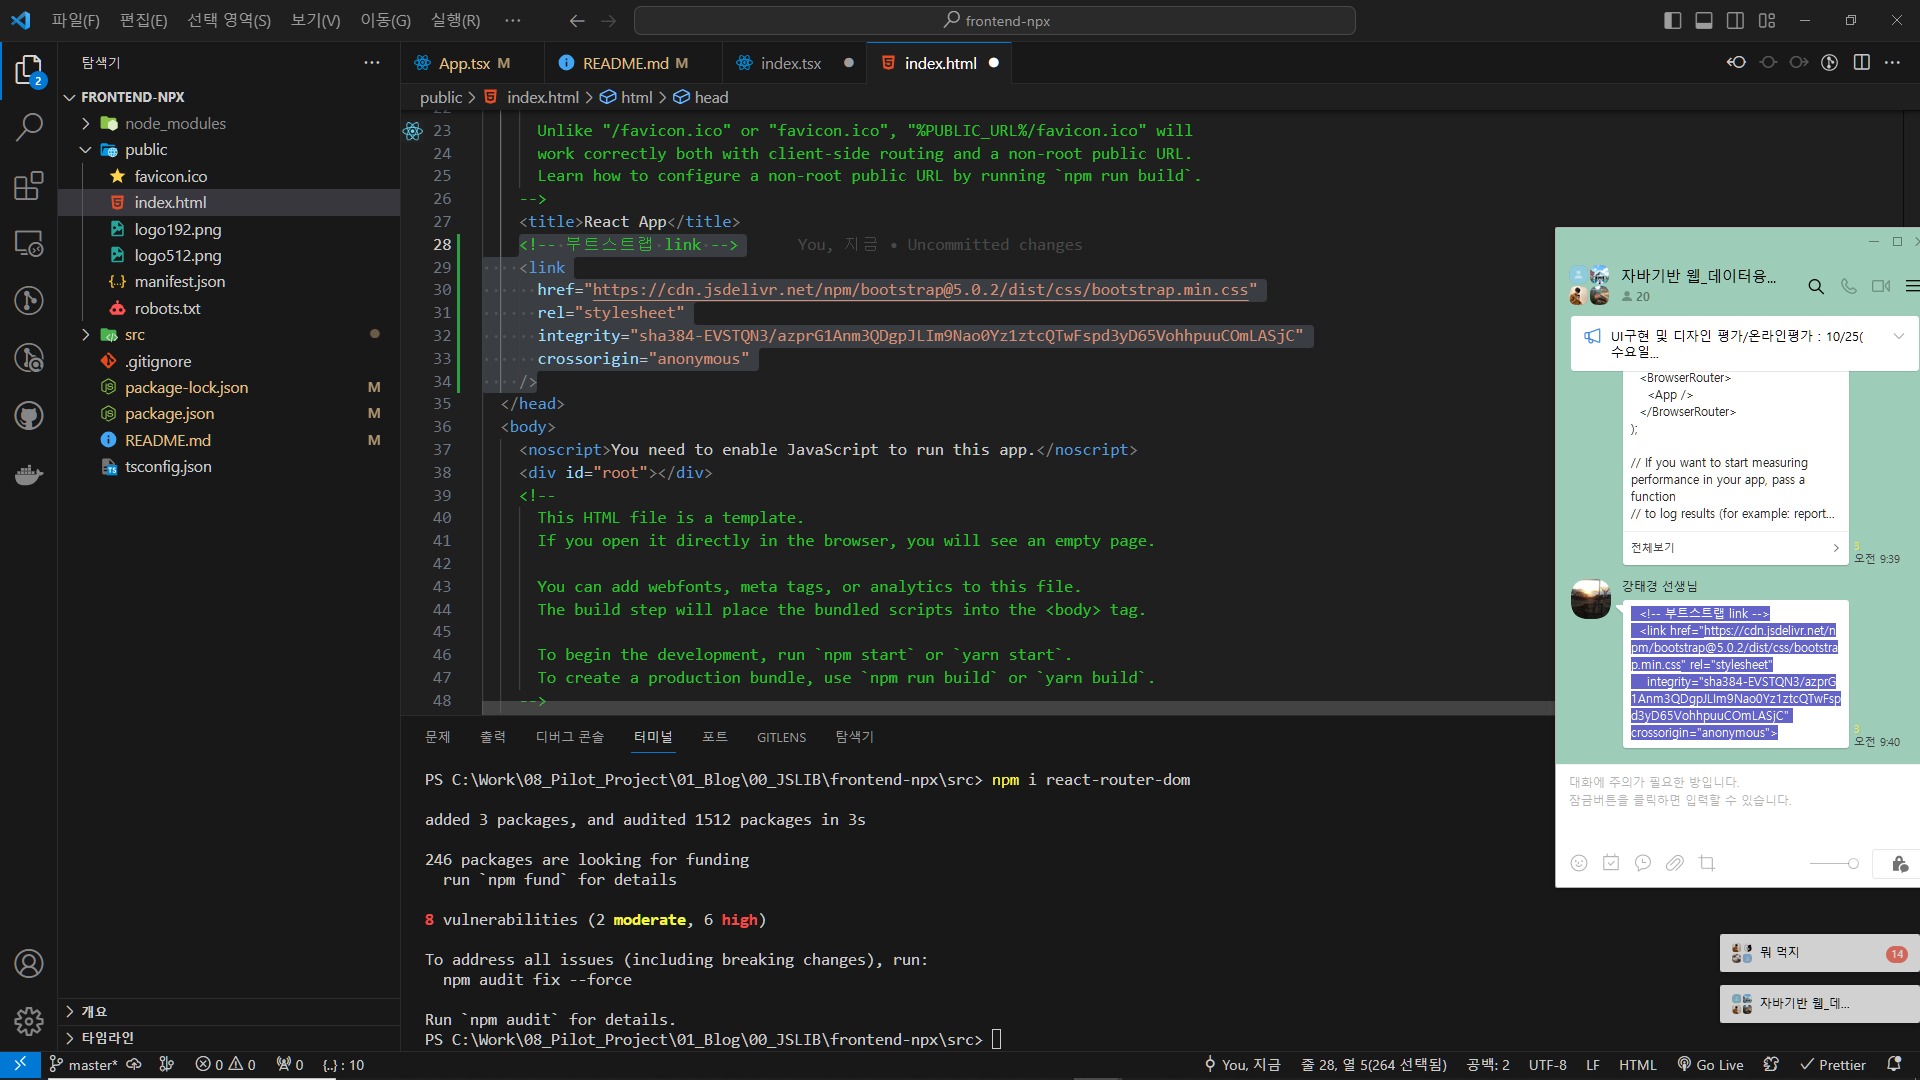
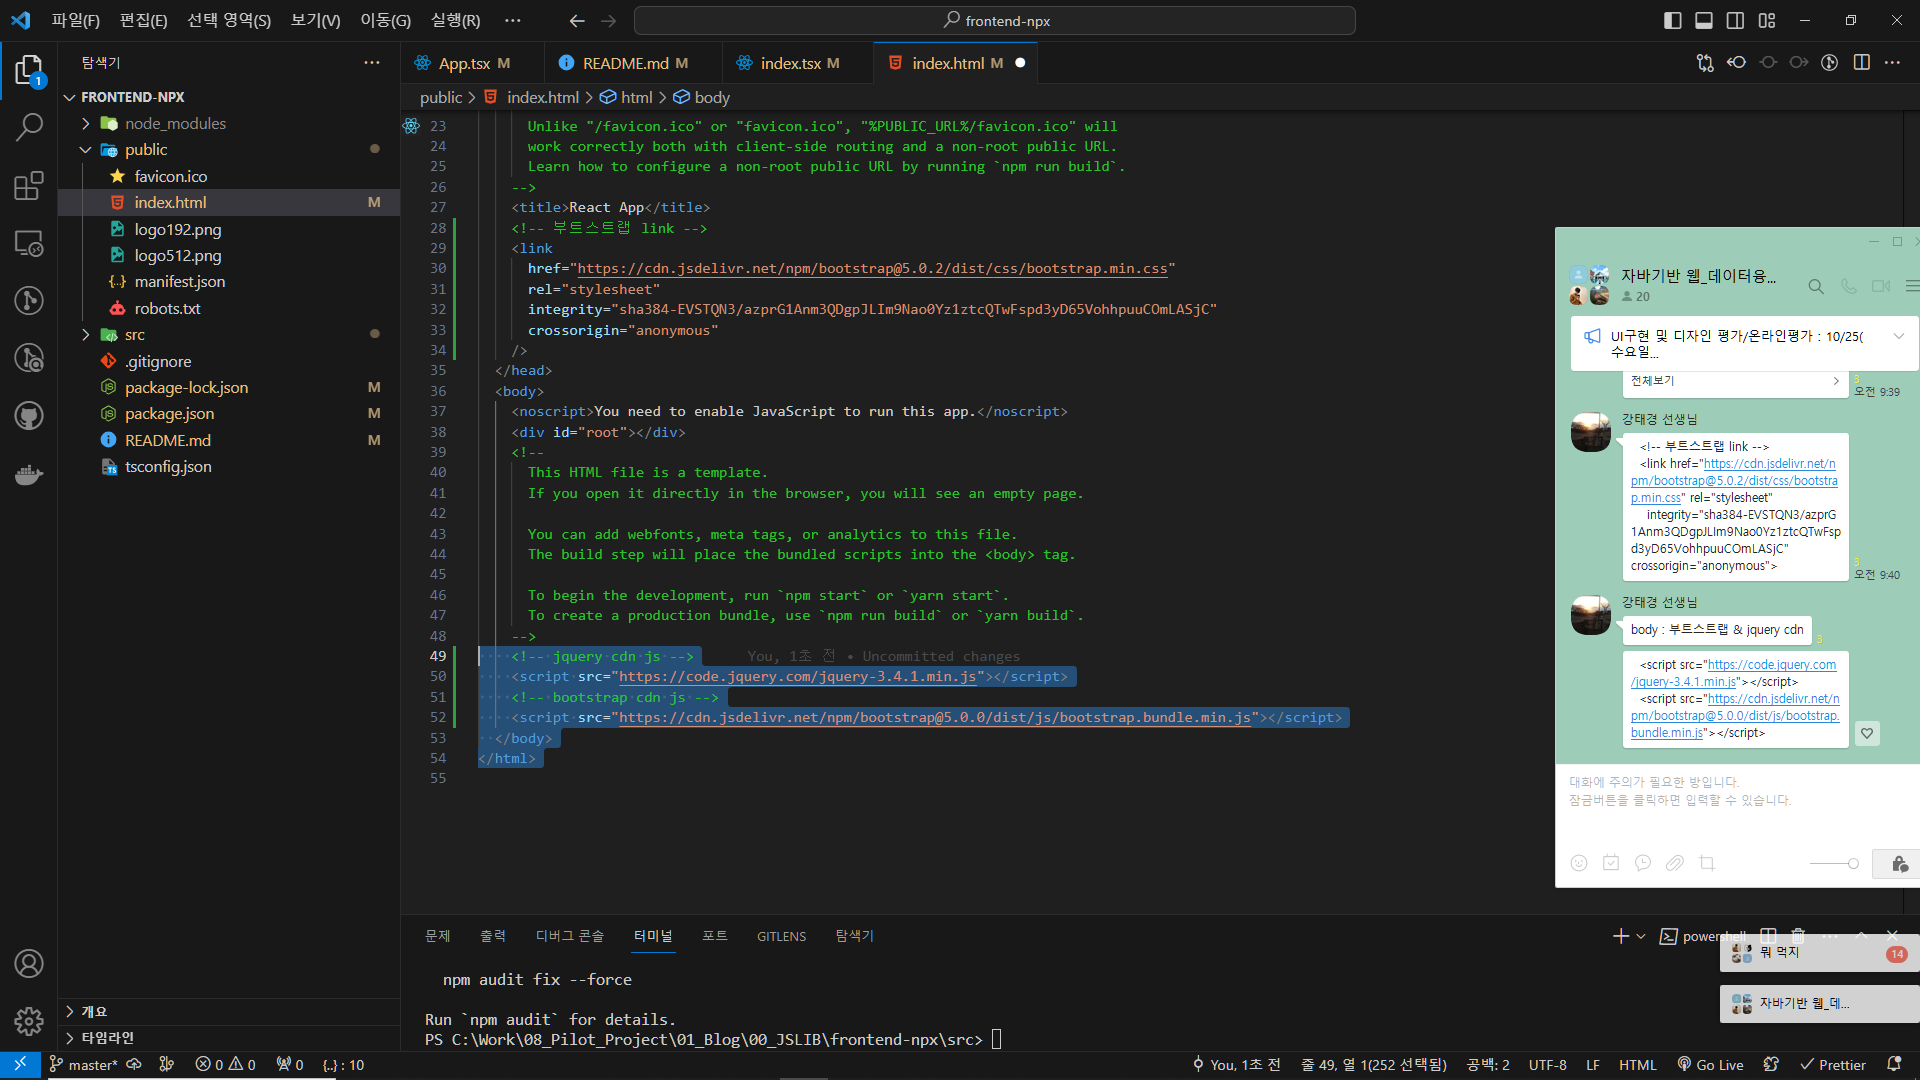
{/* 사용법(install) : 부트스트랩-아이콘 cdn 걸기 : index.html */}
{/* <i className='bi bi-아이콘클래스명'>글자</i> */}
{/* TODO: 유사사이트(참고): font-awesome 사이트 */}
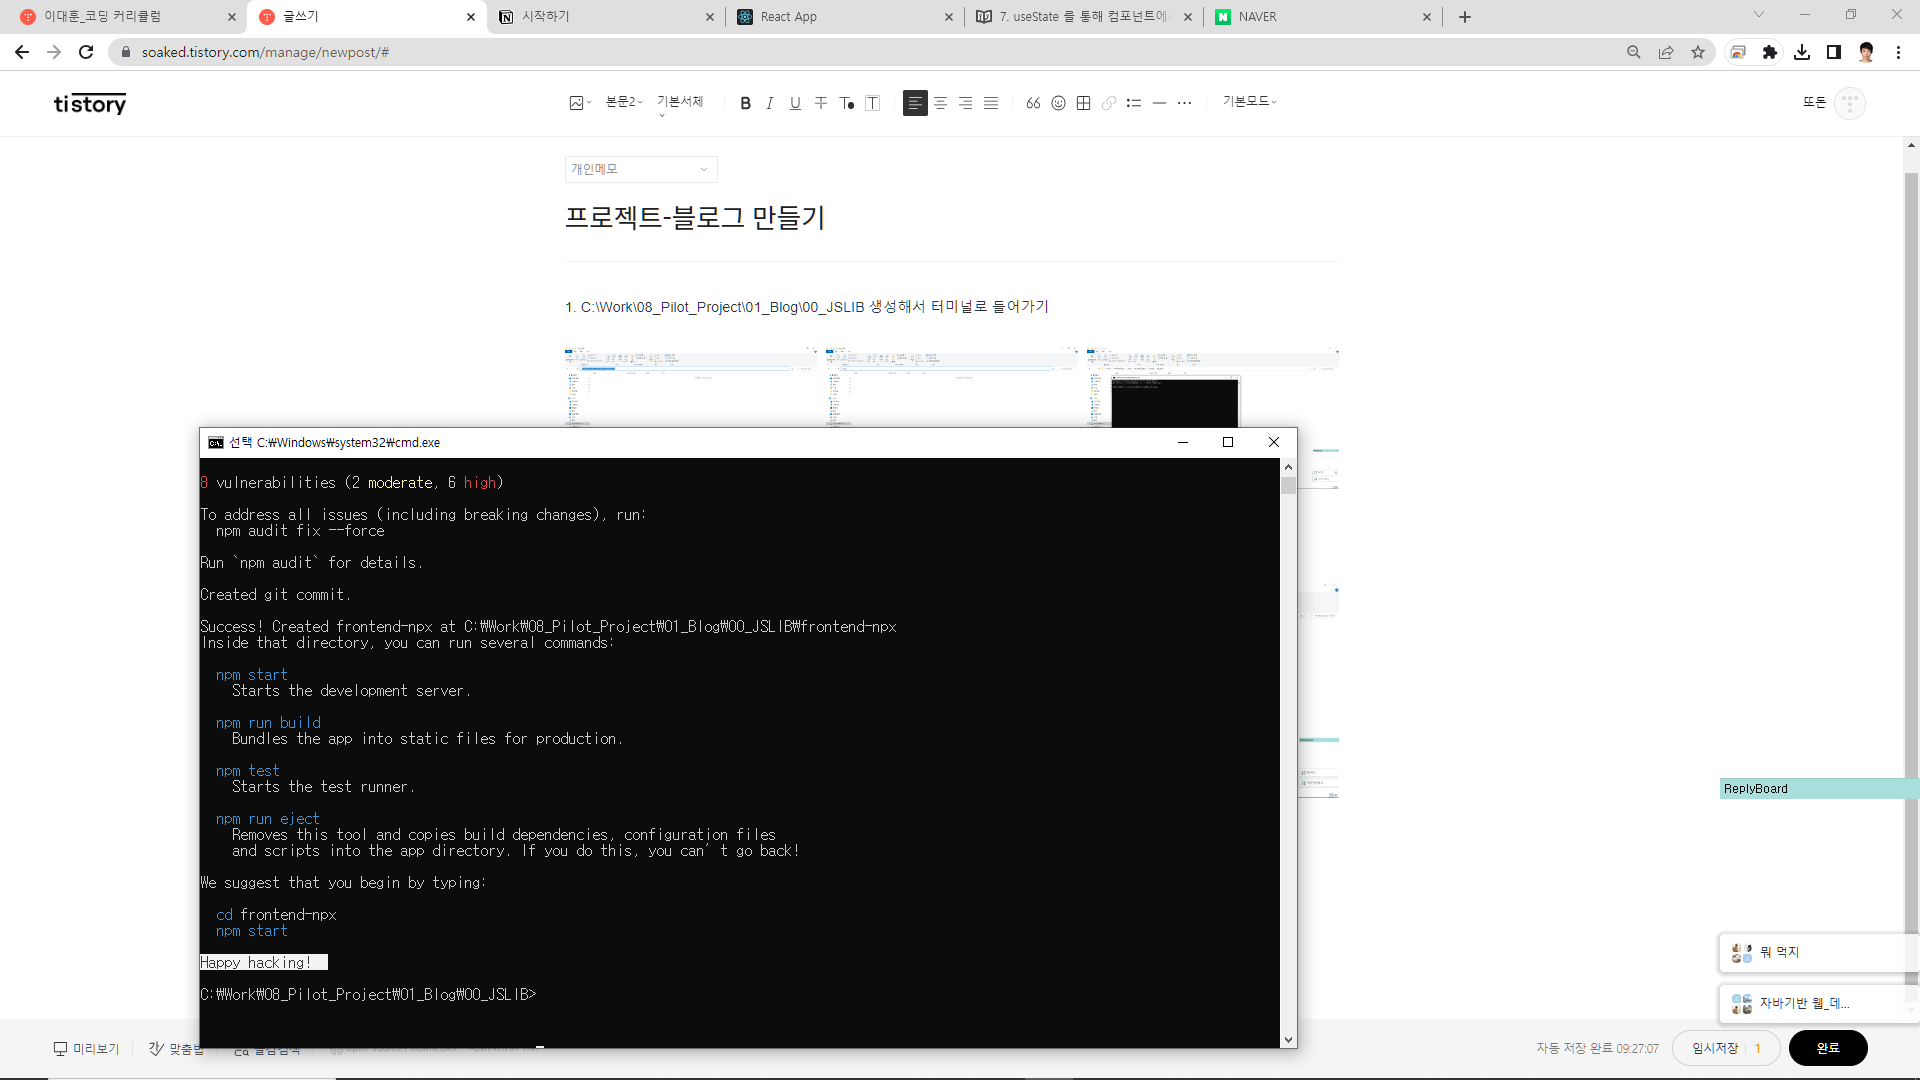
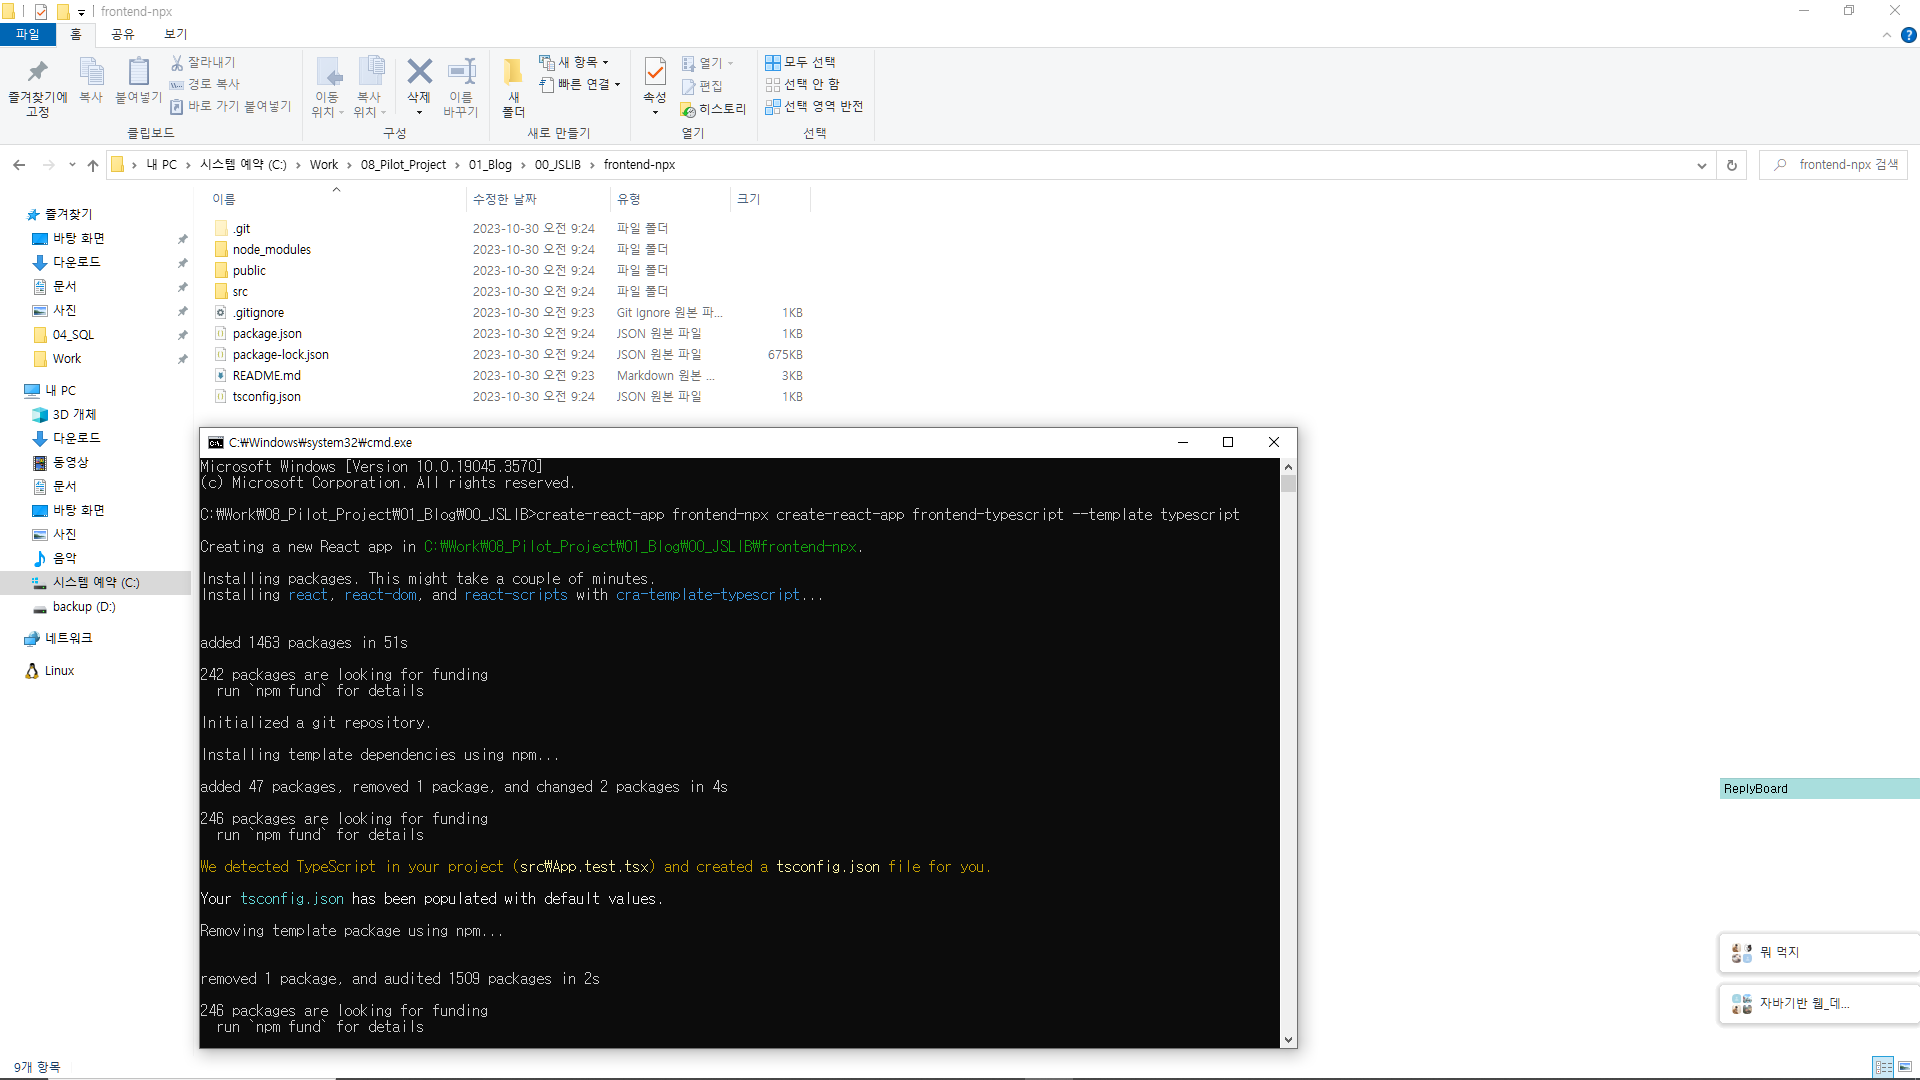
3) Simple_ CountUp 숫자 카운팅 페이지 3-2) Simple_ CountUpExam 숫자 카운팅 페이지 예제
# 3) countup lib : 숫자 올라가기 외부 lib
# 공홈 : https://github.com/bfintal/Counter-Up
# (cdn(링크), npm(설치))
# TODO : waypoints 필수 설치 필요
# 경로 : C:\Work\08_Pilot_Project\01_Blog\00_JSLIB\frontend-npx\public\lib\waypoints
      {/* 사용법 :
            => TODO: html 부분
                <태그 data-toggle="변수명">
                    숫자
                </태그>
            => TODO: js 부분
                ($(선택자) as any).counterUp({
                    delay: 숫자, // 지연시간(1/1000초)
                    time: 숫자   // 화면표시가 끝나는 시간(1/1000초)
                })
         */}
10000 카운팅
20000 카운팅3-2) Simple_ CountUpExam 숫자 카운팅 페이지 예제
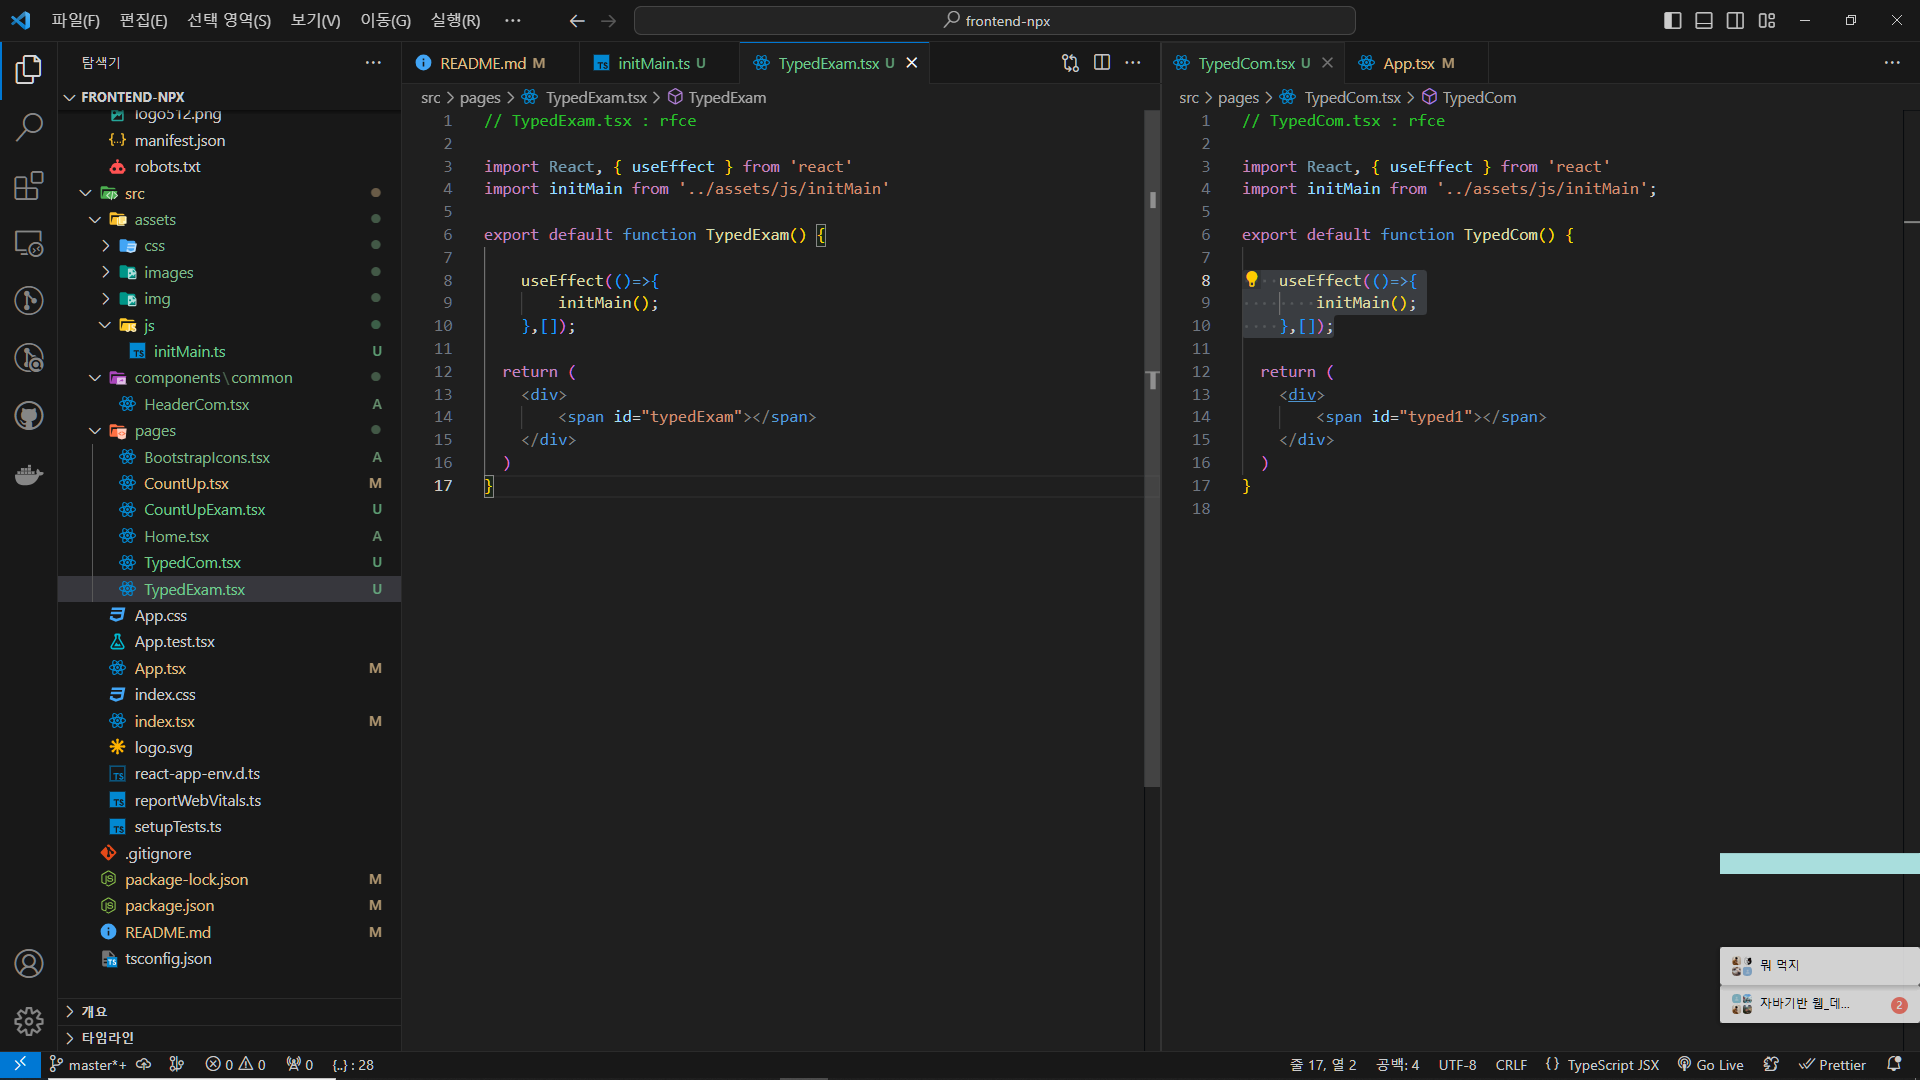
4) Simple_ TypedCom 텍스트 타이핑 애니메이션 페이지 4-2) Simple_ TypedExam 텍스트 타이핑 애니메이션 페이지 예제
# 4) typed js lib : 화면에 타자처럼 타이핑 애니메이션 효과를 주는 lib
# => npm 설치 (cdn 있음)
# 공홈 : https://mattboldt.github.io/typed.js/
npm install typed.js
# typed.js import 방법 (MIT 라이선스)
import Typed from "typed.js";
Simple_ TypedCom 텍스트 타이핑 애니메이션 페이지
4-2) Simple_ TypedExam 텍스트 타이핑 애니메이션 페이지 예제
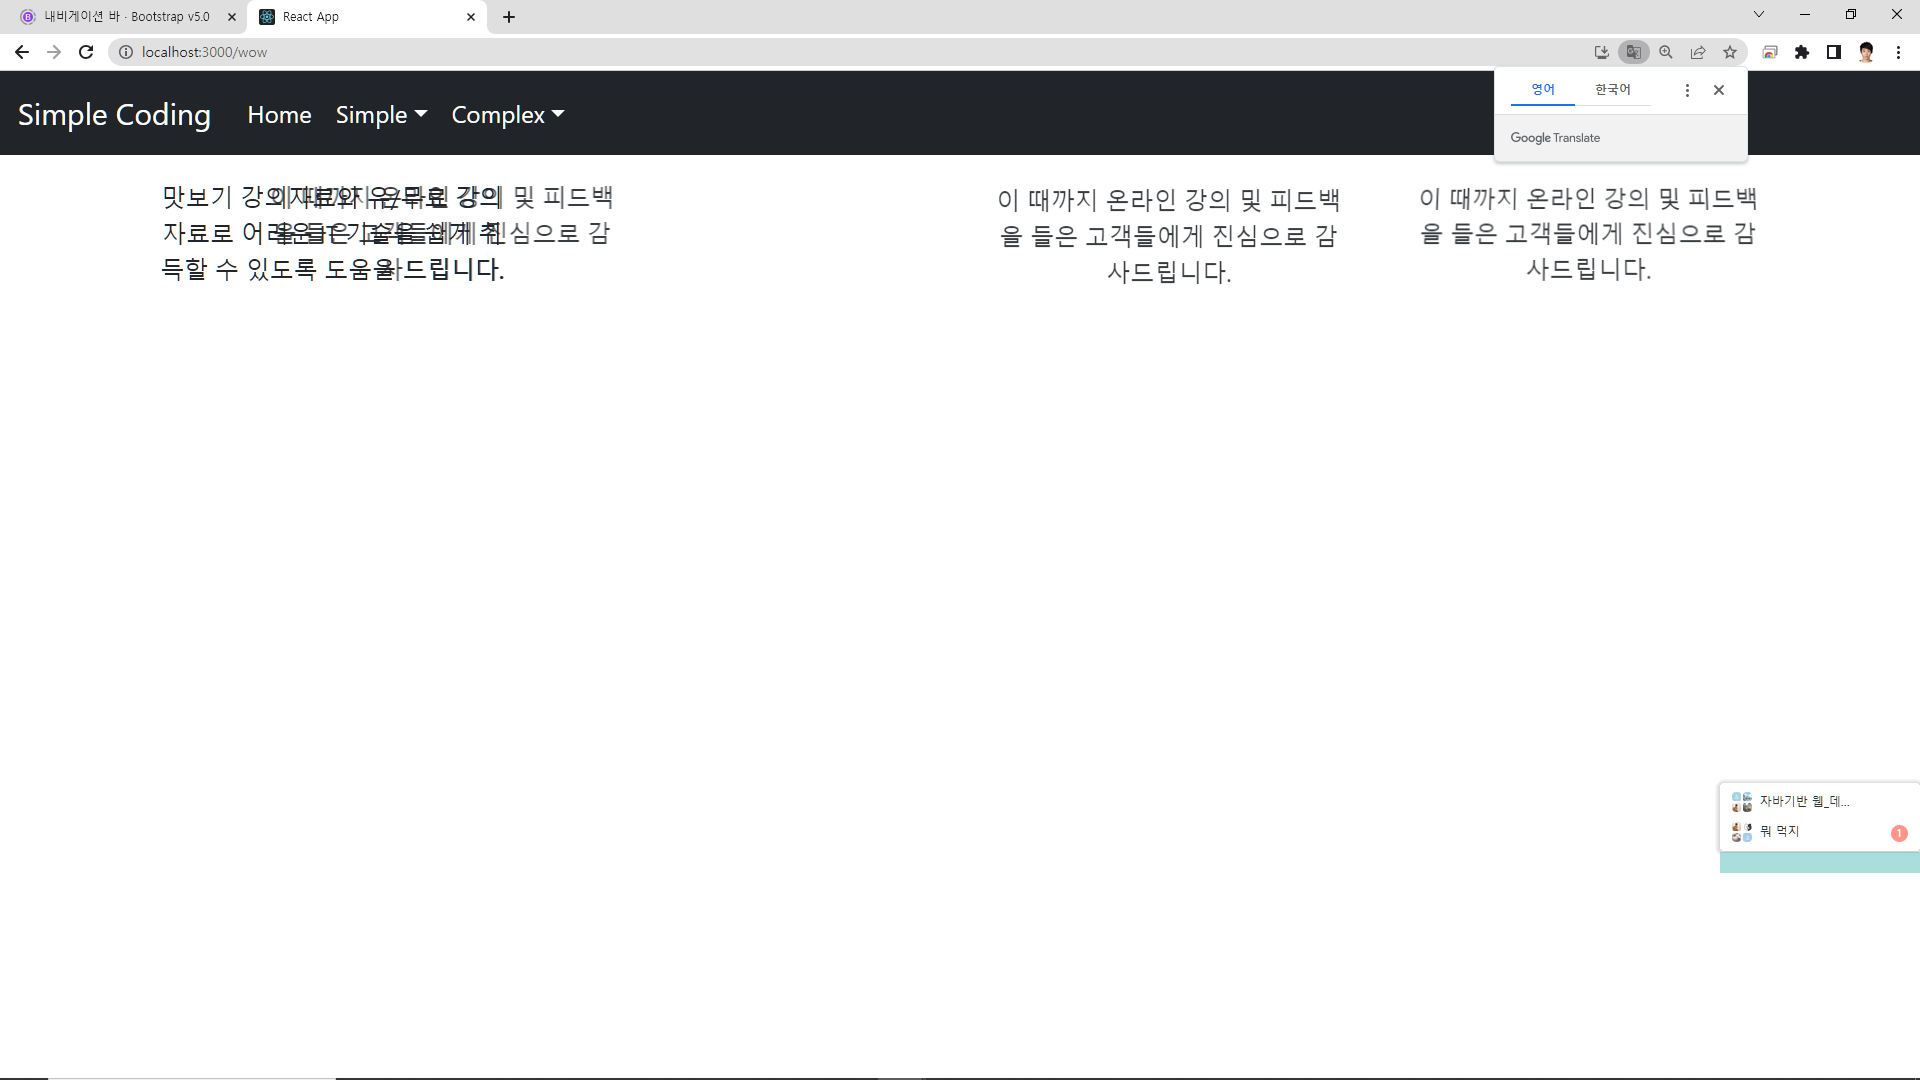
5) Simple_ WowCom 텍스트 위치 변화 애니메이션 페이지
# 5) wow lib : GNU GPL 라이선스 v3(제약: 소스 공개 필요)
# 공홈 : https://wowjs.uk/
# 유사라이브러리 : AOS lib (MIT 라이선스)
# import js 라이브러리 설치
npm i wowjs
# wowjs import 방법
import { WOW } from "wowjs";
# animate.css import : App.tsx
# animate css import (wow 사용시 import 필요)
import "simplelightbox/dist/simple-lightbox.css";
모듈 에러 발생 타입 회피 필요 -> types/외부라이브러리명/index.d.ts 파일 생성시 타입 회피됨
import 라이브러리 설치 / package.json "wowjs": "^1.1.3" 설치 확인tsconfig.json 파일 - compilerOptions 속성에 아래 추가 : 프로젝트시작위치/types - 이 위치에 타입을 인식하게 하는 경로 설정types/외부라이브러리명/index.d.ts 파일 생성 후 아래 추가external lib import
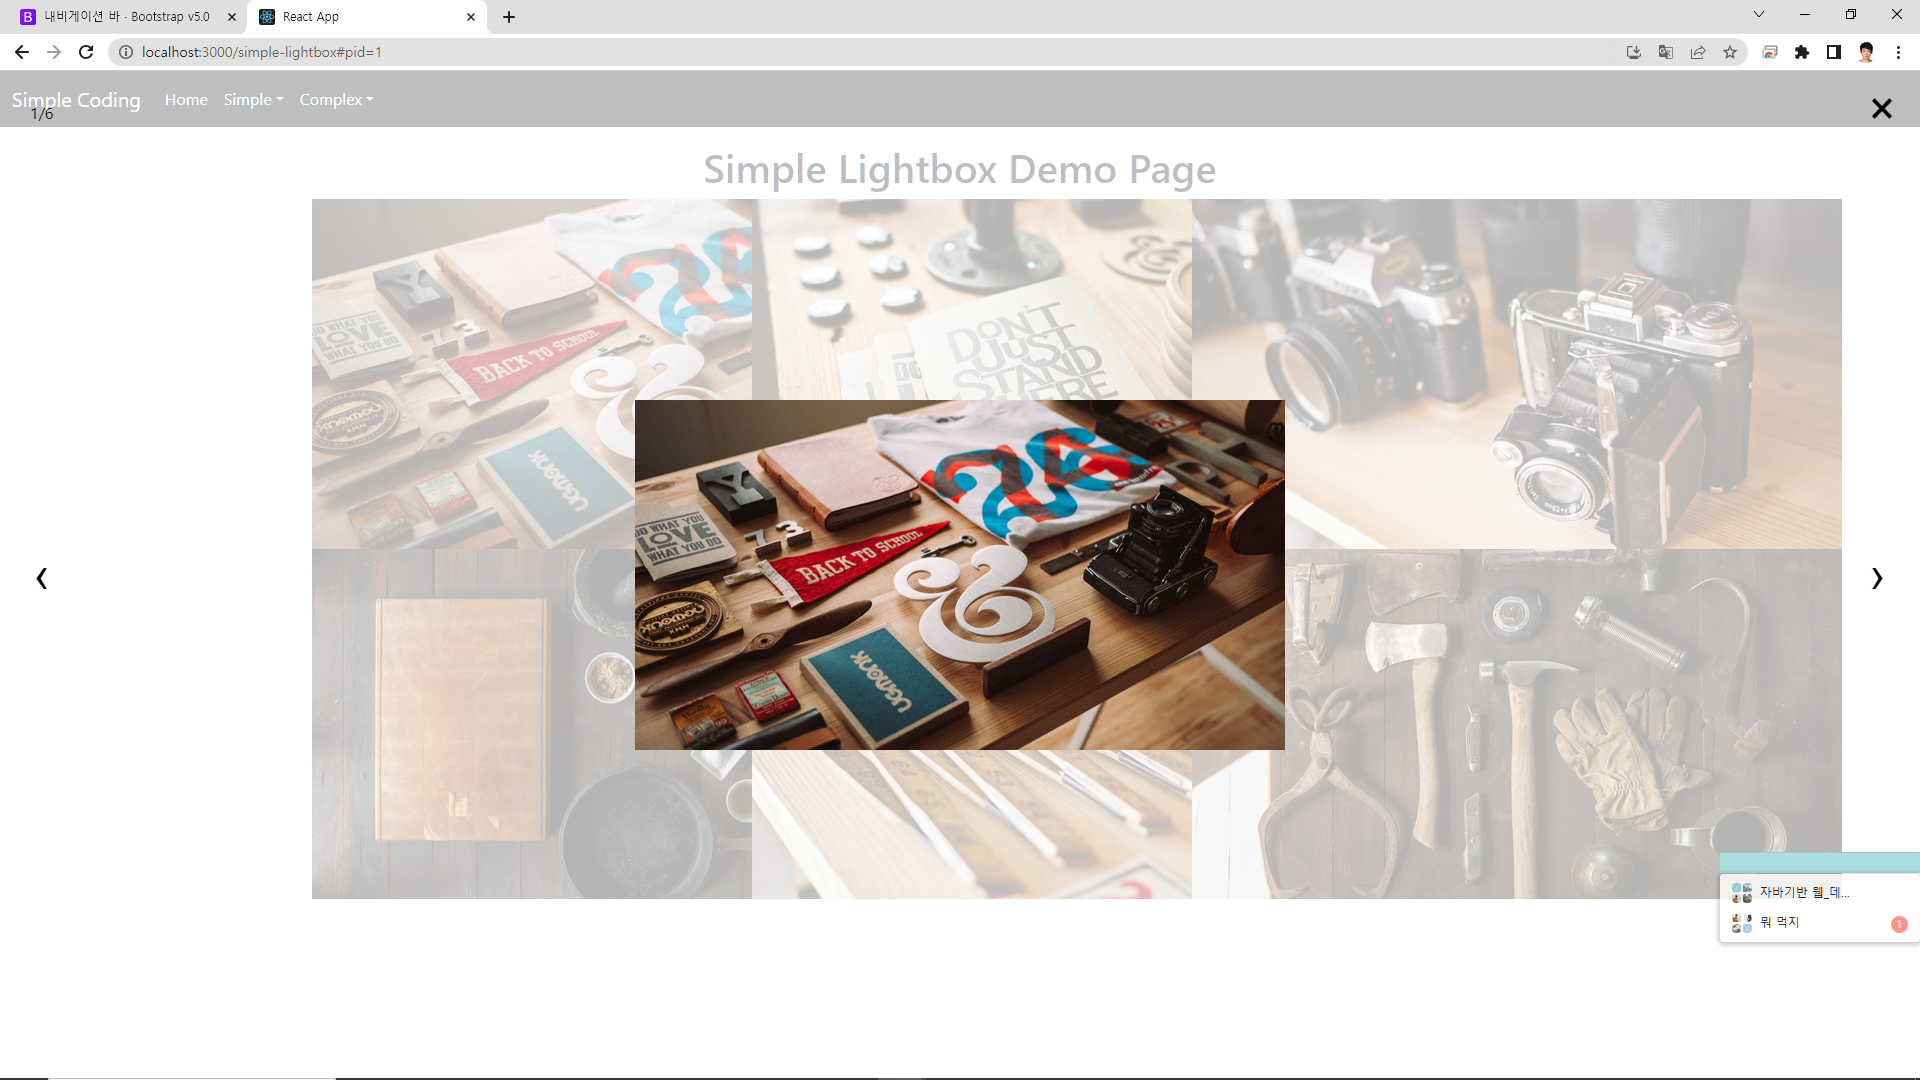
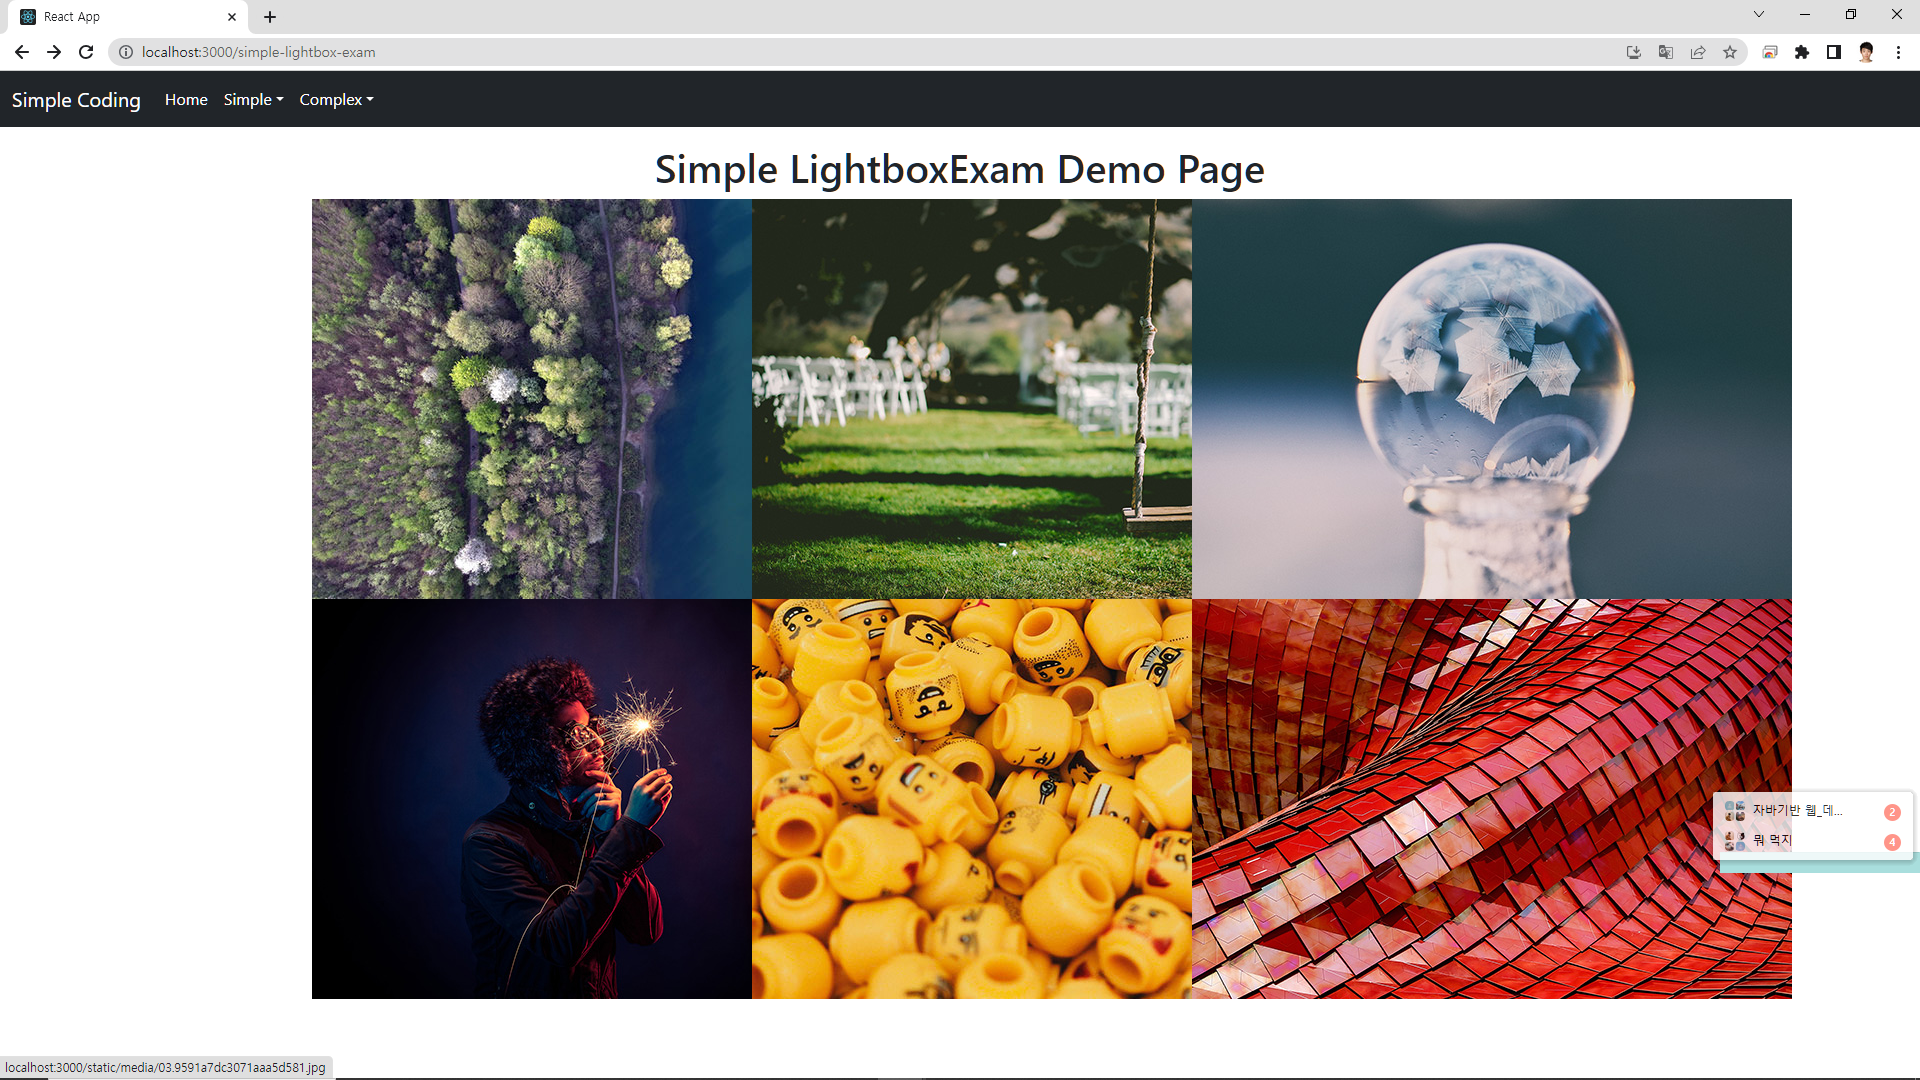
6) Complex_ SimpleLightboxCom 이미지 애니메이션 페이지 6-2) Complex_ SimpleLightboxComExam 이미지 애니메이션 페이지 예제
# 6) simplelightbox lib : SimpleLightbox 설치
# (cdn, npm(설치))
# 공홈 : https://simplelightbox.com/
npm install simplelightbox
# import SimpleLightbox from "simplelightbox" 설치 : initMain.js
import SimpleLightbox from "simplelightbox";
# simplelightbox css import : App.tsx
import "simplelightbox/dist/simple-lightbox.css";
import 라이브러리 설치 / "simplelightbox": "^2.14.2" 설치 확인
6) Complex_ SimpleLightboxCom 이미지 애니메이션 페이지
6-2) Complex_ SimpleLightboxComExam 이미지 애니메이션 페이지 예제
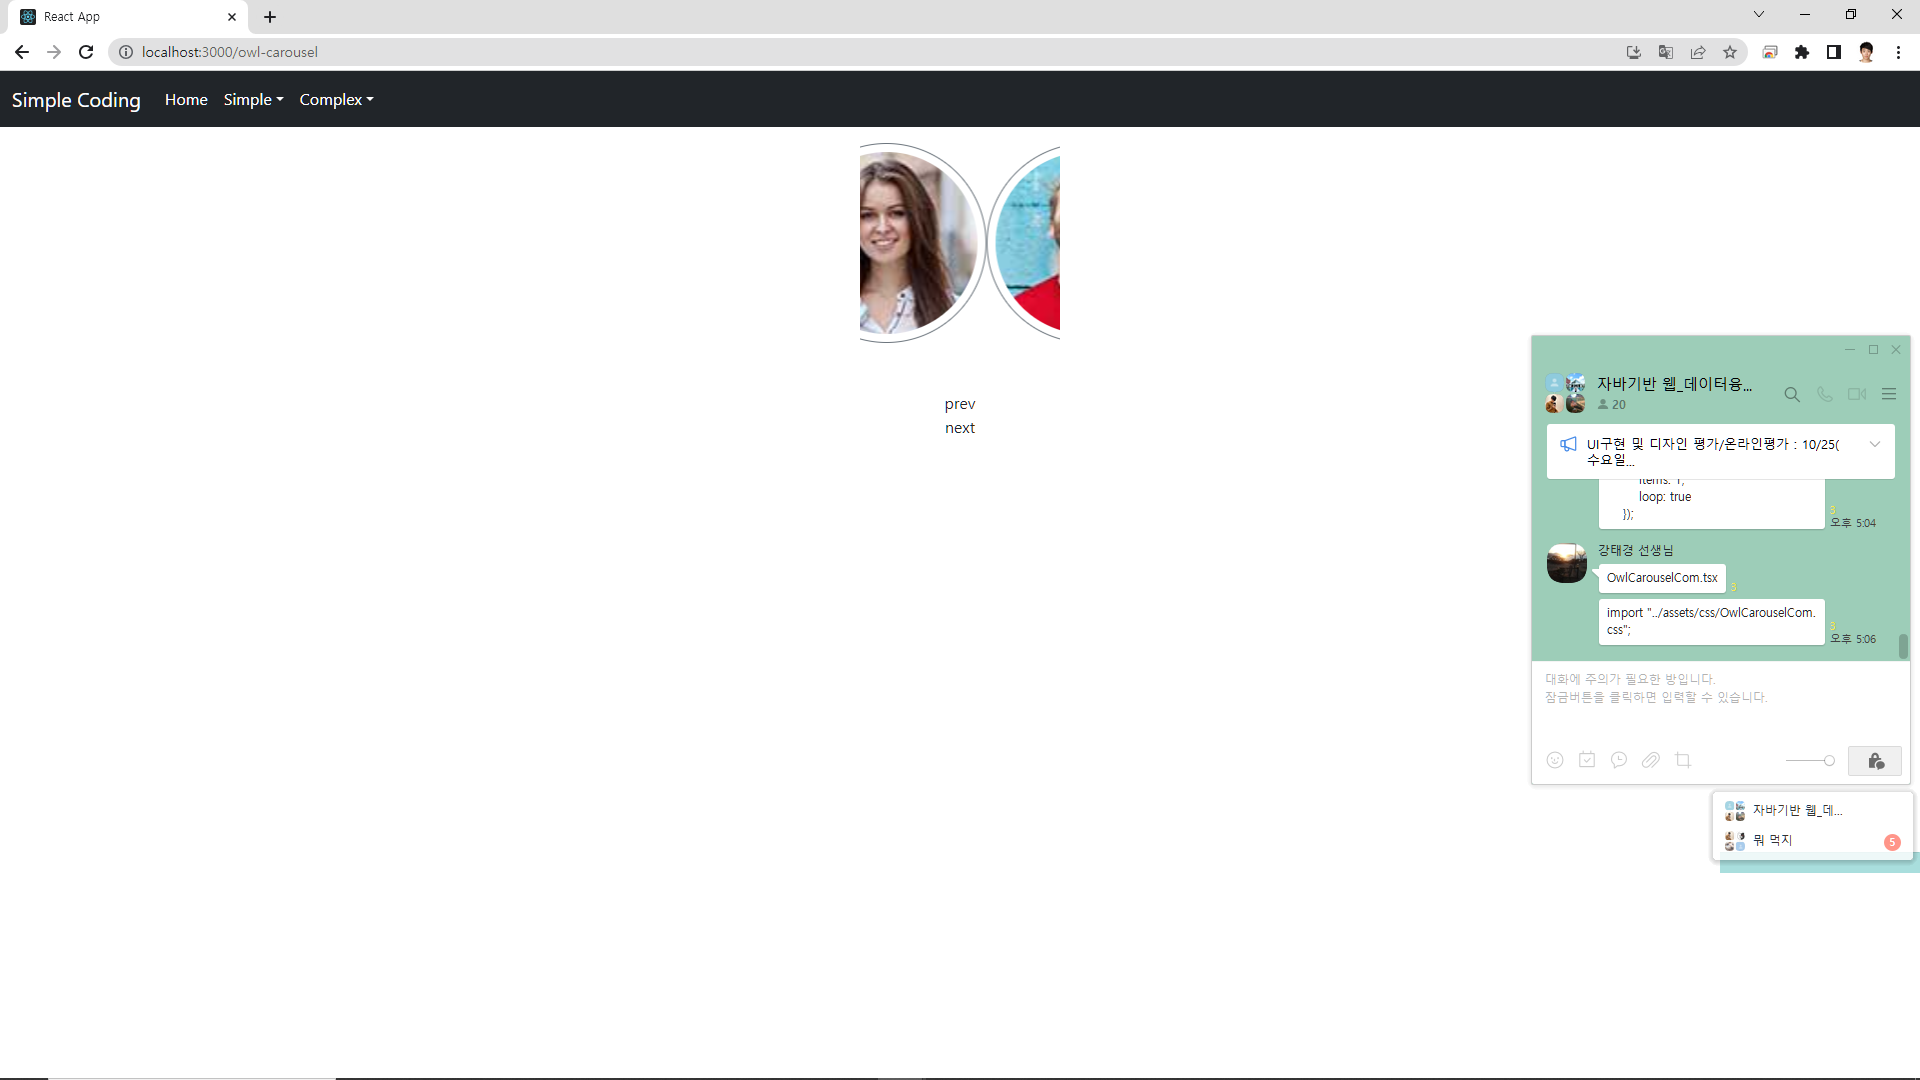
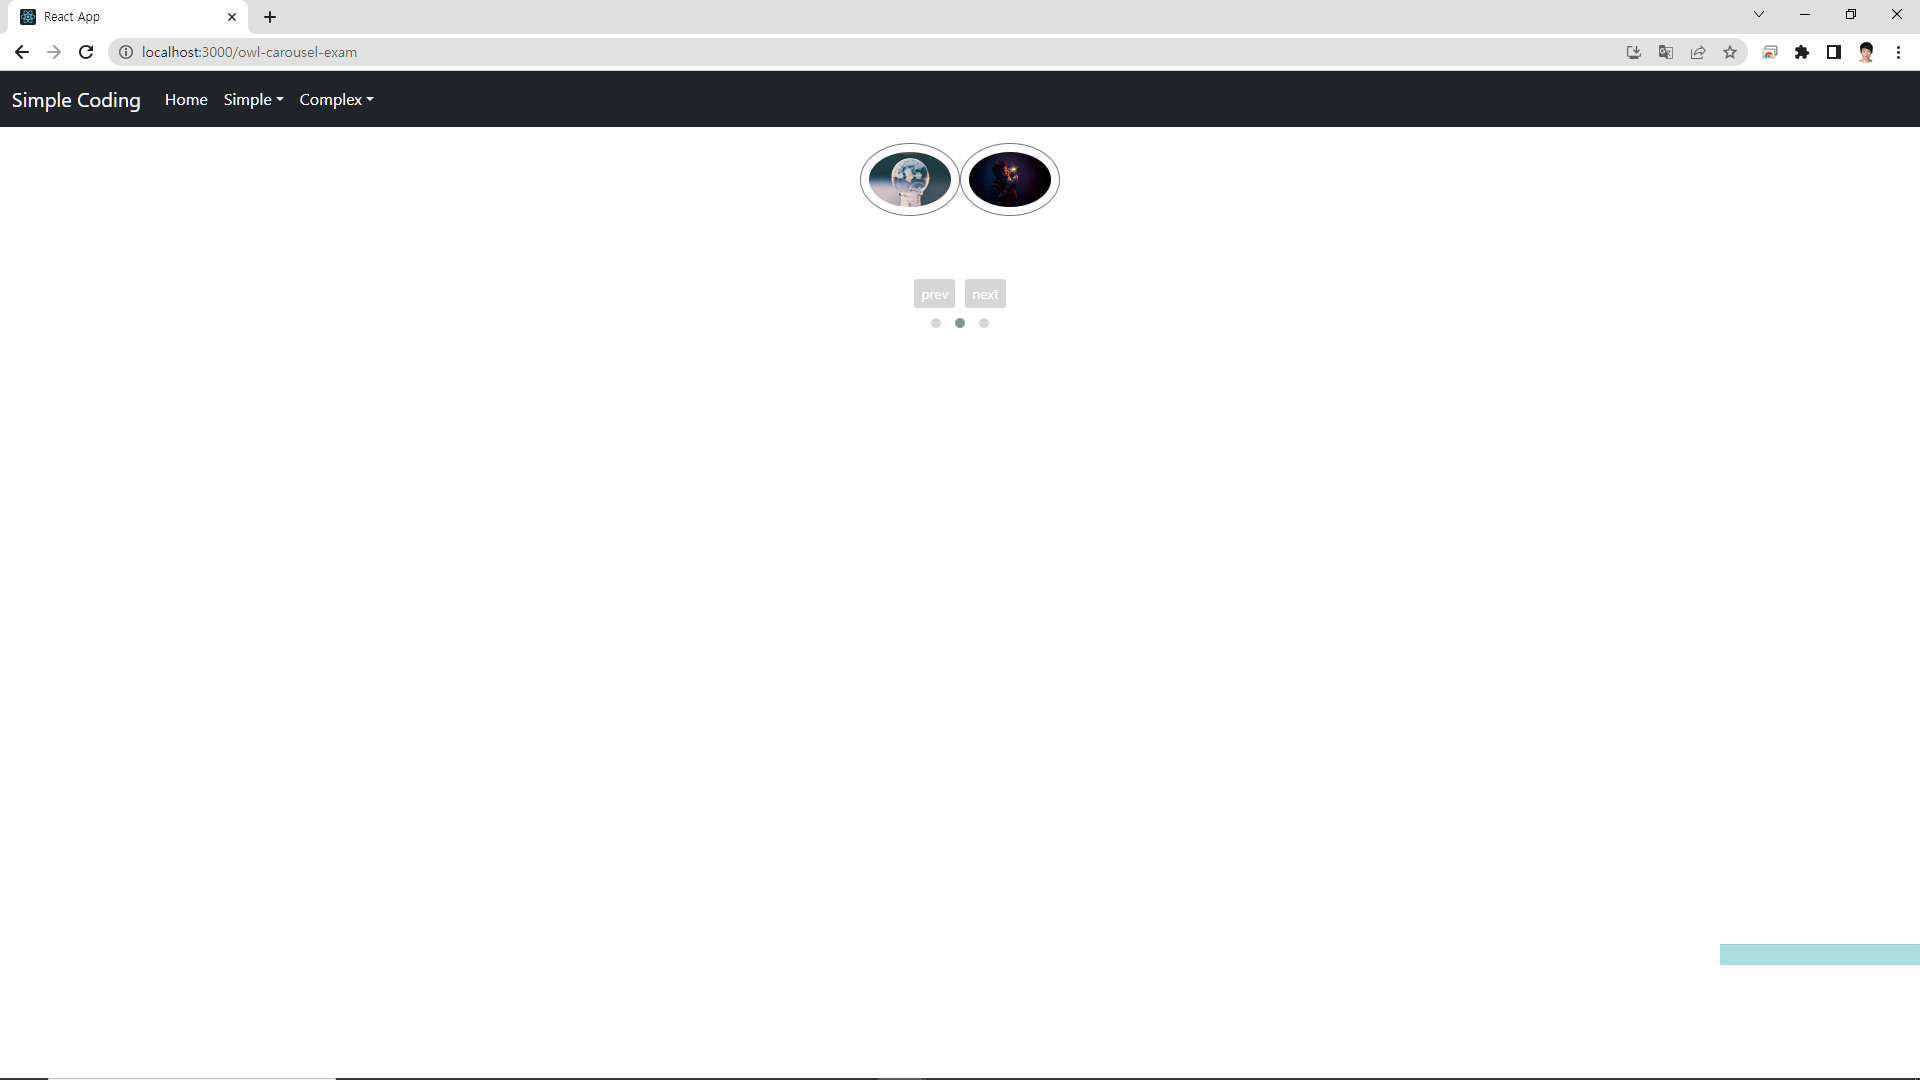
7) Complex_ OwlCarousel 이미지 회전목마(여러 개의 사진이 자동으로 돌아가게 하는) 애니메이션 페이지 7-2) Complex_ OwlCarousel 이미지 회전목마(여러 개의 사진이 자동으로 돌아가게 하는) 애니메이션 페이지 예제
# 7) TODO: OwlCarousel lib
# 회전목마 : 여러 개의 사진이 자동으로 돌아가게 하는 lib
# 유사 lib : swiper
# (cdn(index.html 링크), npm(설치))
# 공홈 : https://owlcarousel2.github.io/OwlCarousel2/
# index.html : css link 삽입
# <link href="/lib/owlcarousel/assets/owl.carousel.css" rel="stylesheet" />
# index.html : js link (body) 삽입
# <script src="/lib/owlcarousel/owl.carousel.min.js"></script>
# type 설치
npm i @types/owl.carousel
owlcarousel css 테마 추가 (버튼)7-2) Complex_ OwlCarousel 이미지 회전목마(여러 개의 사진이 자동으로 돌아가게 하는) 애니메이션 페이지 예제
8) Complex_ isotope 그리드 형식으로 정렬된 요소들을 필터링하고 재정렬 페이지
8) Complex_ isotope 동위원소(그리드 형식으로 정렬된 요소들을 필터링하고 재정렬 페이지)
# 8) isotope lib : (공홈: https://isotope.metafizzy.co/)
# 이미지들의 정렬을 해주는 lib
# (참고) npm install isotope-layout --save
npm i @types/isotope-layout
# (참고) npm i imagesloaded(이미지 버그 확인용)
npm i @types/imagesloaded
# cdn 설치 : index.html js 링크 걸기
# <!-- isotope : https://isotope.metafizzy.co/ -->
# <script src="/lib/isotope/isotope.pkgd.min.js"></script>
# <!-- isotope 이미지 겹침 문제로 사용 -->
# <script src="https://unpkg.com/imagesloaded@5/imagesloaded.pkgd.js"></script>
8-2) Complex_ isotopeExam동위원소(그리드 형식으로 정렬된 요소들을 필터링하고 재정렬 페이지)
9) Complex_ easing 라이브러리는 웹 애니메이션 및 트랜지션에서 사용되는 타이밍 함수(처음(천천히) -> 중간(빨리) -> 끝(천천히) : 시간의 흐름(애니메이션))