
01_jq_form
form input 태그 접근해서 디자인 적용 4가지 방법
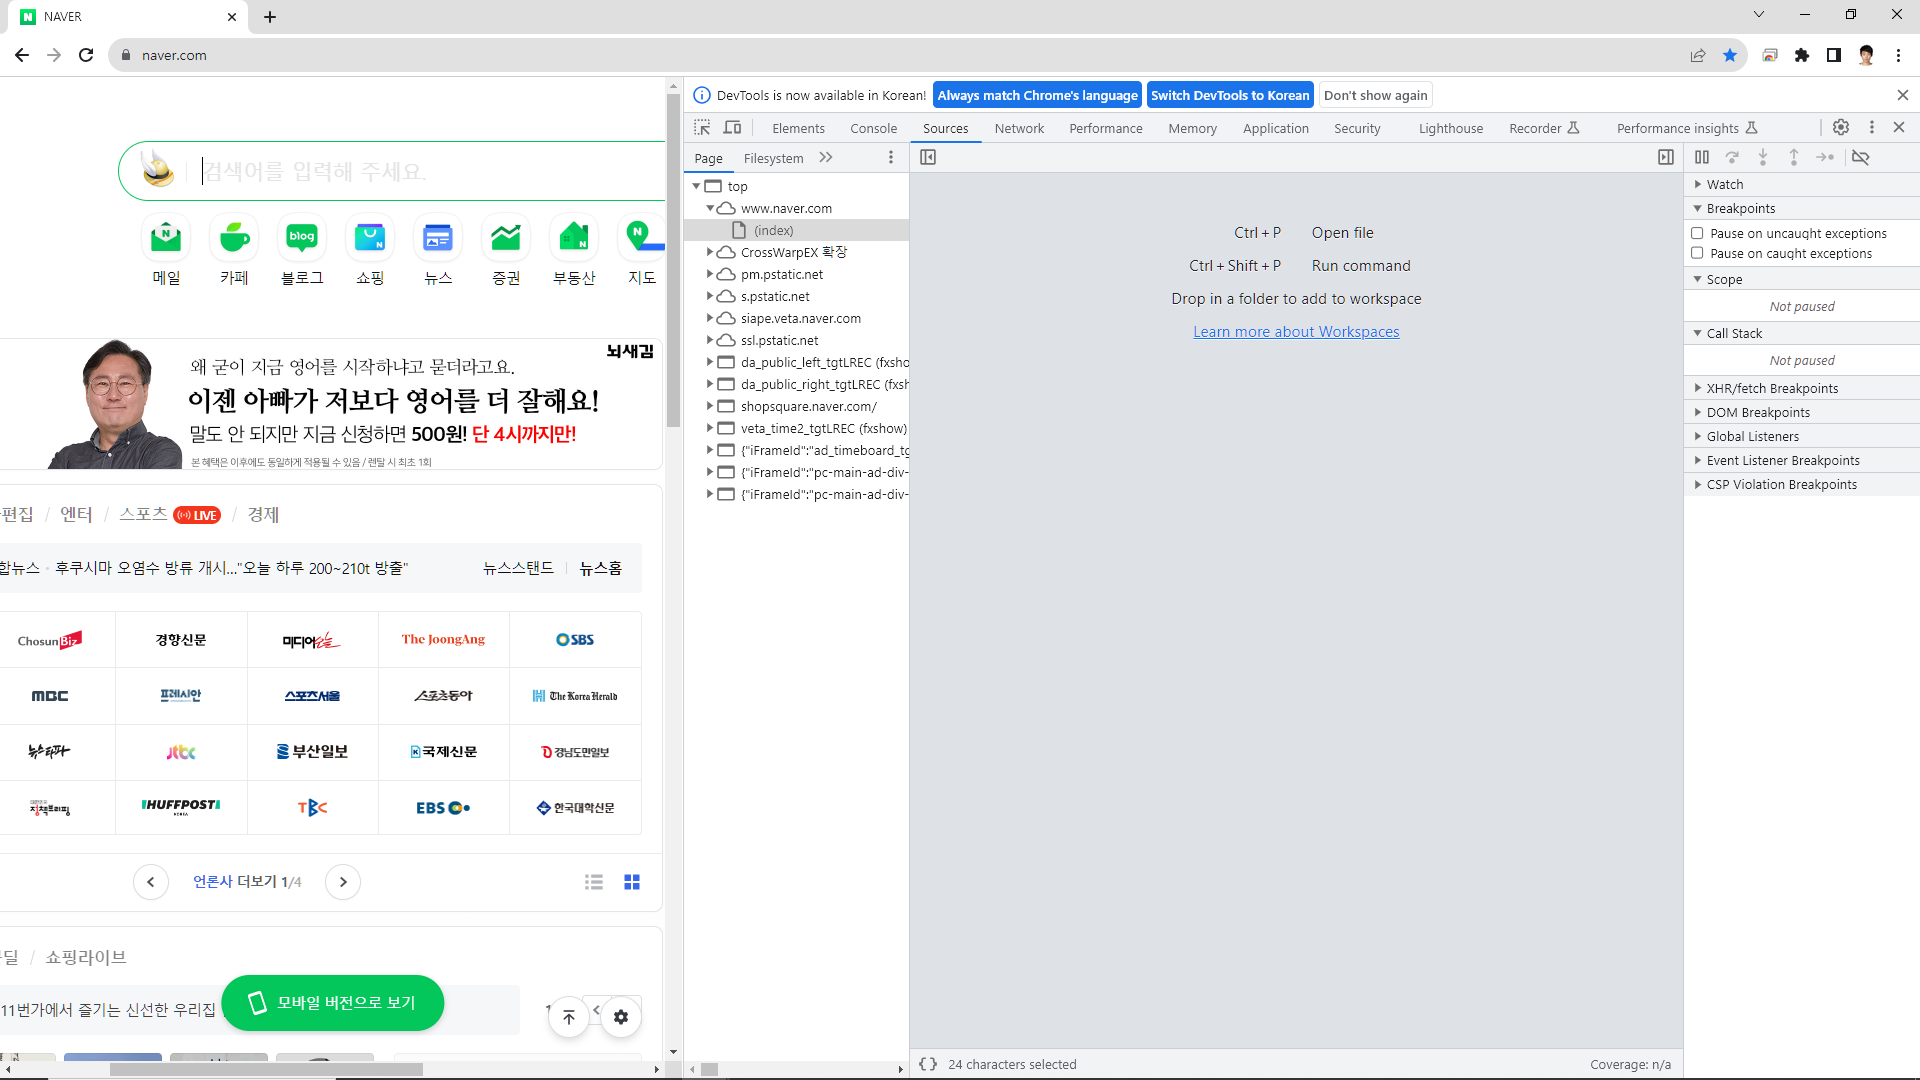
새창/새탭으로 페이지 또는 기존 페이지에서 http(프로토콜)열기
더보기
<!DOCTYPE html>
<html lang="en">
<head>
<meta charset="UTF-8" />
<meta name="viewport" content="width=device-width, initial-scale=1.0" />
<title>form input 태그 접근해서 디자인 적용 4가지 방법</title>
</head>
<body>
<div id="wrap">
<!-- a 태그 속성 : target="_blank" (새창/새탭으로 페이지 이동) -->
<!-- 나머지는 현재창에서 히스토리를 남기는 페이지 -->
</div>
<!-- form action -->
<!-- action 속성 : 이동할 페이지 주소 ex) www.naver.com -->
<!-- 이동 시기 : submit 버튼을 클릭하면 -->
<!-- method="get" ex) http 방식 : get/post/put/delete -->
<!-- get 방식 : 조회요청 -->
<!-- post 방식 : 추가요청 -->
<!-- put 방식 : 수정요청 -->
<!-- delete 방식 : 삭제요청 -->
<form action="#" method="get" id="member_f">
<p>
<label for="user_id">아이디</label>
<input type="text" name="user_id" id="user_id" />
</p>
<p>
<label for="user_pw">비밀번호</label>
<input type="password" name="user_pw" id="user_pw" />
</p>
</form>
<!-- jquery cdn 필수 -->
<script src="./js/01_jq_form.js"></script>
</body>
</html>
더보기
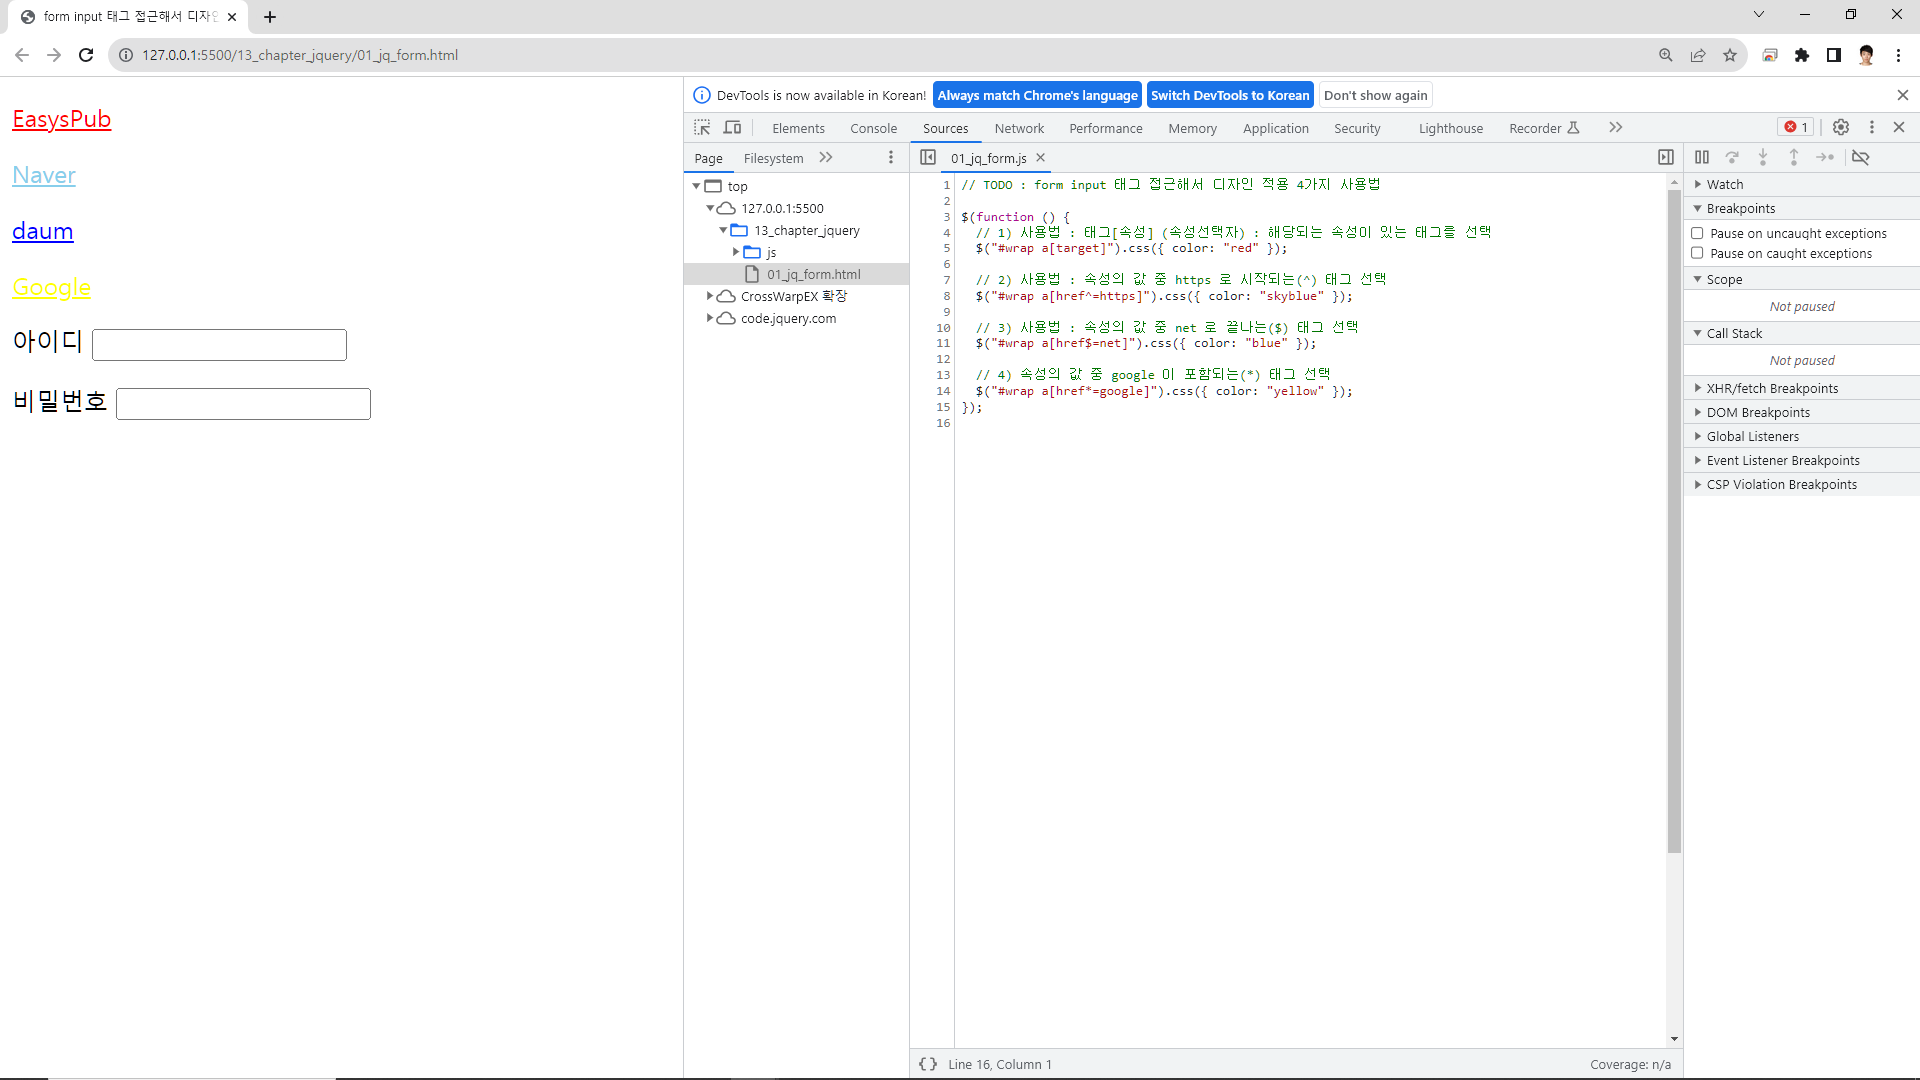
// TODO : form input 태그 접근해서 디자인 적용 4가지 사용법
$(function () {
// 1) 사용법 : 태그[속성] (속성선택자) : 해당되는 속성이 있는 태그를 선택
$("#wrap a[target]").css({ color: "red" });
// 2) 사용법 : 속성의 값 중 https 로 시작되는(^) 태그 선택
$("#wrap a[href^=https]").css({ color: "skyblue" });
// 3) 사용법 : 속성의 값 중 net 로 끝나는($) 태그 선택
$("#wrap a[href$=net]").css({ color: "blue" });
// 4) 속성의 값 중 google 이 포함되는(*) 태그 선택
$("#wrap a[href*=google]").css({ color: "yellow" });
});


02_jq_form_selected
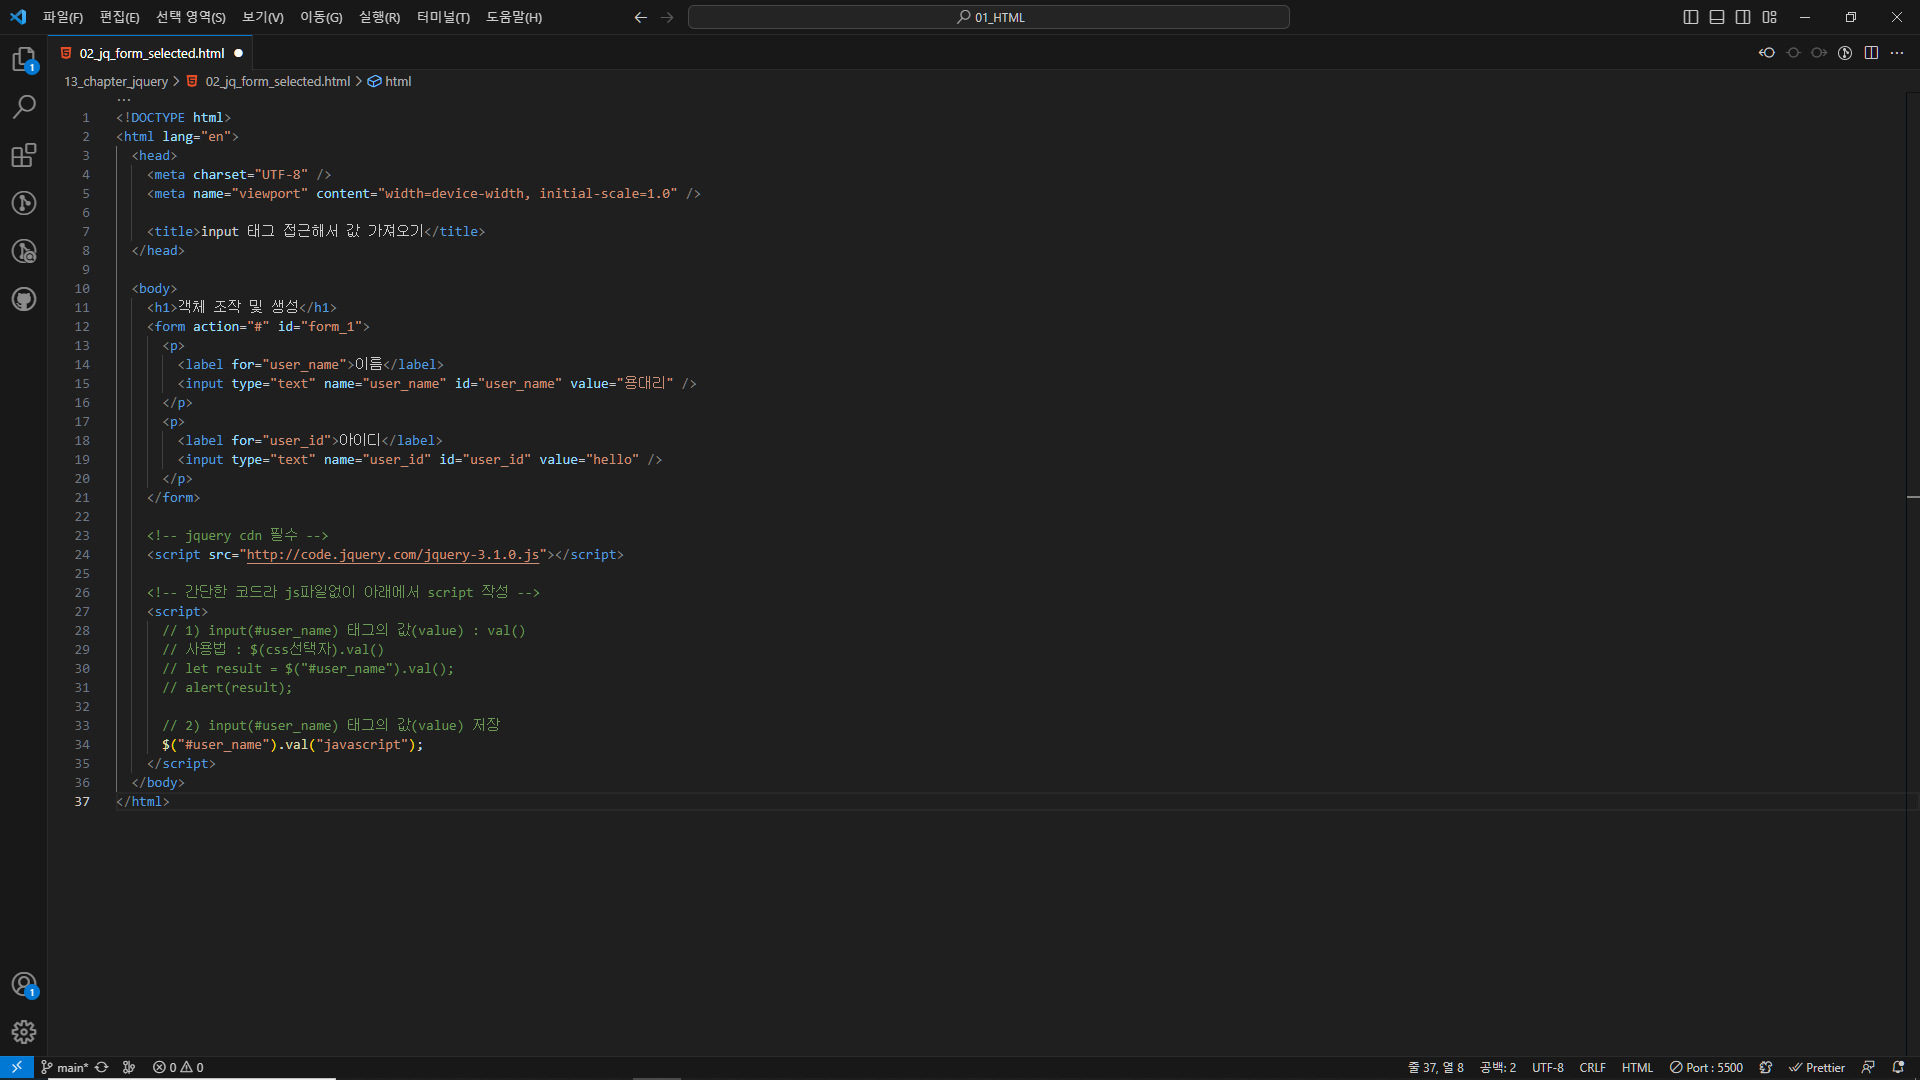
input 태그 접근해서 값 가져오기
더보기
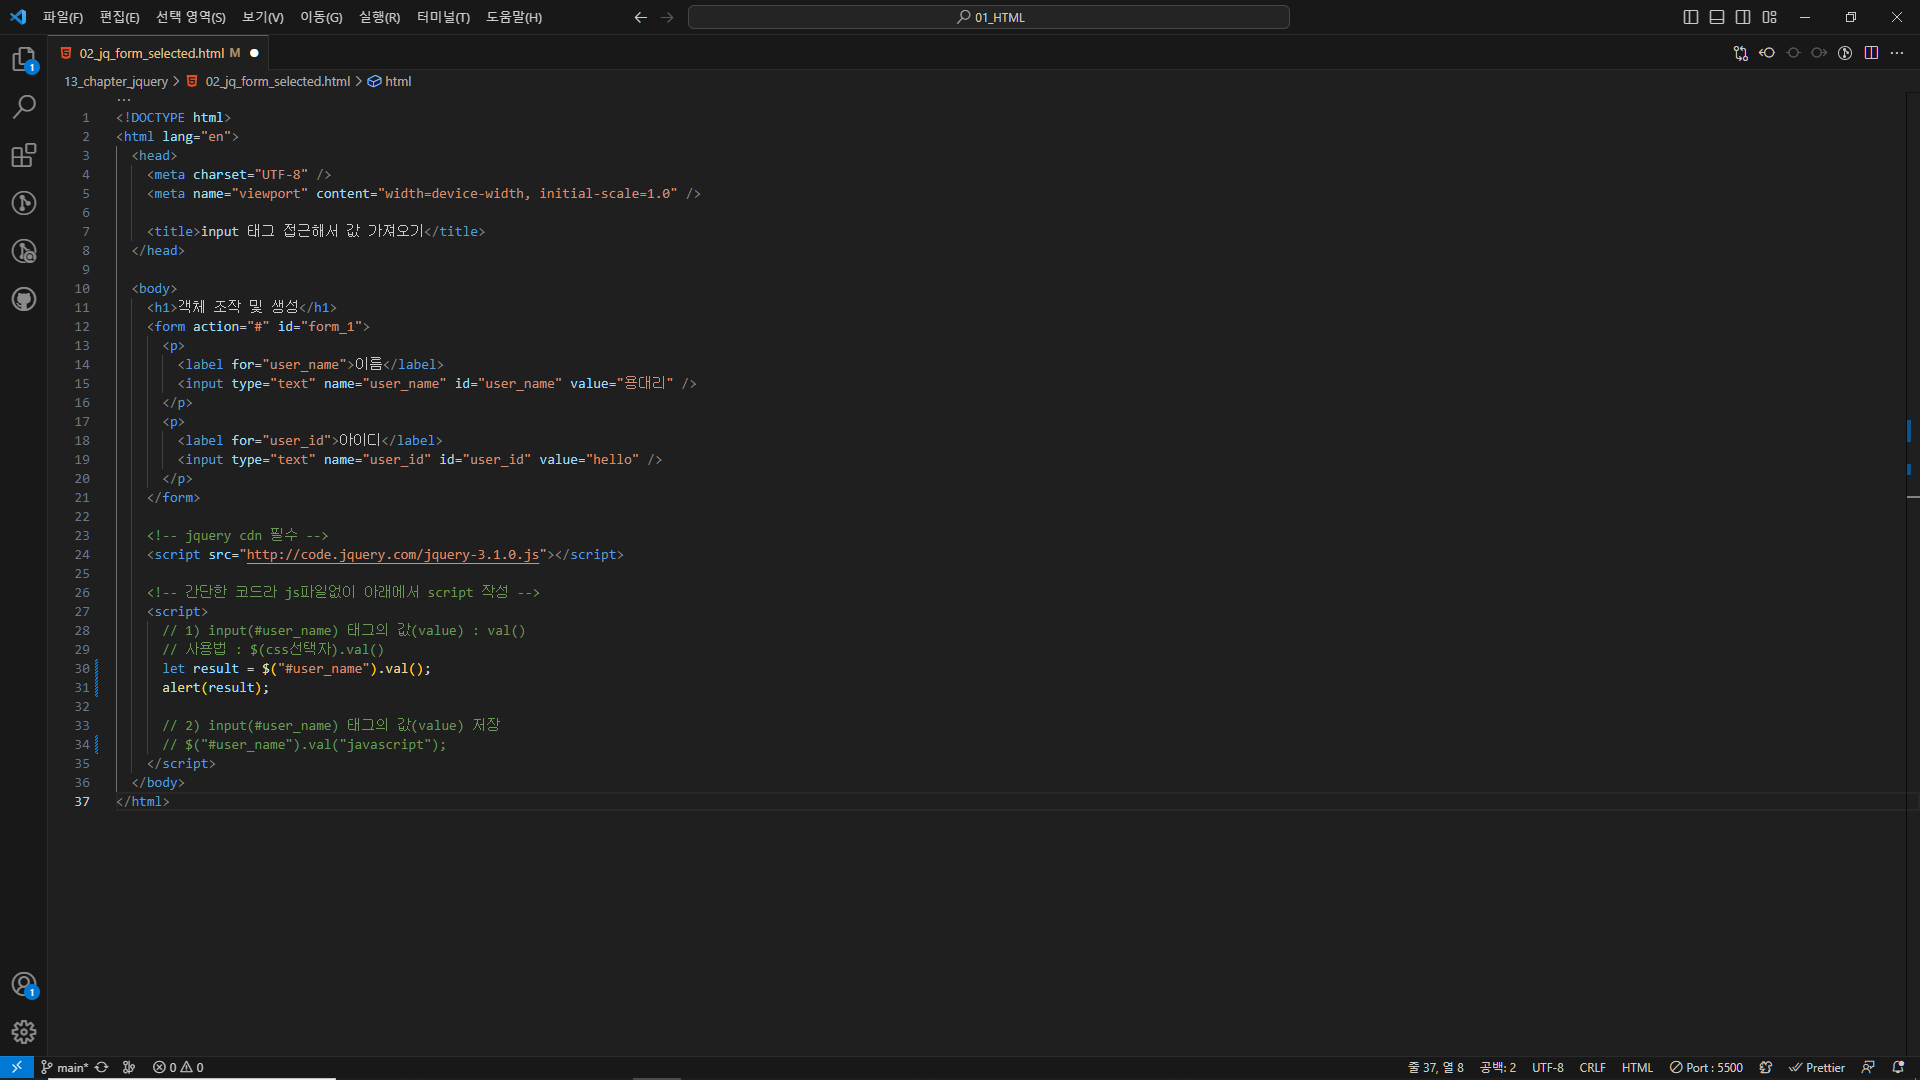
<!DOCTYPE html>
<html lang="en">
<head>
<meta charset="UTF-8" />
<meta name="viewport" content="width=device-width, initial-scale=1.0" />
<title>input 태그 접근해서 값 가져오기</title>
</head>
<body>
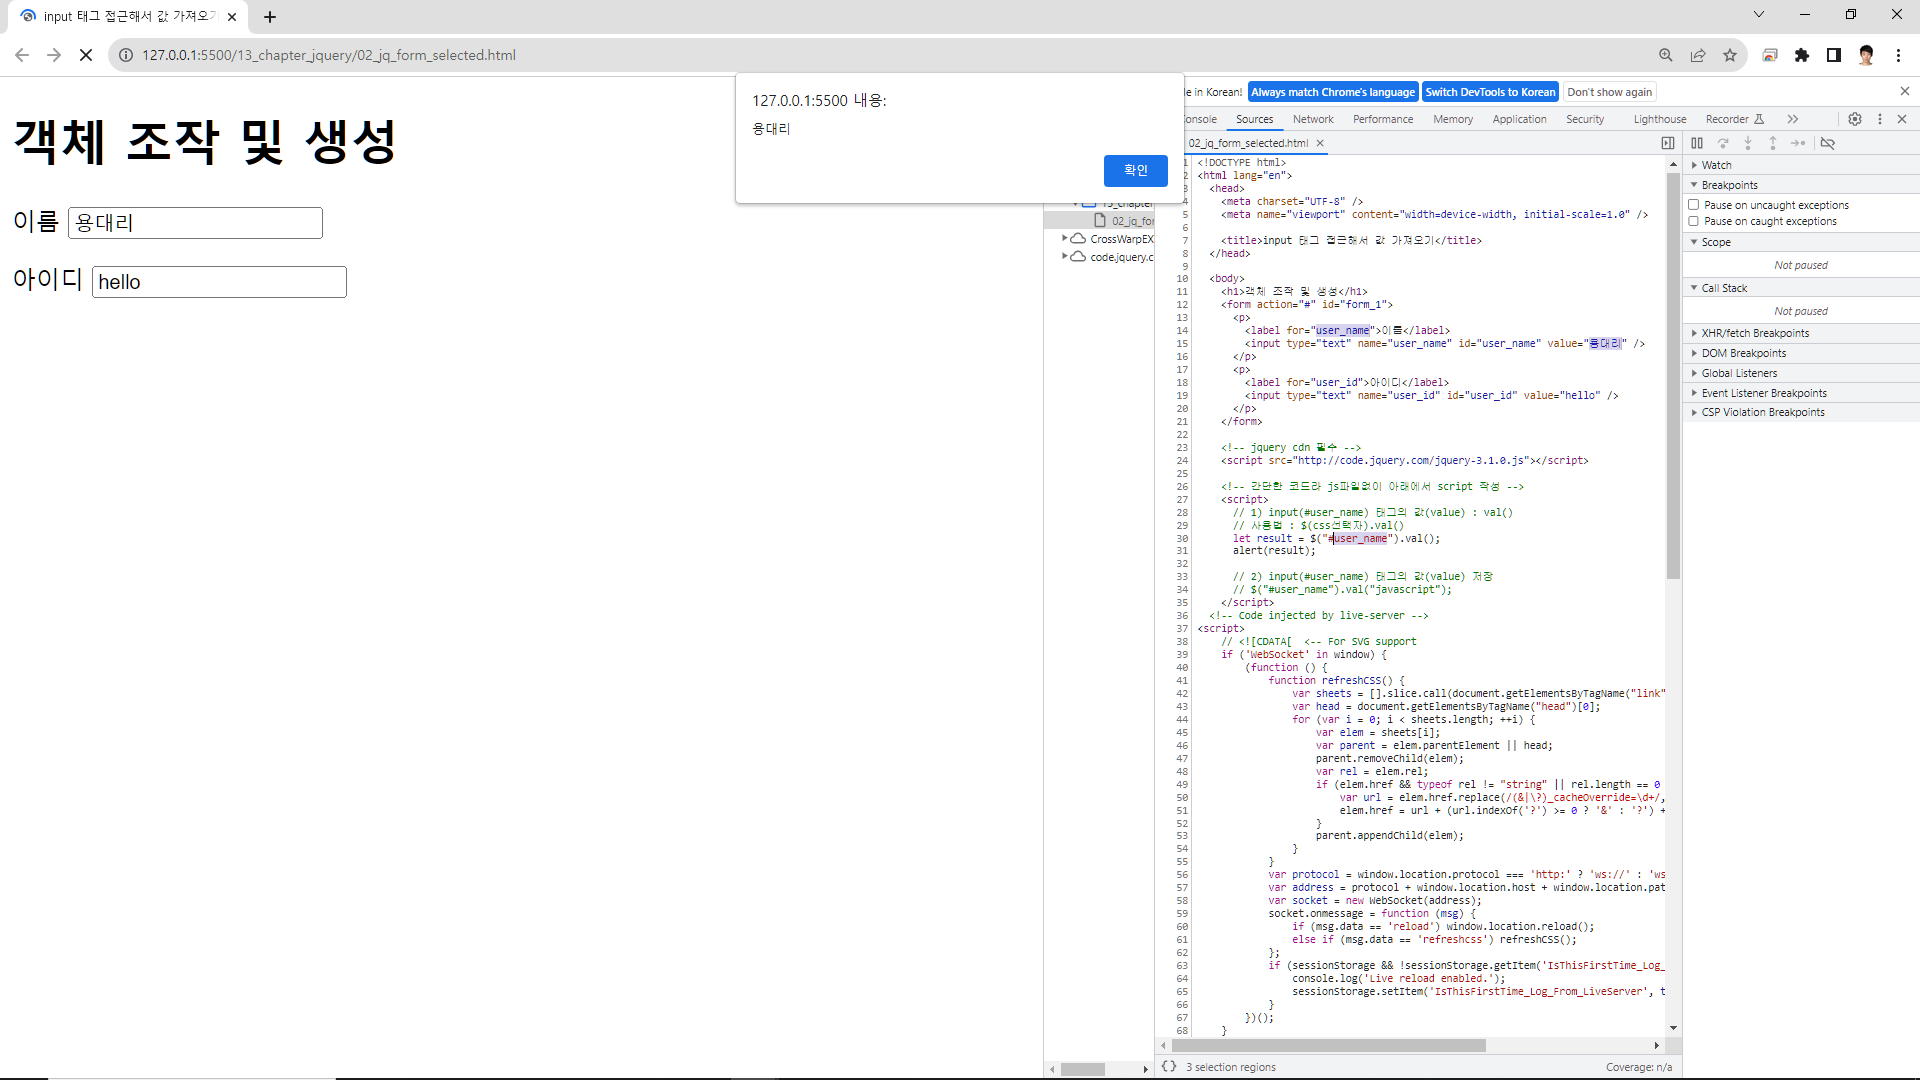
<h1>객체 조작 및 생성</h1>
<form action="#" id="form_1">
<p>
<label for="user_name">이름</label>
<input type="text" name="user_name" id="user_name" value="용대리" />
</p>
<p>
<label for="user_id">아이디</label>
<input type="text" name="user_id" id="user_id" value="hello" />
</p>
</form>
<!-- jquery cdn 필수 -->
<!-- 간단한 코드라 js파일없이 아래에서 script 작성 -->
<script>
// 1) input(#user_name) 태그의 값(value) : val()
// 사용법 : $(css선택자).val()
// let result = $("#user_name").val();
// alert(result);
// 2) input(#user_name) 태그의 값(value) 저장
$("#user_name").val("javascript");
</script>
</body>
</html>

03_jq_click
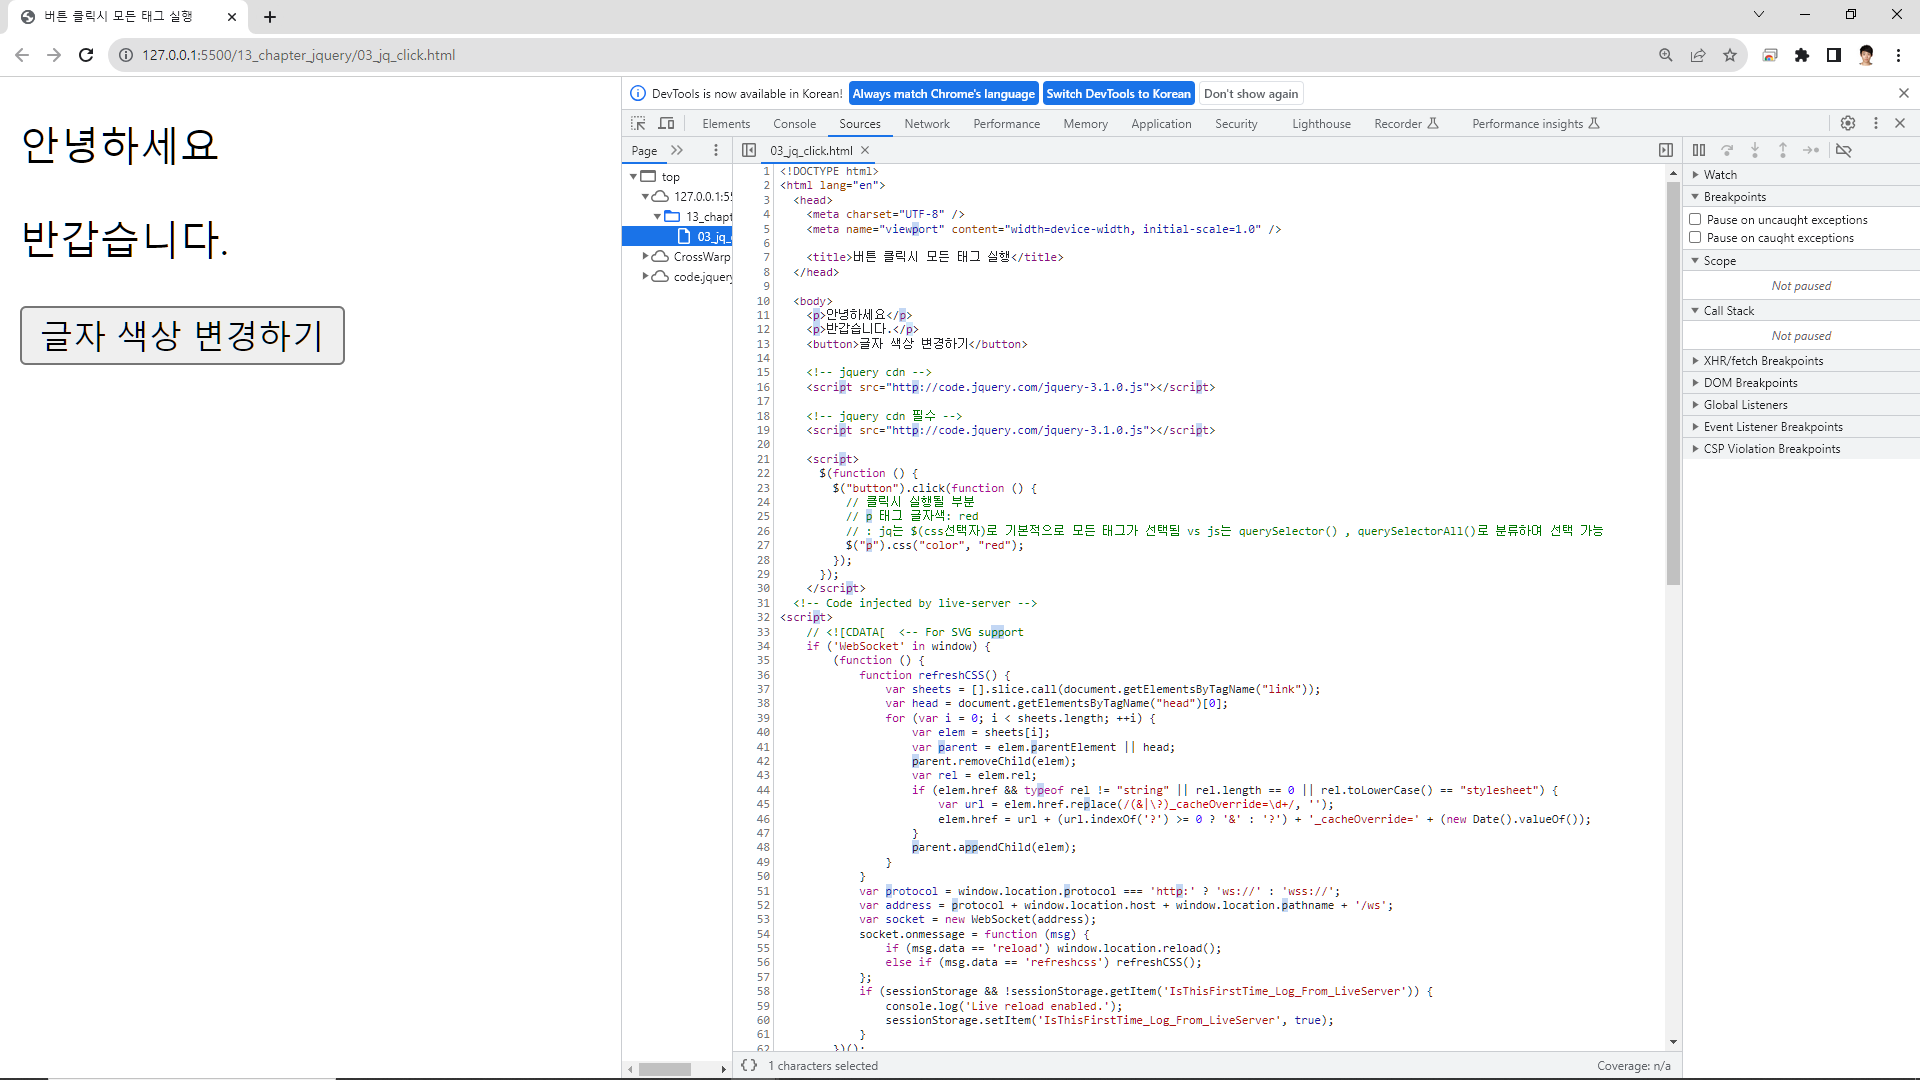
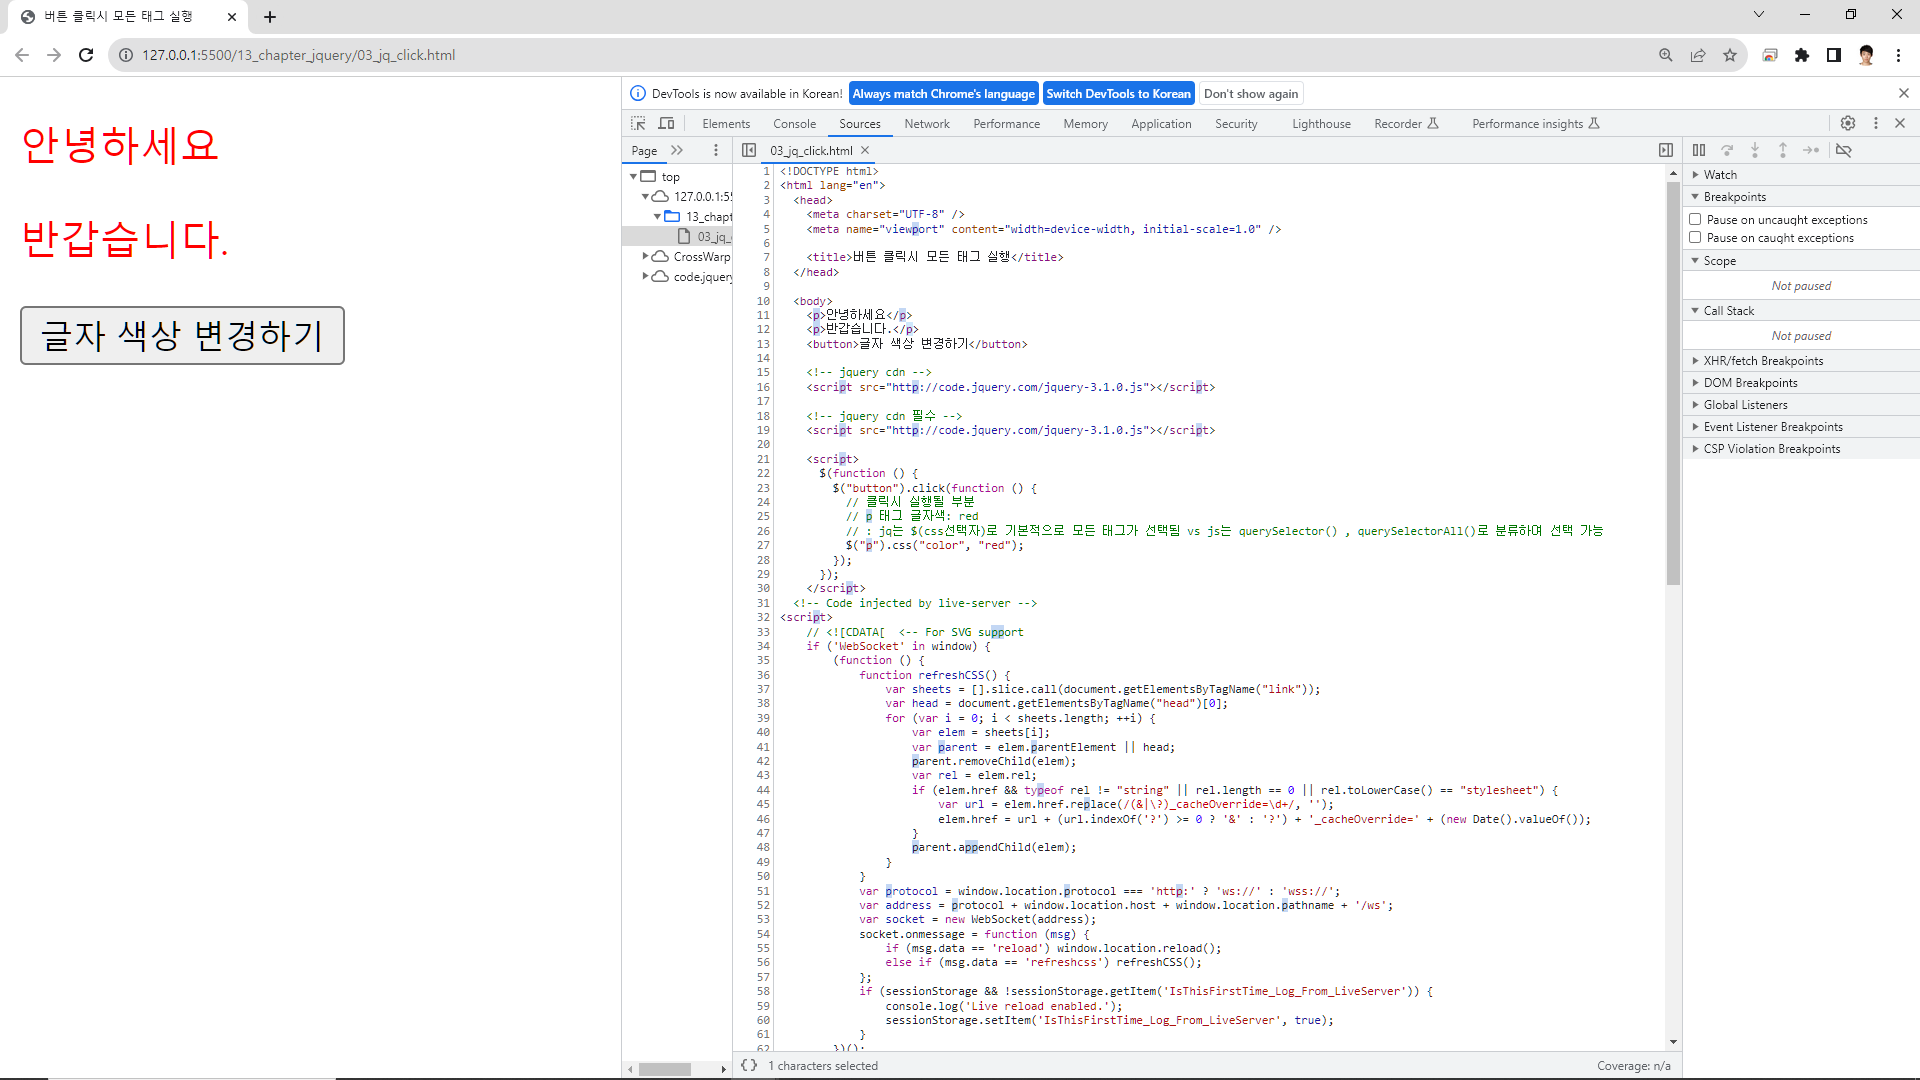
버튼 클릭시 모든 태그 실행
jq는 $(css선택자)로 기본적으로 모든 태그가 선택됨 vs js는 querySelector() , querySelectorAll()로 분류하여 선택 가능
더보기
<!DOCTYPE html>
<html lang="en">
<head>
<meta charset="UTF-8" />
<meta name="viewport" content="width=device-width, initial-scale=1.0" />
<title>버튼 클릭시 모든 태그 실행</title>
</head>
<body>
<p>안녕하세요</p>
<p>반갑습니다.</p>
<button>글자 색상 변경하기</button>
<!-- jquery cdn -->
<!-- jquery cdn 필수 -->
<script>
$(function () {
$("button").click(function () {
// 클릭시 실행될 부분
// p 태그 글자색: red
// : jq는 $(css선택자)로 기본적으로 모든 태그가 선택됨 vs js는 querySelector() , querySelectorAll()로 분류하여 선택 가능
$("p").css("color", "red");
});
});
</script>
</body>
</html>

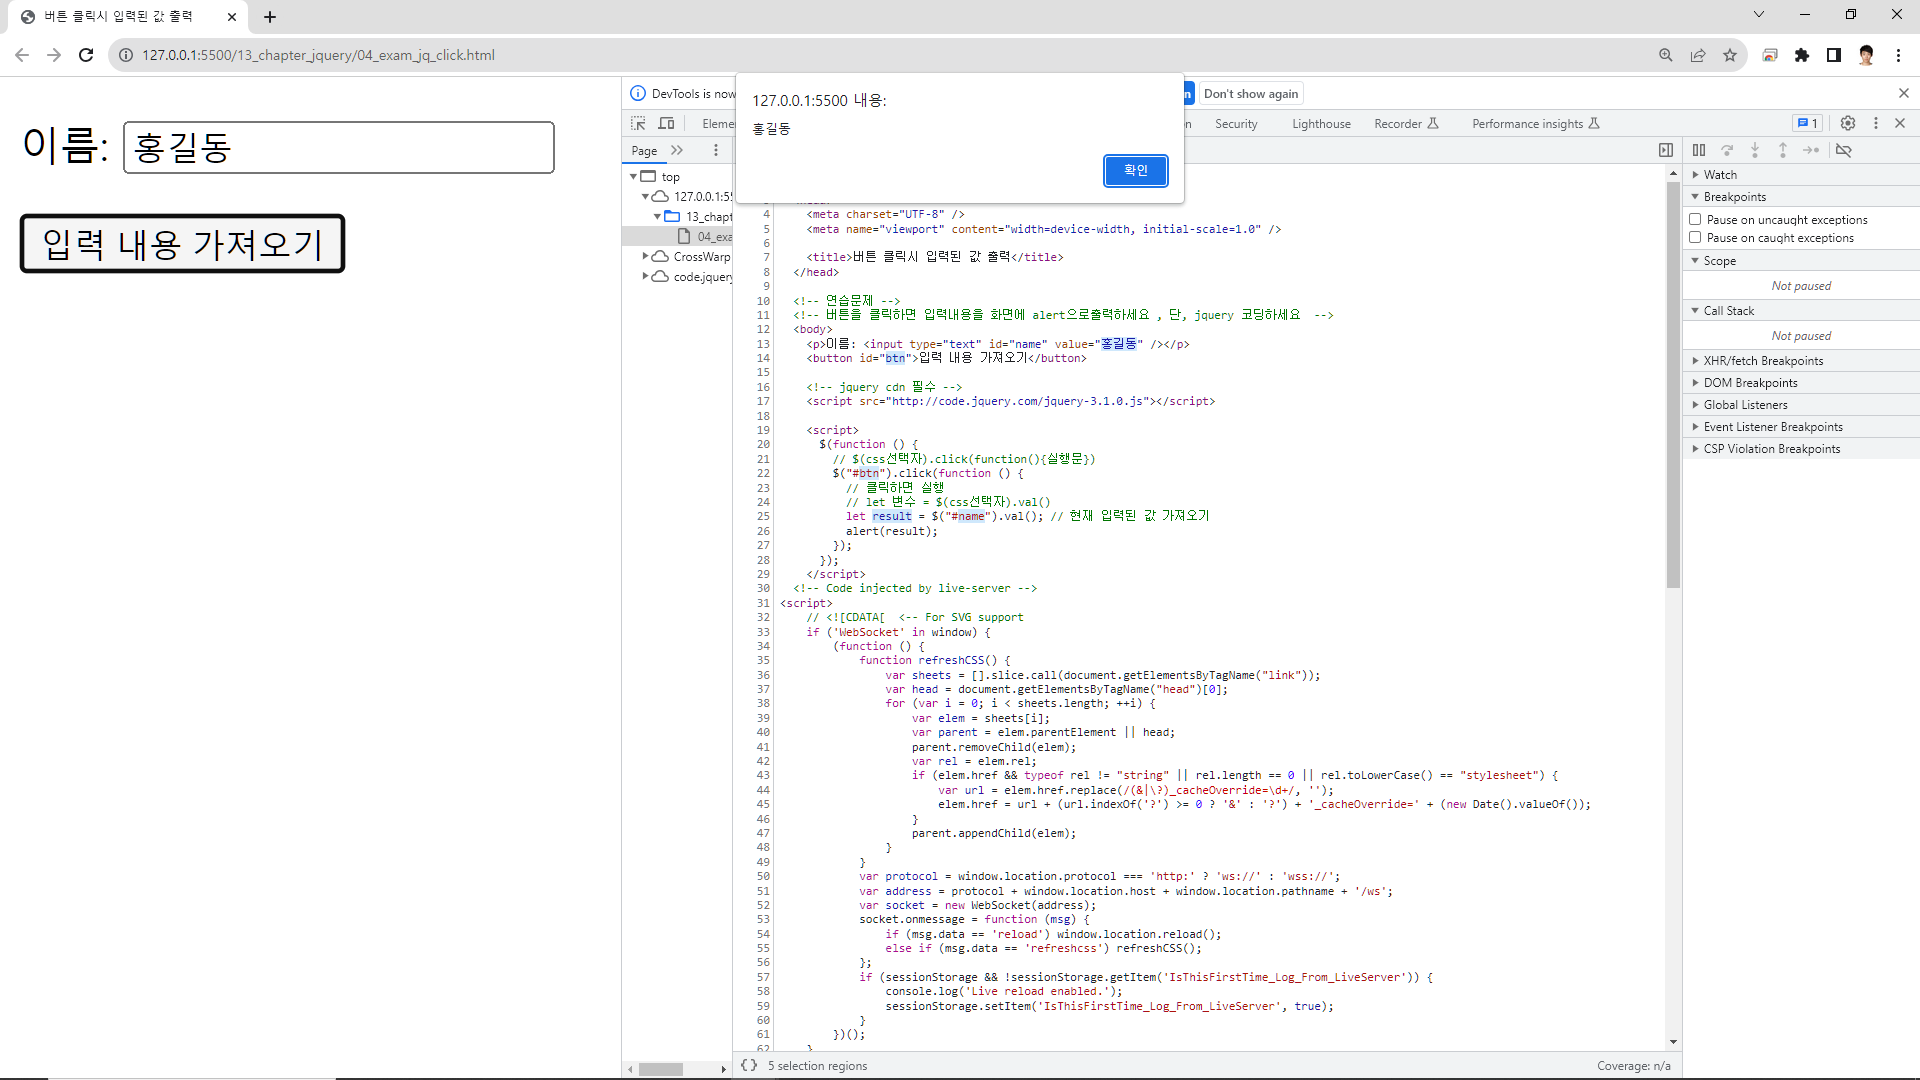
04_exam_jq_click
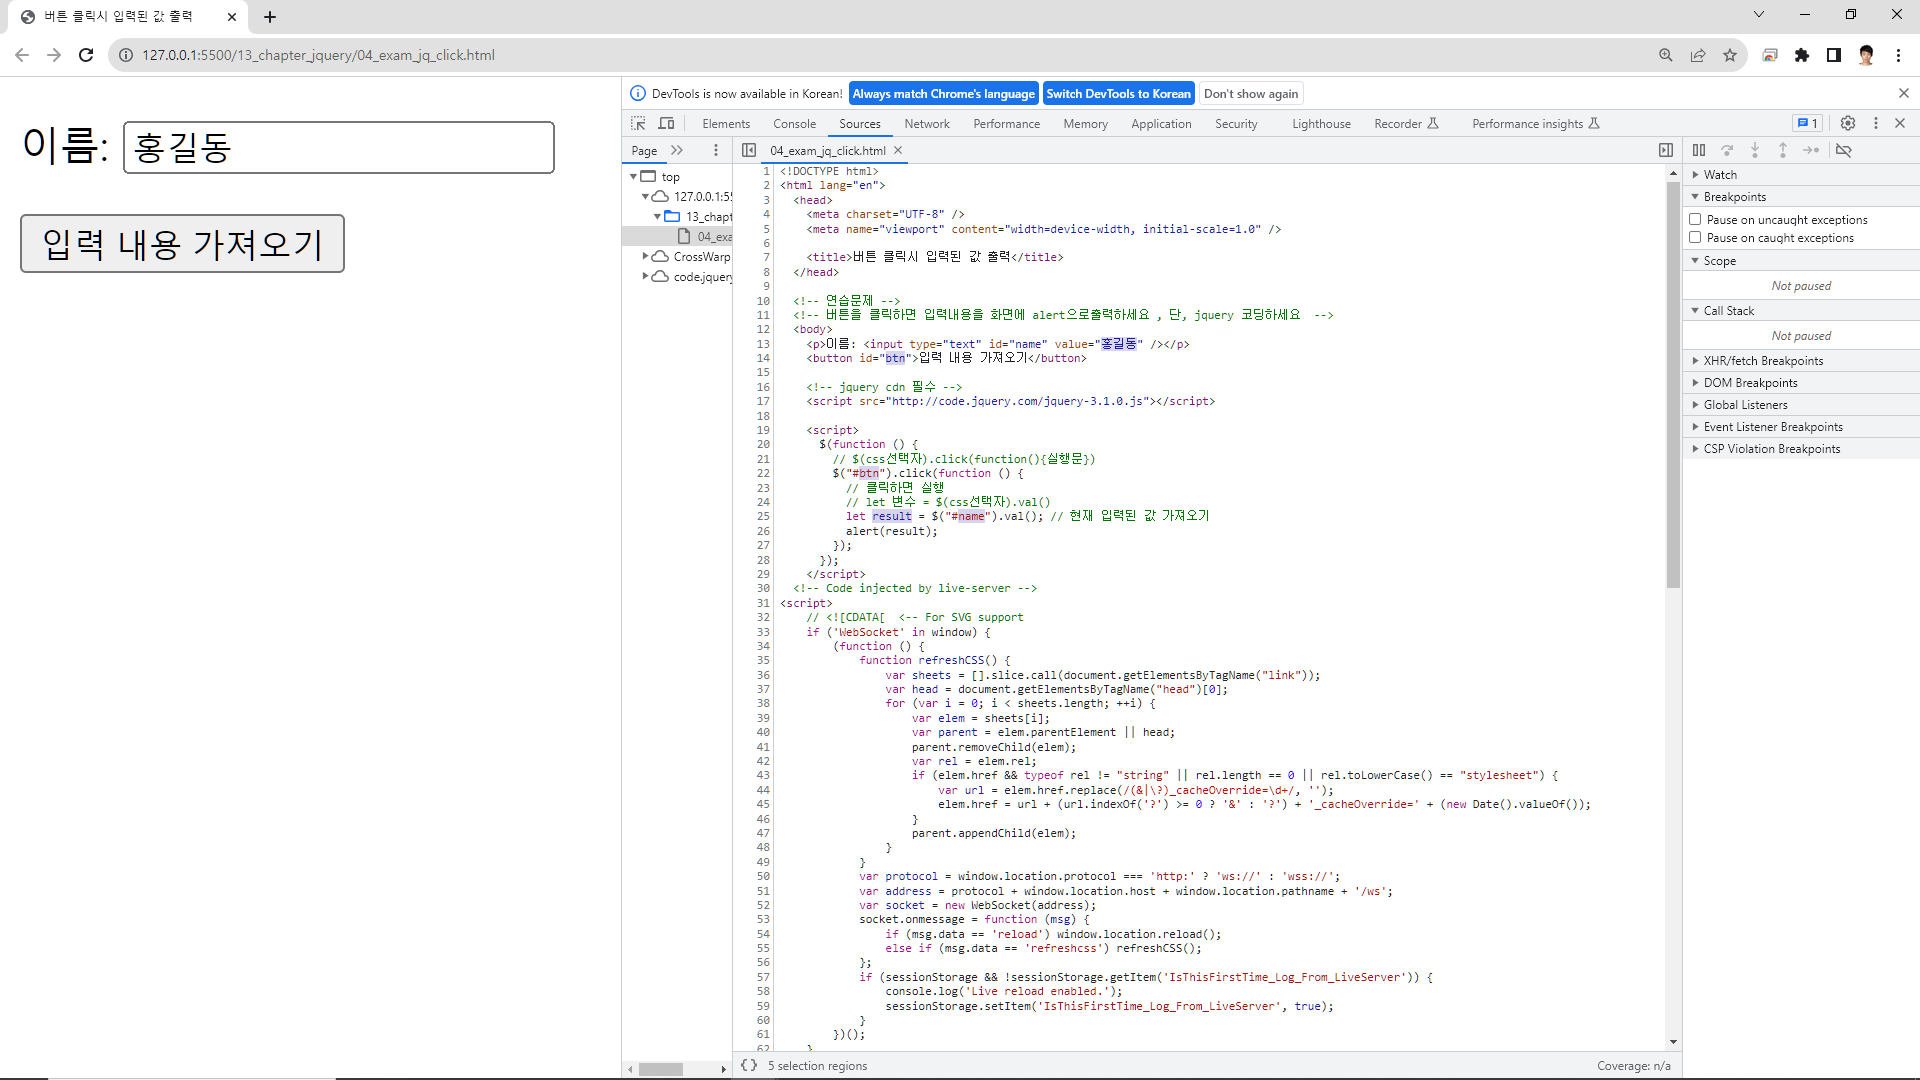
버튼 클릭시 입력된 값 출력
더보기
<!DOCTYPE html>
<html lang="en">
<head>
<meta charset="UTF-8" />
<meta name="viewport" content="width=device-width, initial-scale=1.0" />
<title>버튼 클릭시 입력된 값 출력</title>
</head>
<!-- 연습문제 -->
<!-- 버튼을 클릭하면 입력내용을 화면에 alert으로출력하세요 , 단, jquery 코딩하세요 -->
<body>
<p>이름: <input type="text" id="name" value="홍길동" /></p>
<button id="btn">입력 내용 가져오기</button>
<!-- jquery cdn 필수 -->
<script>
$(function () {
// $(css선택자).click(function(){실행문})
$("#btn").click(function () {
// 클릭하면 실행
// let 변수 = $(css선택자).val()
let result = $("#name").val(); // 현재 입력된 값 가져오기
alert(result);
});
});
</script>
</body>
</html>

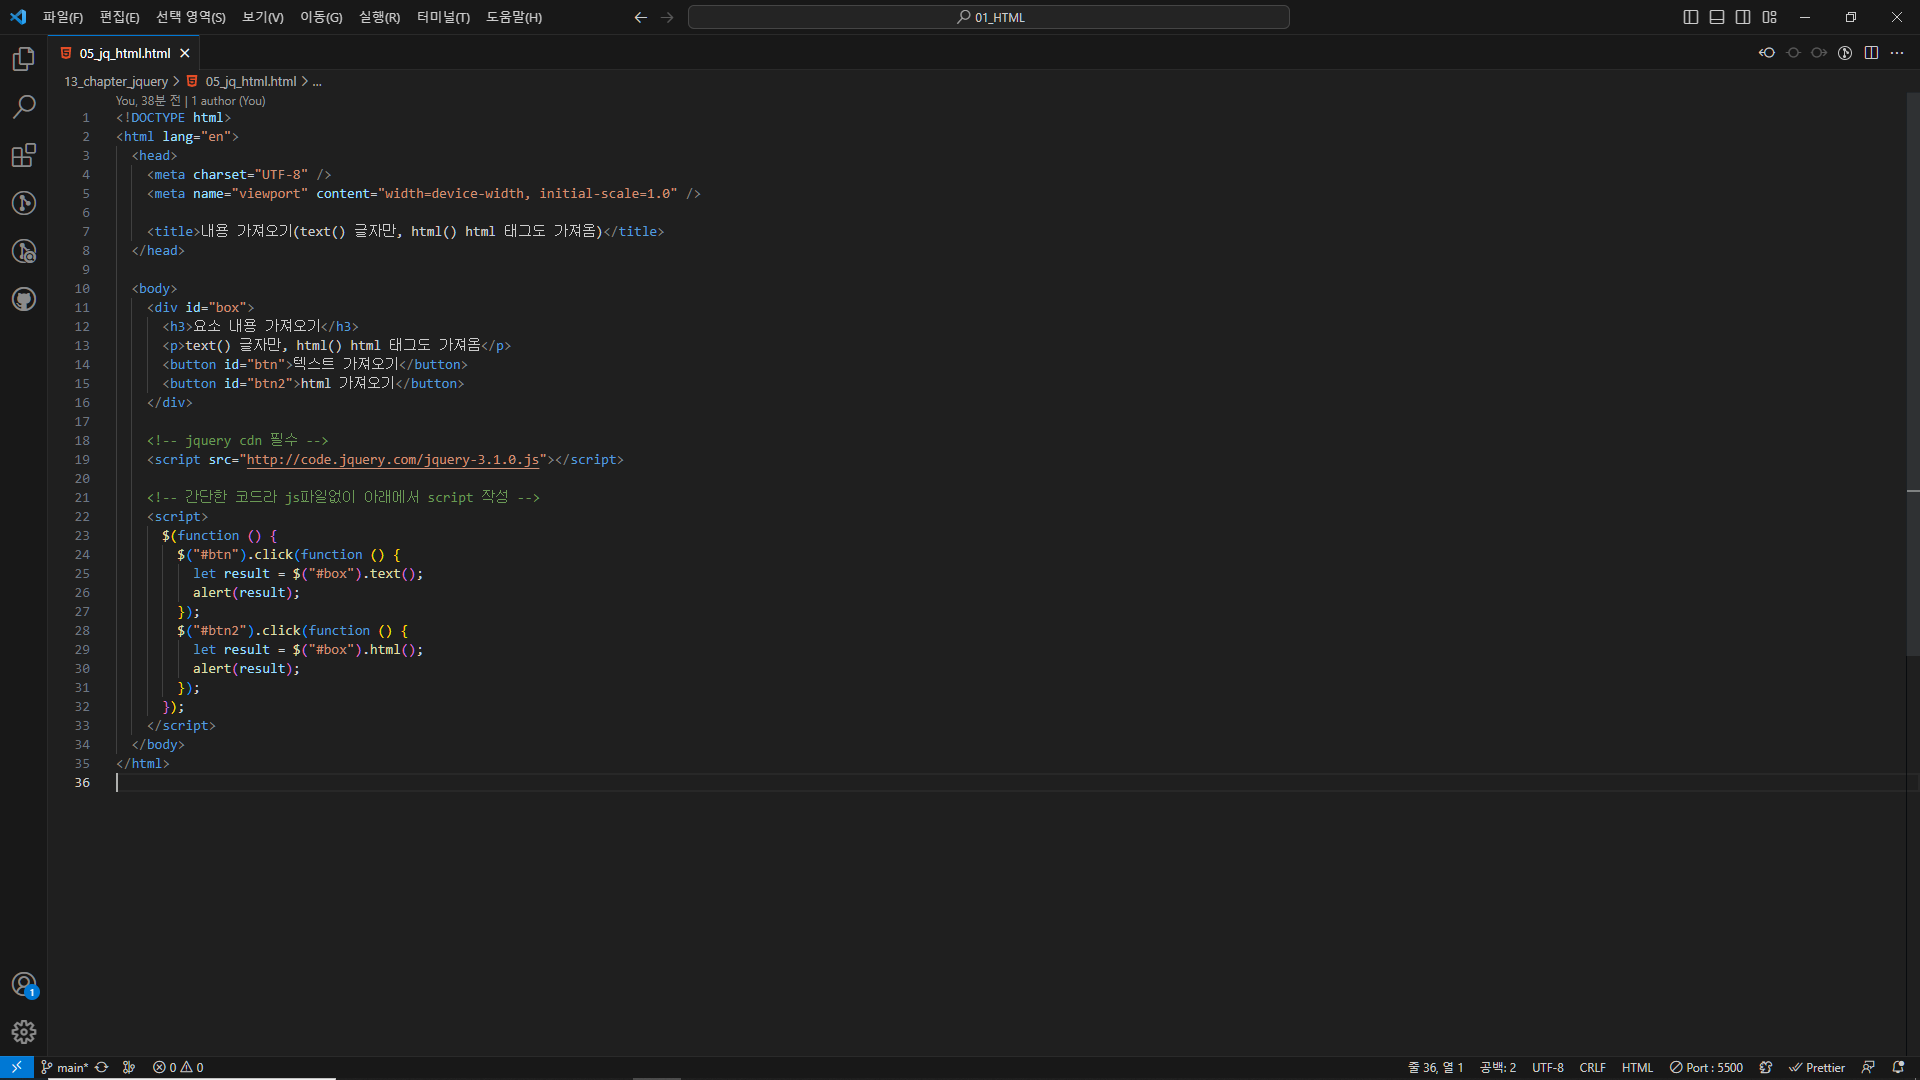
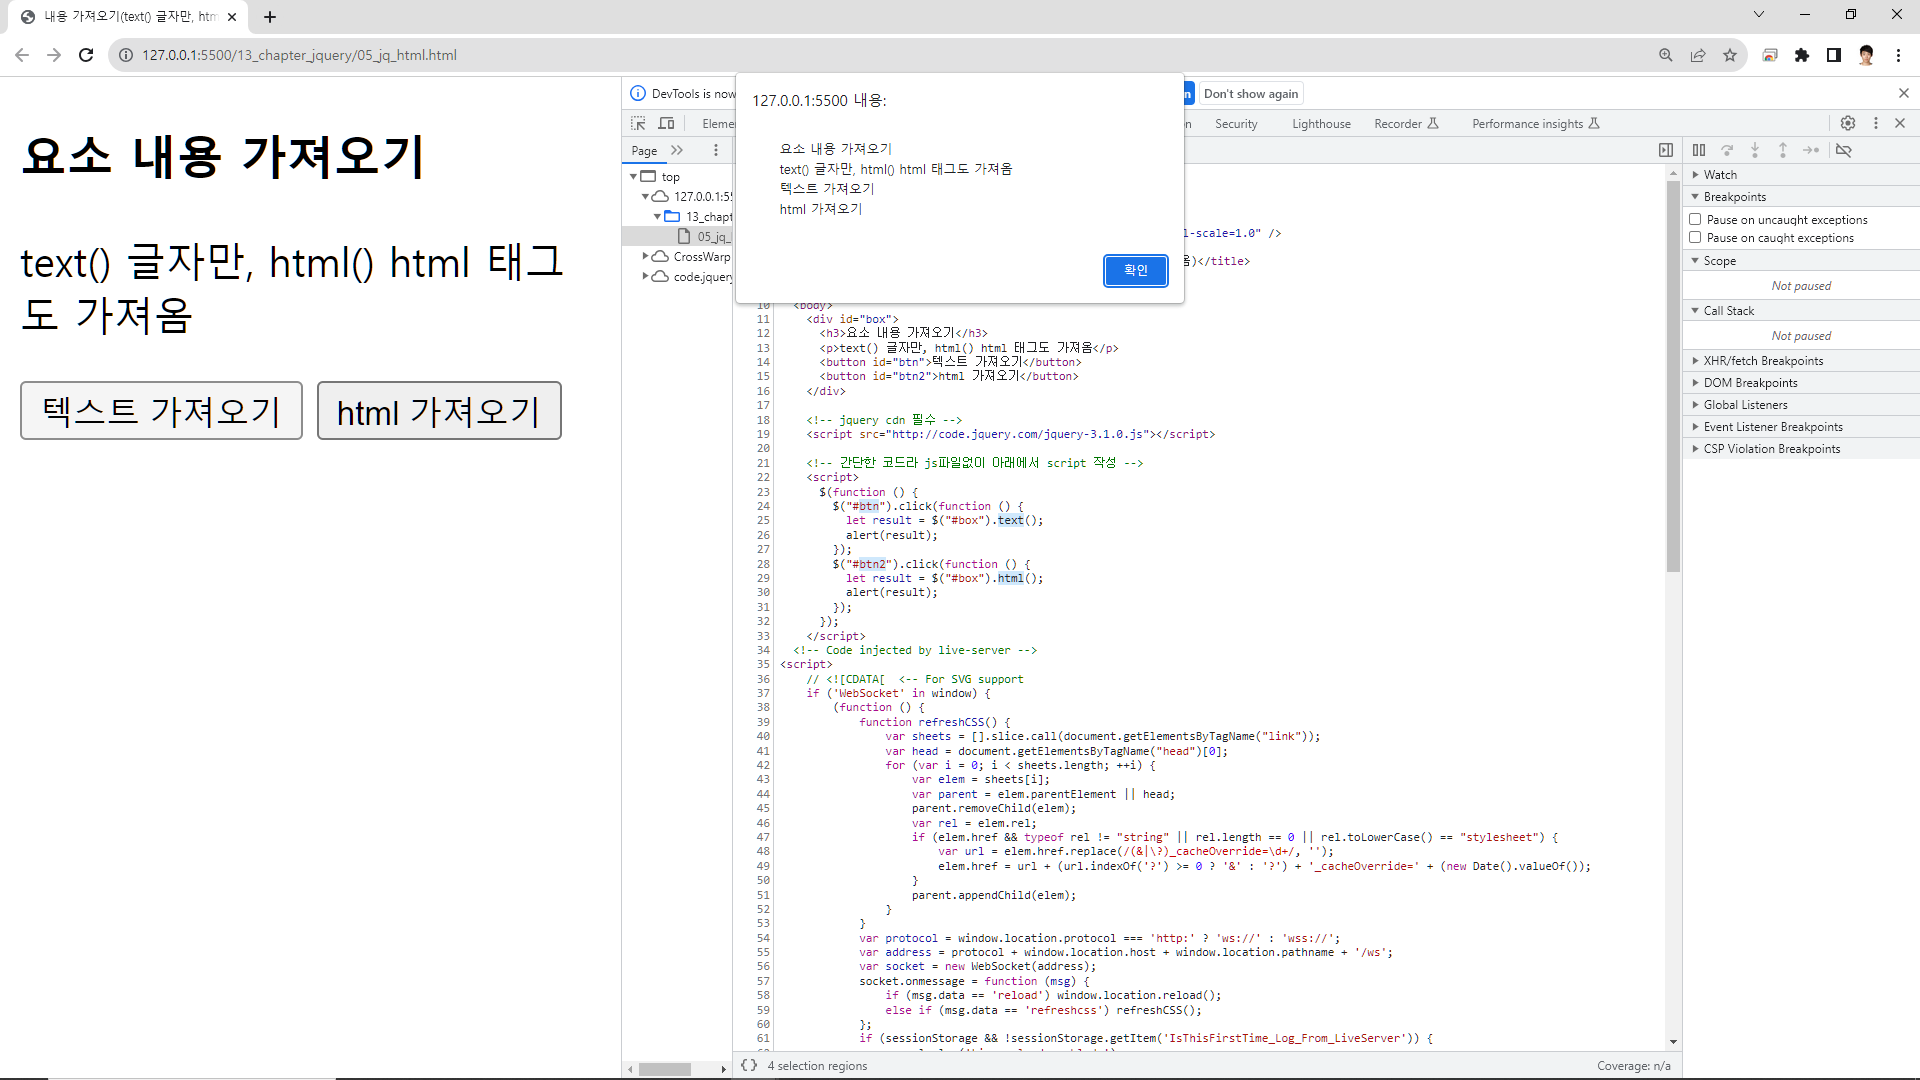
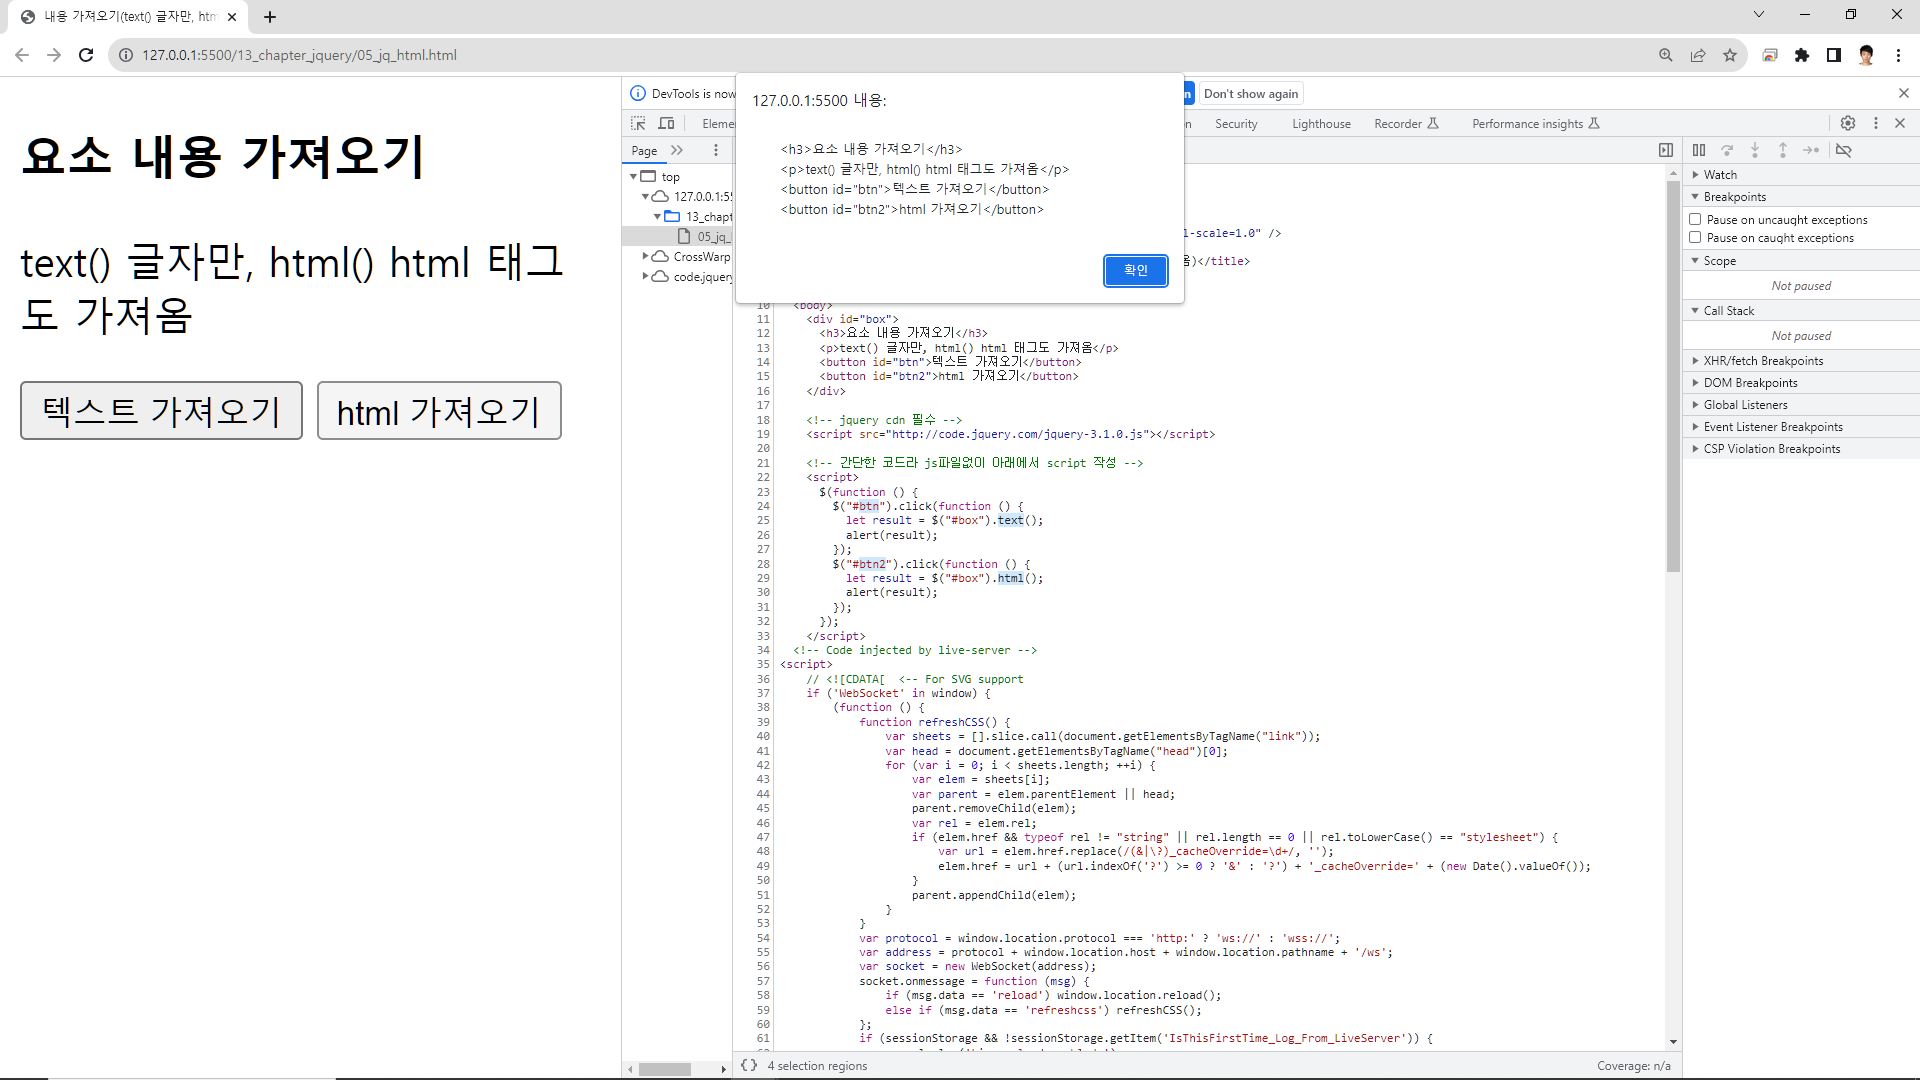
05_jq_html
내용 가져오기(text() 글자만, html() html 태그도 가져옴)
더보기
<!DOCTYPE html>
<html lang="en">
<head>
<meta charset="UTF-8" />
<meta name="viewport" content="width=device-width, initial-scale=1.0" />
<title>내용 가져오기(text() 글자만, html() html 태그도 가져옴)</title>
</head>
<body>
<div id="box">
<h3>요소 내용 가져오기</h3>
<p>text() 글자만, html() html 태그도 가져옴</p>
<button id="btn">텍스트 가져오기</button>
<button id="btn2">html 가져오기</button>
</div>
<!-- jquery cdn 필수 -->
<!-- 간단한 코드라 js파일없이 아래에서 script 작성 -->
<script>
$(function () {
$("#btn").click(function () {
let result = $("#box").text();
alert(result);
});
$("#btn2").click(function () {
let result = $("#box").html();
alert(result);
});
});
</script>
</body>
</html>

06_jq_attrGet
attr 속성의 값을 가져오기
더보기
<!DOCTYPE html>
<html lang="en">
<head>
<meta charset="UTF-8" />
<meta name="viewport" content="width=device-width, initial-scale=1.0" />
<title>속성의 값을 가져오기</title>
</head>
<body>
<!-- jquery cdn 필수 -->
<!-- 간단한 코드라 js파일없이 아래에서 script 작성 -->
<script>
$(function () {
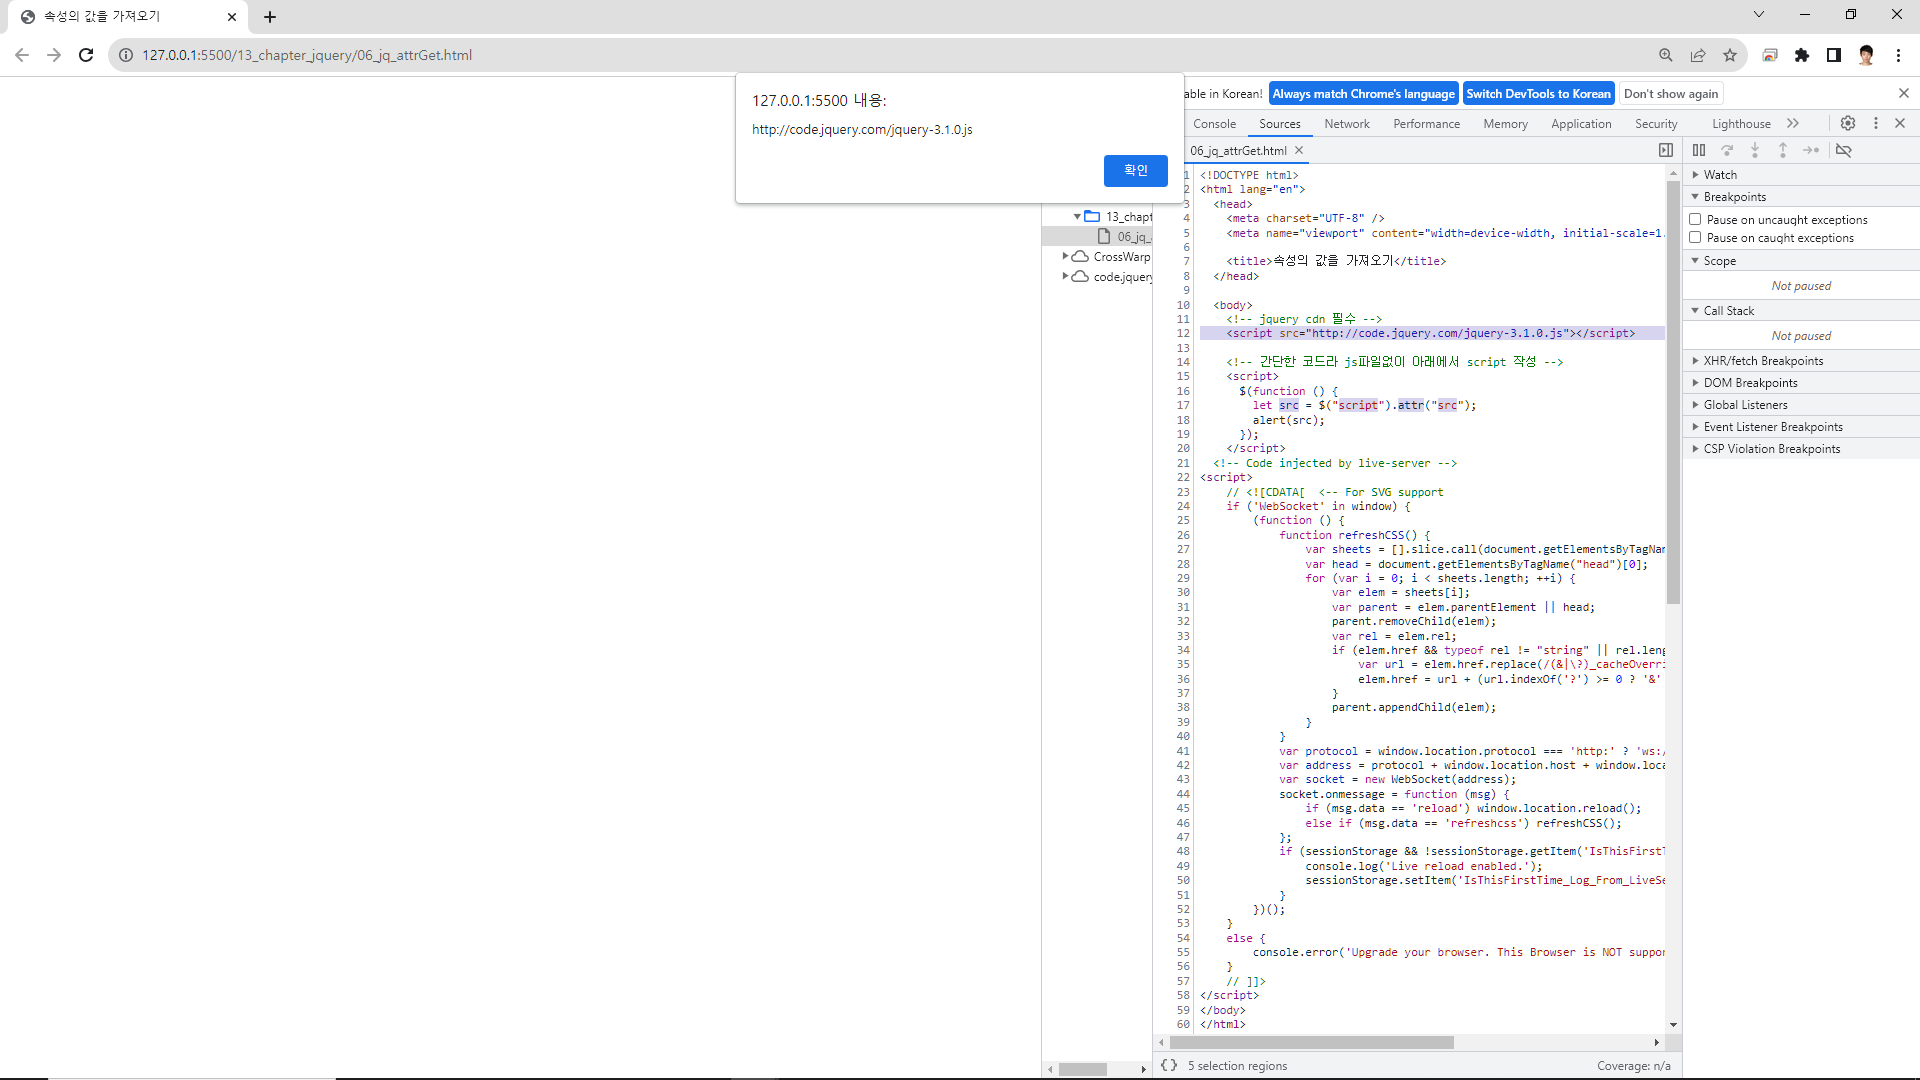
let src = $("script").attr("src");
alert(src);
});
</script>
</body>
</html>
07_jq_attrSet
attr 속성의 값을 저장하여 출력하기
더보기
<!DOCTYPE html>
<html lang="en">
<head>
<meta charset="UTF-8" />
<meta name="viewport" content="width=device-width, initial-scale=1.0" />
<title>속성의 값을 저장하여 출력하기</title>
</head>
<body>
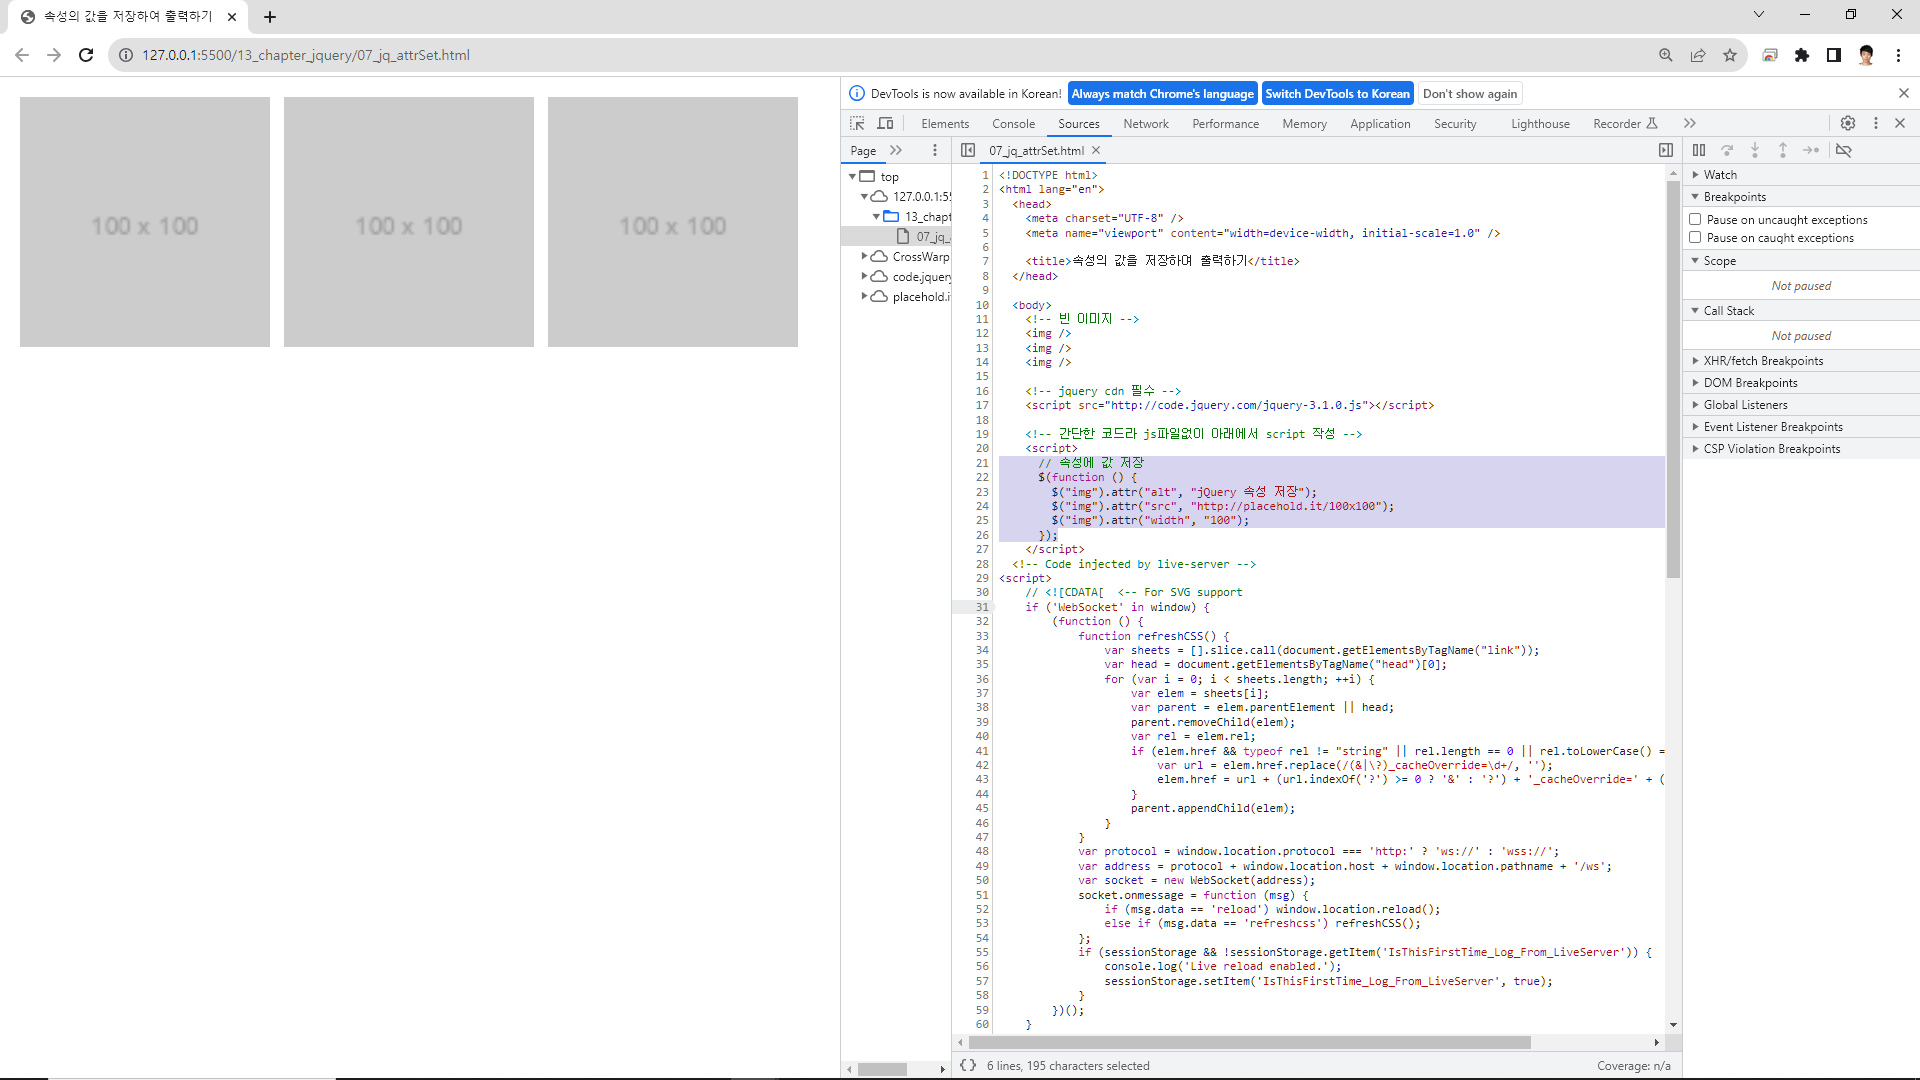
<!-- 빈 이미지 -->
<img />
<img />
<img />
<!-- jquery cdn 필수 -->
<!-- 간단한 코드라 js파일없이 아래에서 script 작성 -->
<script>
// 속성에 값 저장
$(function () {
$("img").attr("alt", "jQuery 속성 저장");
$("img").attr("width", "100");
});
</script>
</body>
</html>
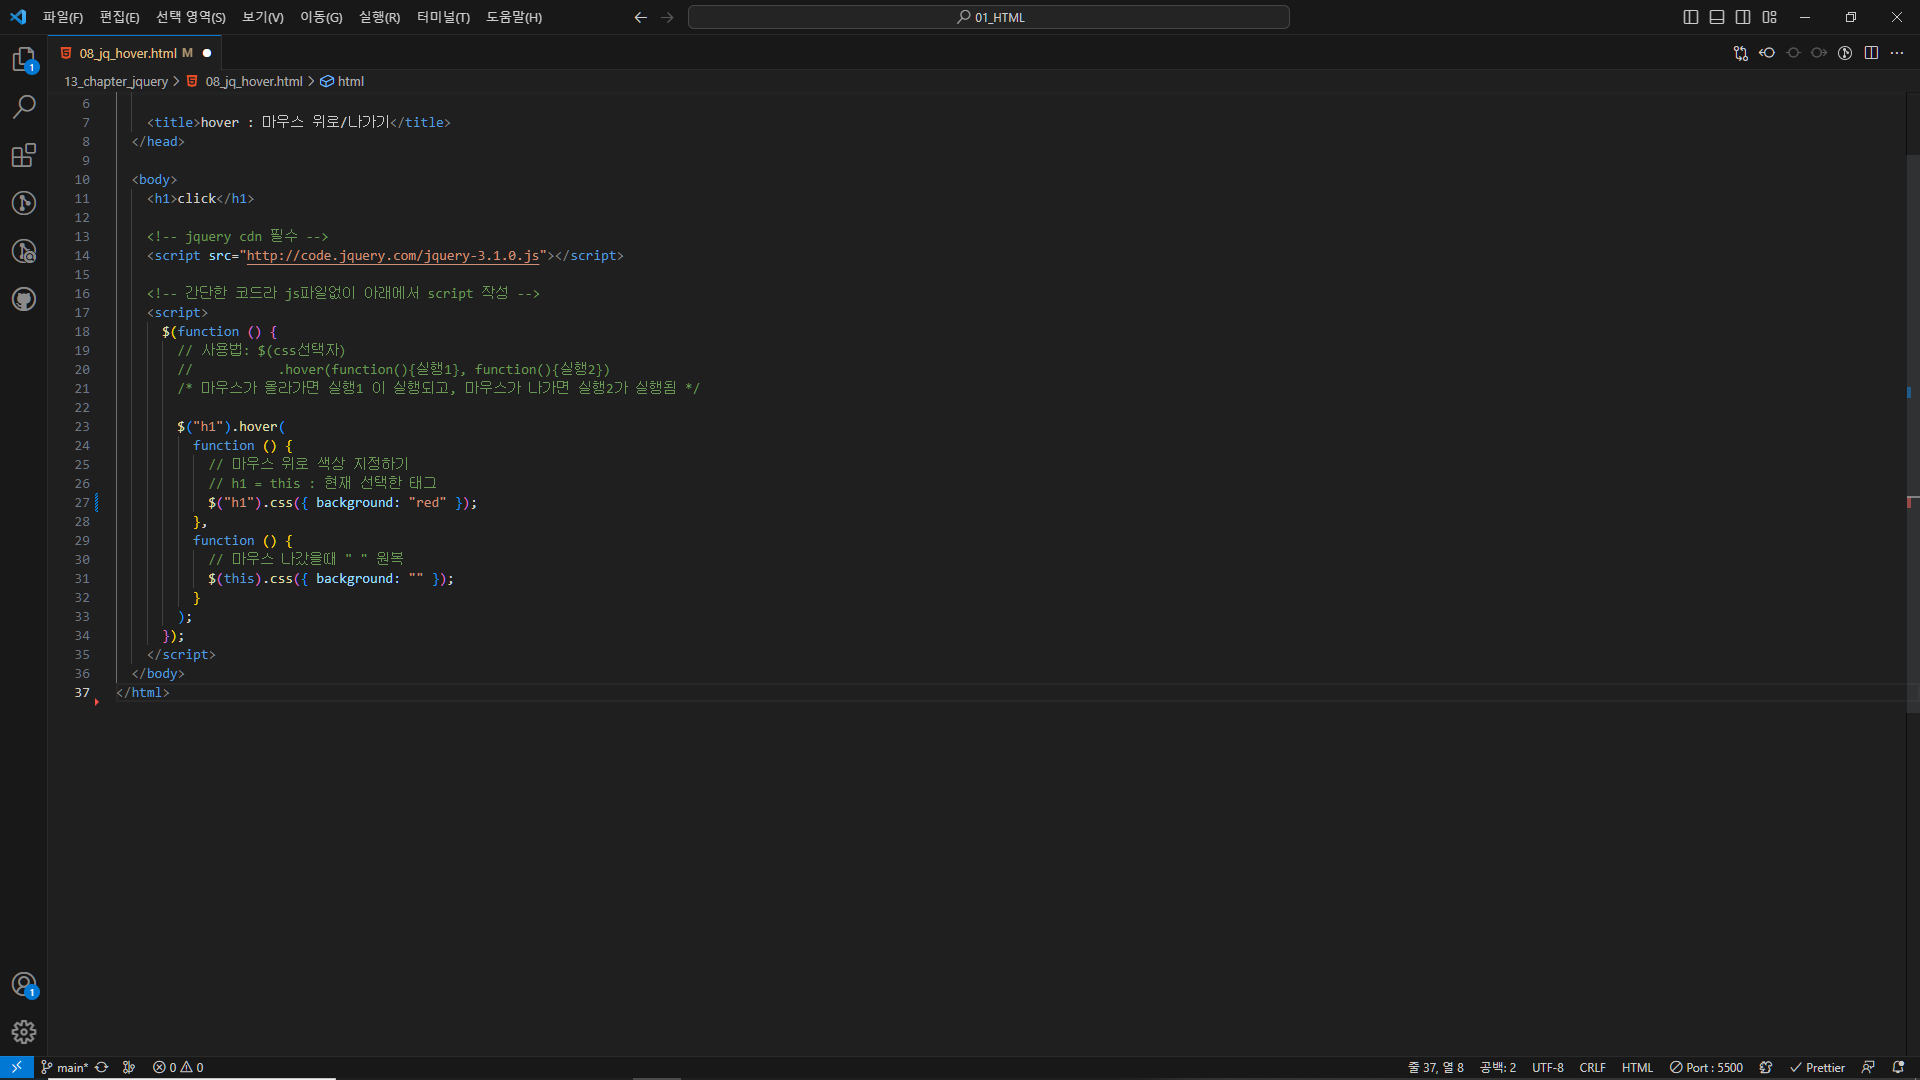
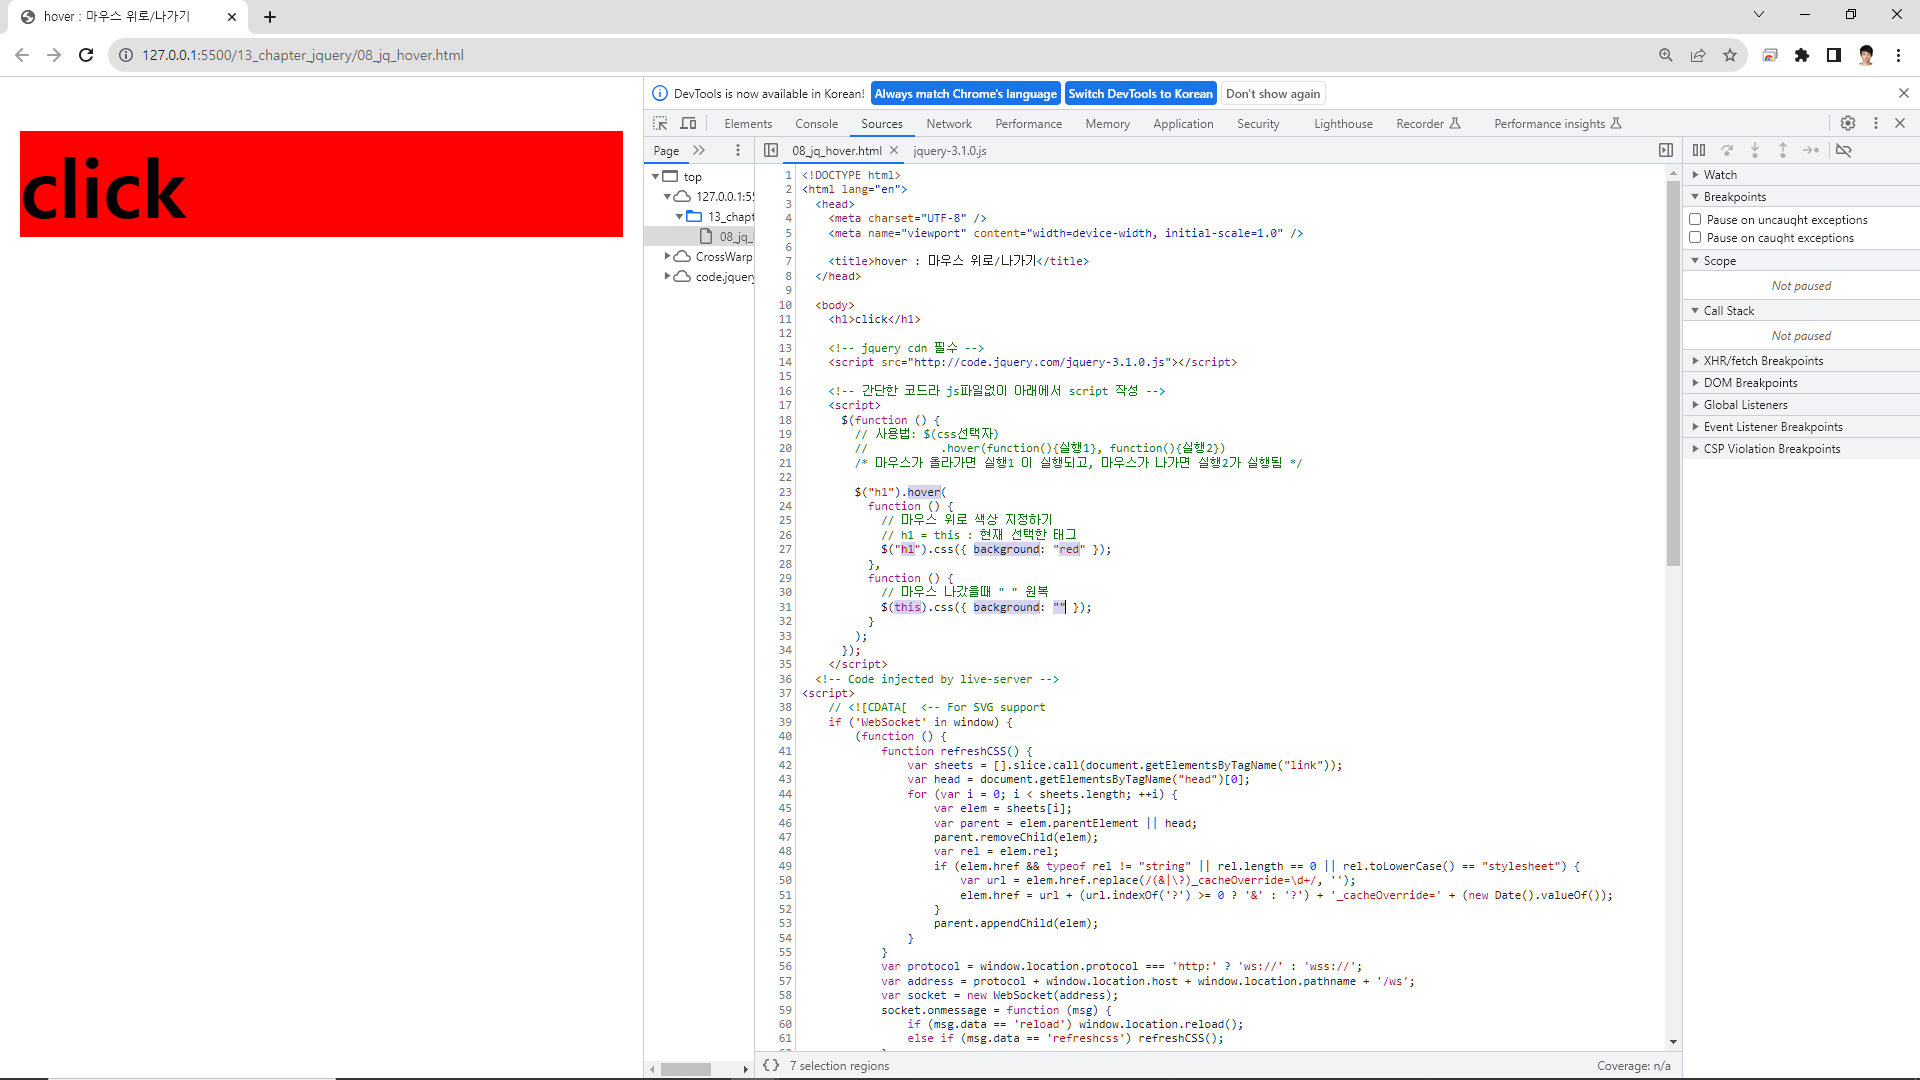
08_jq_hover
마우스가 올라가면 실행1 이 실행되고, 마우스가 나가면 실행2가 실행됨
hover : 마우스 위로/나가기 사용법:
$(function () {
$("css선택자 +")
.hover(function(){실행1}, function(){실행2})
});
this : 현재 선택한 태그
더보기
<!DOCTYPE html>
<html lang="en">
<head>
<meta charset="UTF-8" />
<meta name="viewport" content="width=device-width, initial-scale=1.0" />
<title>hover : 마우스 위로/나가기</title>
</head>
<body>
<h1>click</h1>
<!-- jquery cdn 필수 -->
<!-- 간단한 코드라 js파일없이 아래에서 script 작성 -->
<script>
$(function () {
// 사용법: $(css선택자)
// .hover(function(){실행1}, function(){실행2})
/* 마우스가 올라가면 실행1 이 실행되고, 마우스가 나가면 실행2가 실행됨 */
$("h1").hover(
function () {
// 마우스 위로 색상 지정하기
// h1 = this : 현재 선택한 태그
$("h1").css({ background: "red" });
},
function () {
// 마우스 나갔을때 " " 원복
$(this).css({ background: "" });
}
);
});
</script>
</body>
</html>

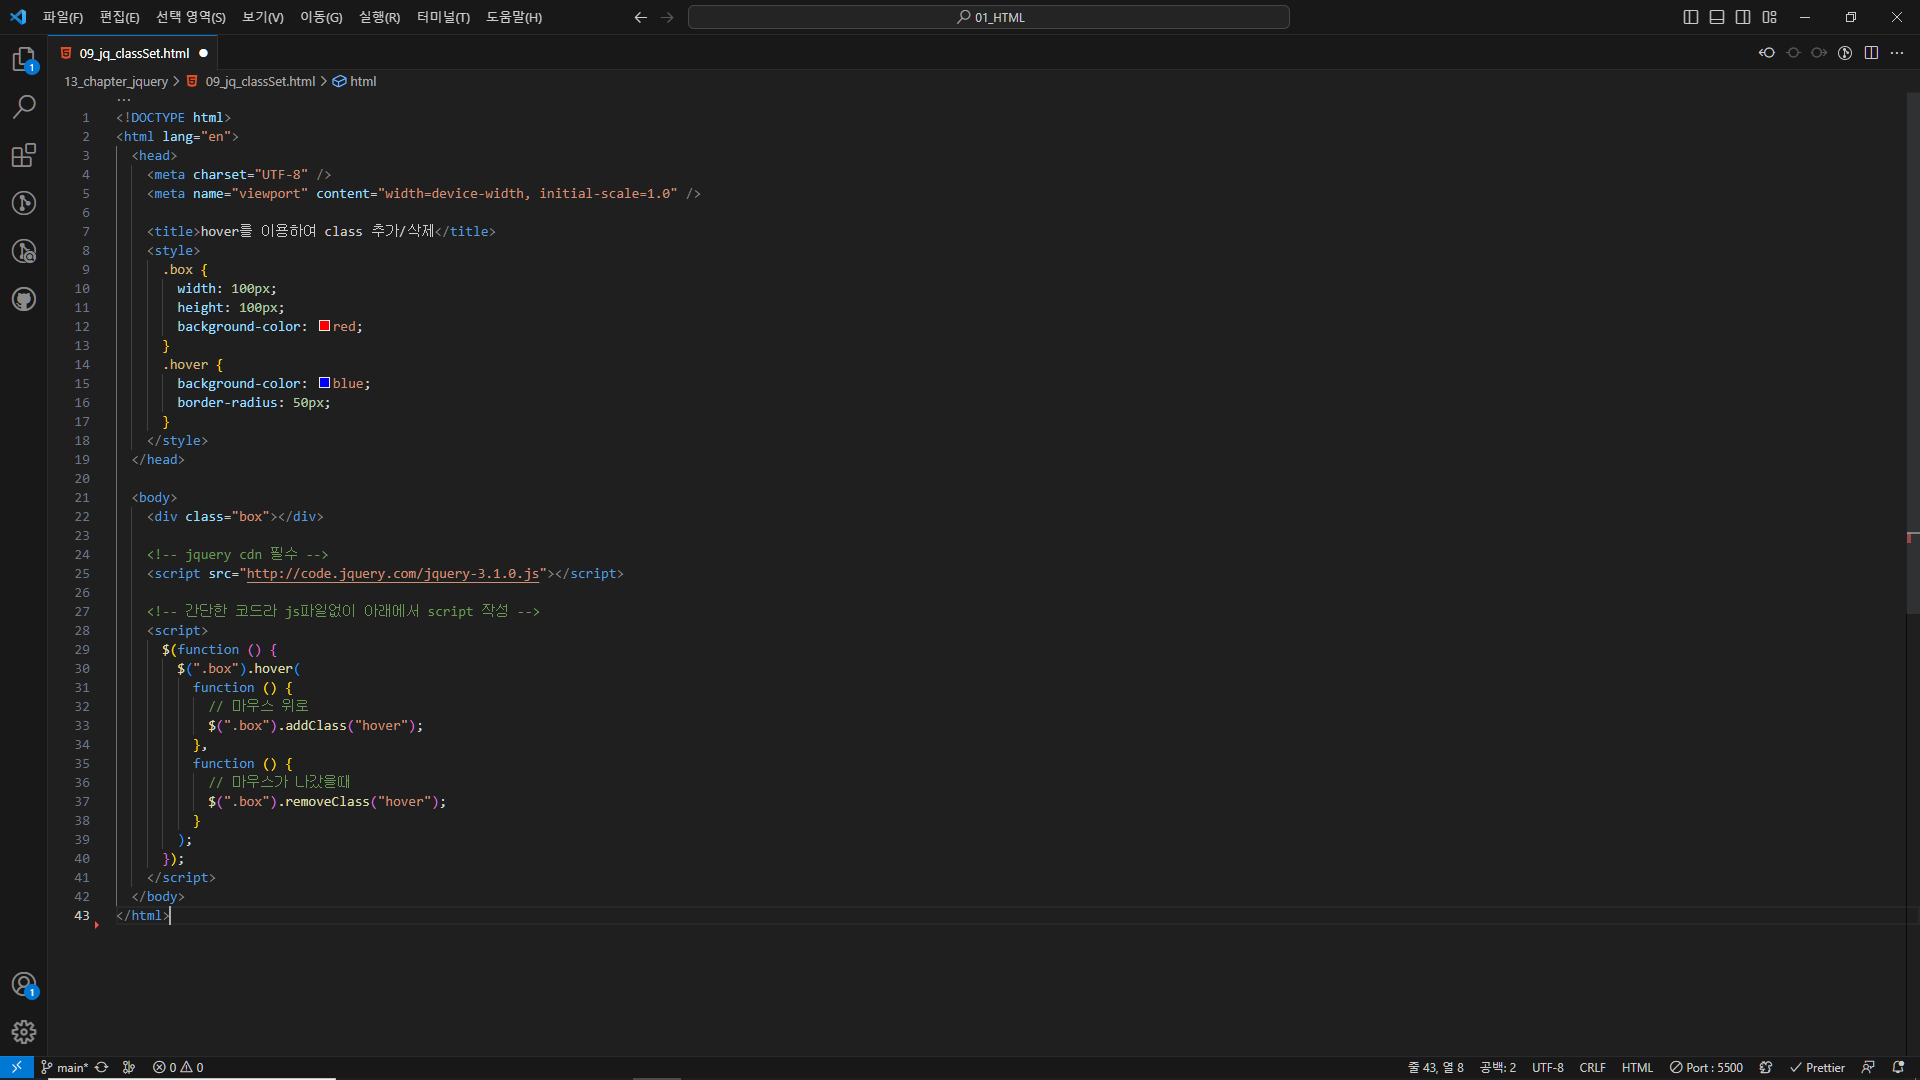
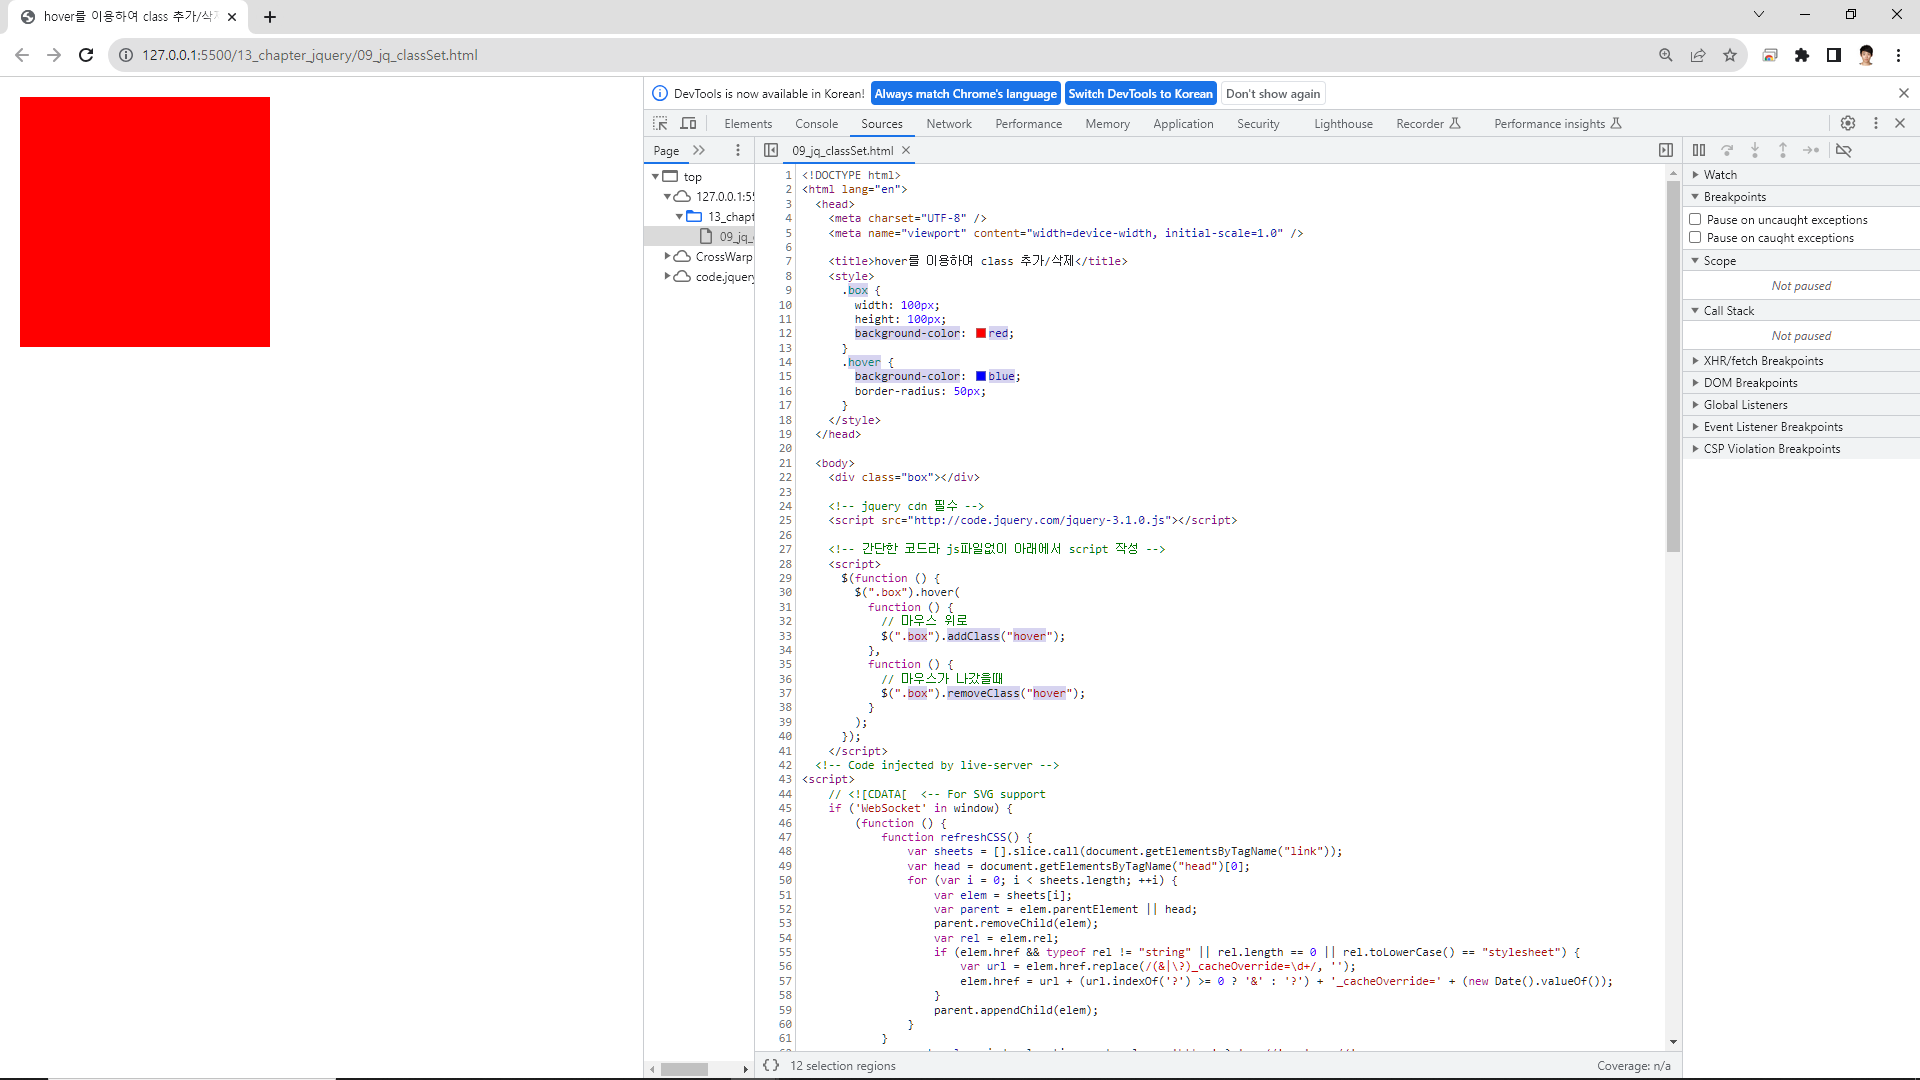
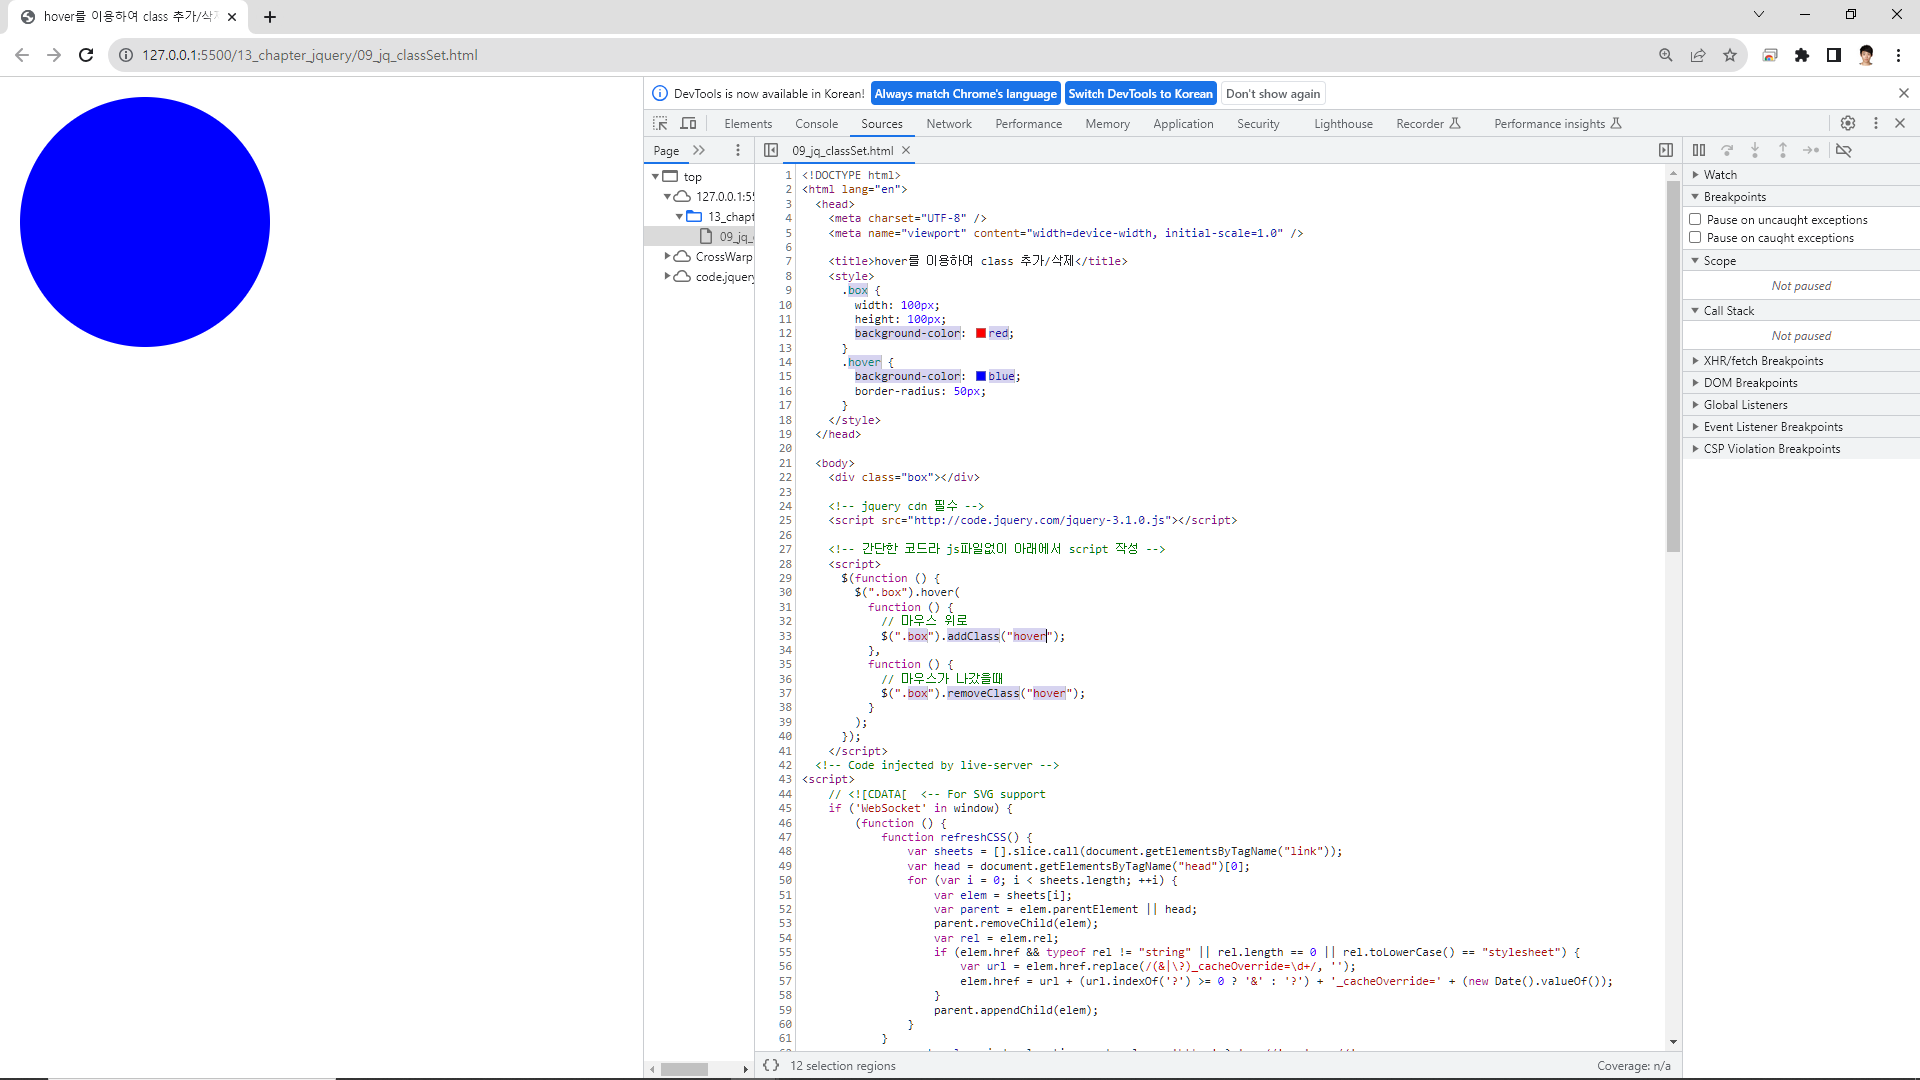
09_jq_classSet
hover를 이용하여 class 추가/삭제
더보기
<!DOCTYPE html>
<html lang="en">
<head>
<meta charset="UTF-8" />
<meta name="viewport" content="width=device-width, initial-scale=1.0" />
<title>hover를 이용하여 class 추가/삭제</title>
<style>
.box {
width: 100px;
height: 100px;
background-color: red;
}
.hover {
background-color: blue;
border-radius: 50px;
}
</style>
</head>
<body>
<div class="box"></div>
<!-- jquery cdn 필수 -->
<!-- 간단한 코드라 js파일없이 아래에서 script 작성 -->
<script>
$(function () {
$(".box").hover(
function () {
// 마우스 위로
$(".box").addClass("hover");
},
function () {
// 마우스가 나갔을때
$(".box").removeClass("hover");
}
);
});
</script>
</body>
</html>
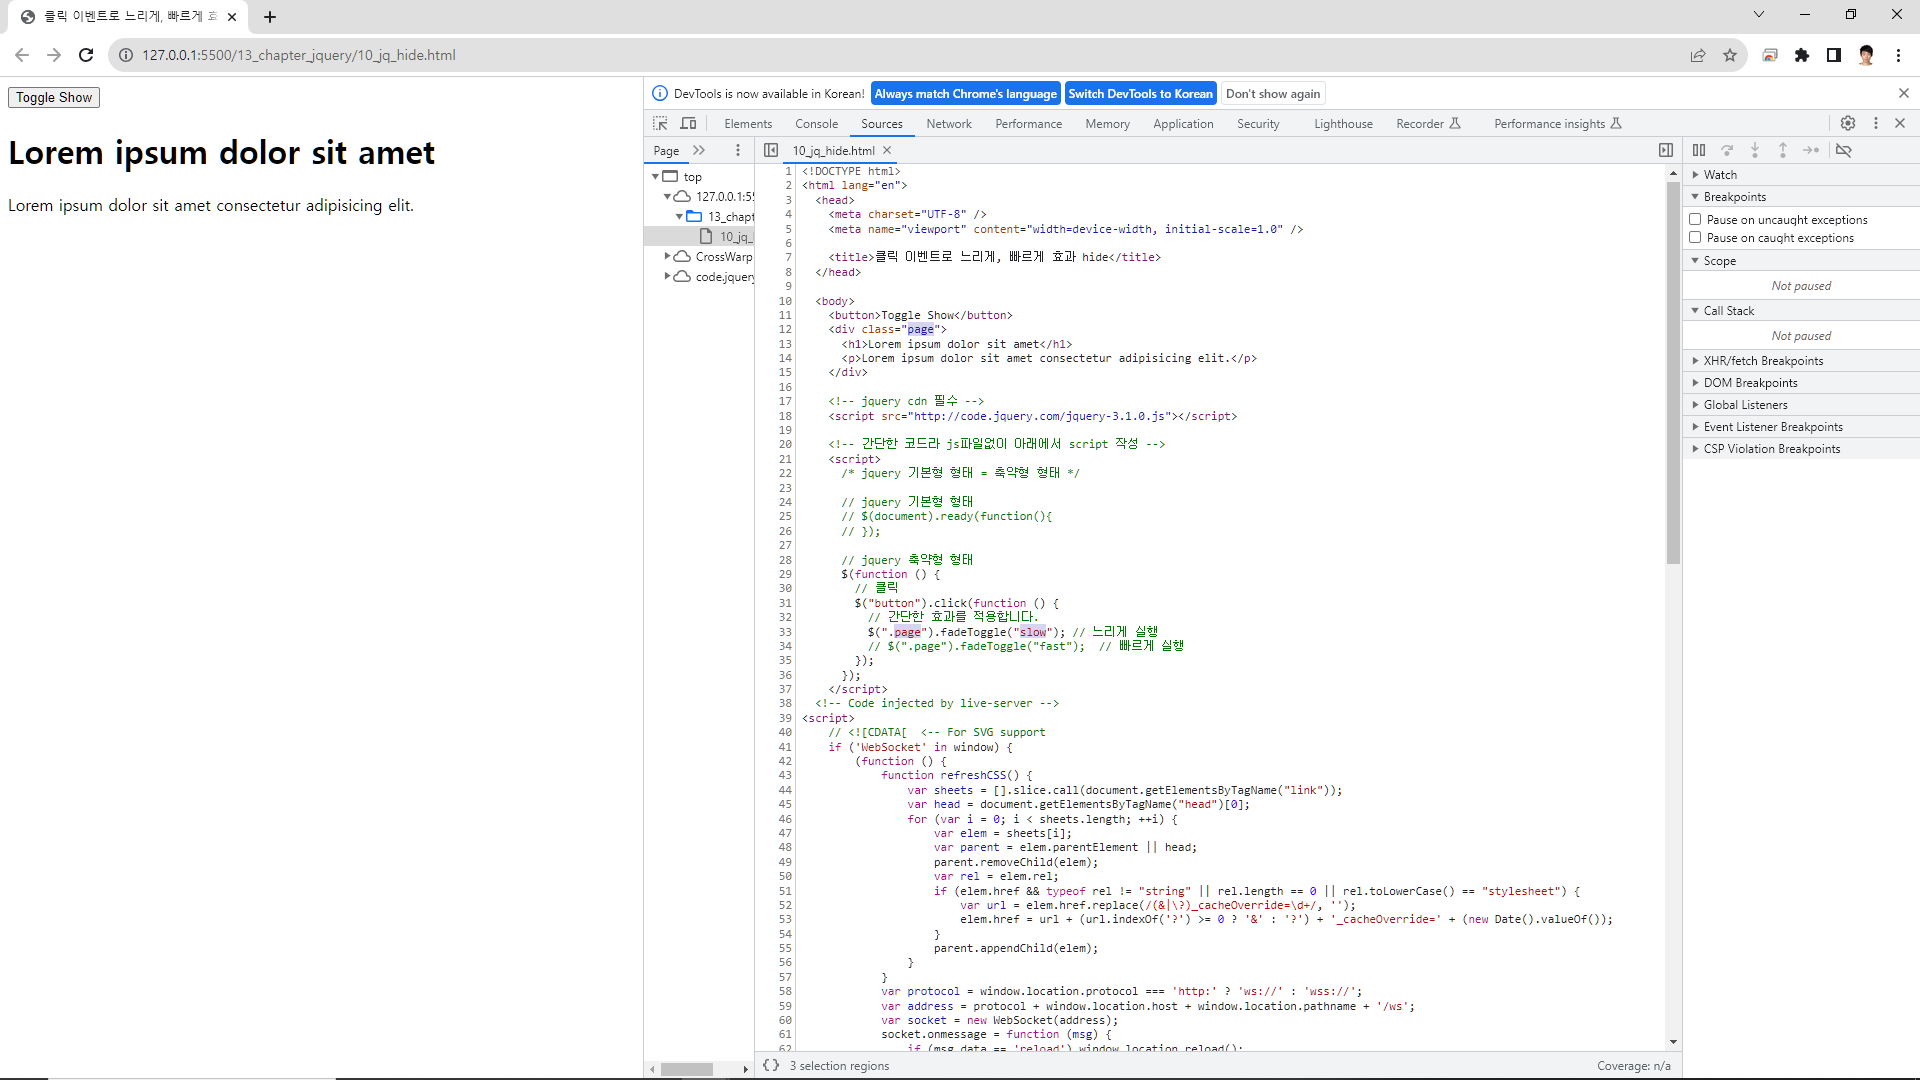
10_jq_hide
클릭 이벤트로 느리게, 빠르게 효과 hide 사용법 :
$(".page").fadeToggle("slow"); // 느리게 실행
$(".page").fadeToggle("fast"); // 빠르게 실행
더보기
<!DOCTYPE html>
<html lang="en">
<head>
<meta charset="UTF-8" />
<meta name="viewport" content="width=device-width, initial-scale=1.0" />
<title>클릭 이벤트로 느리게, 빠르게 효과 hide</title>
</head>
<body>
<button>Toggle Show</button>
<div class="page">
<h1>Lorem ipsum dolor sit amet</h1>
<p>Lorem ipsum dolor sit amet consectetur adipisicing elit.</p>
</div>
<!-- jquery cdn 필수 -->
<!-- 간단한 코드라 js파일없이 아래에서 script 작성 -->
<script>
/* jquery 기본형 형태 = 축약형 형태 */
// jquery 기본형 형태
// $(document).ready(function(){
// });
// jquery 축약형 형태
$(function () {
// 클릭
$("button").click(function () {
// 간단한 효과를 적용합니다.
$(".page").fadeToggle("slow"); // 느리게 실행
// $(".page").fadeToggle("fast"); // 빠르게 실행
});
});
</script>
</body>
</html>

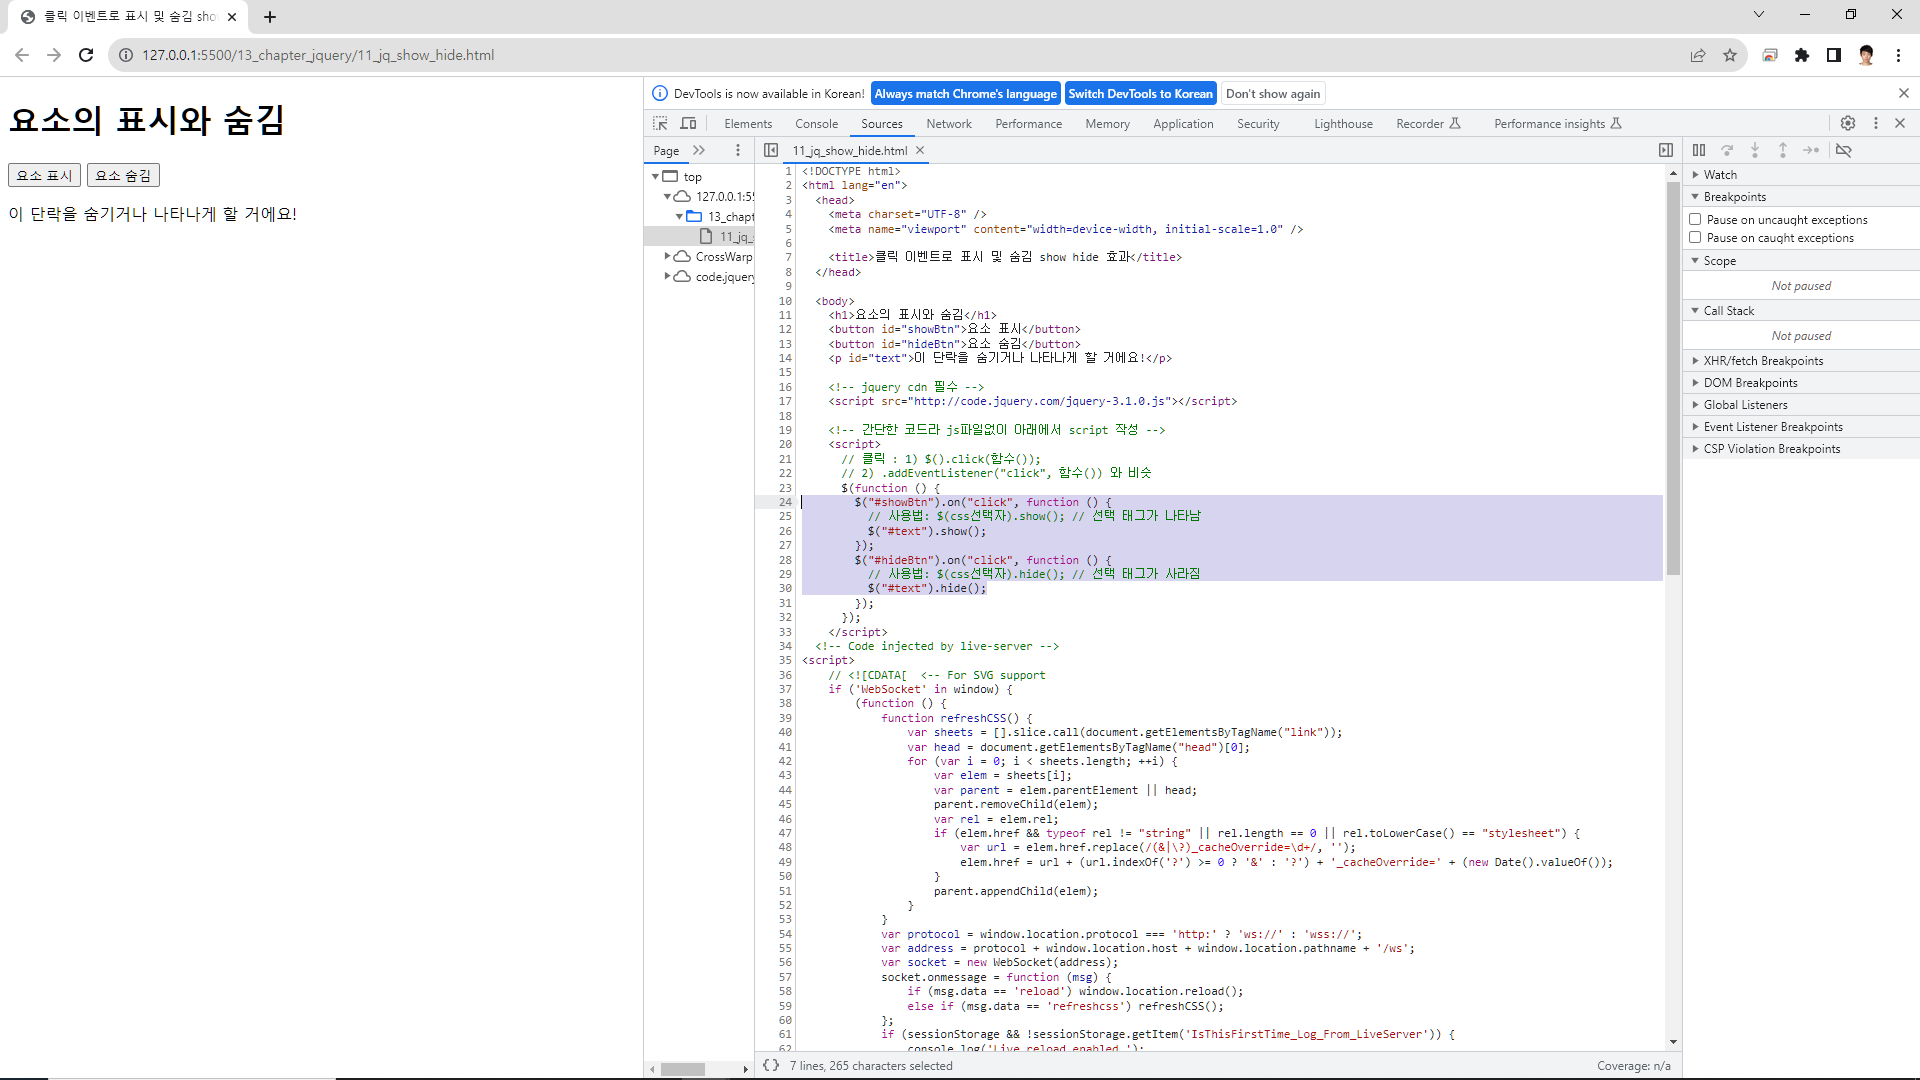
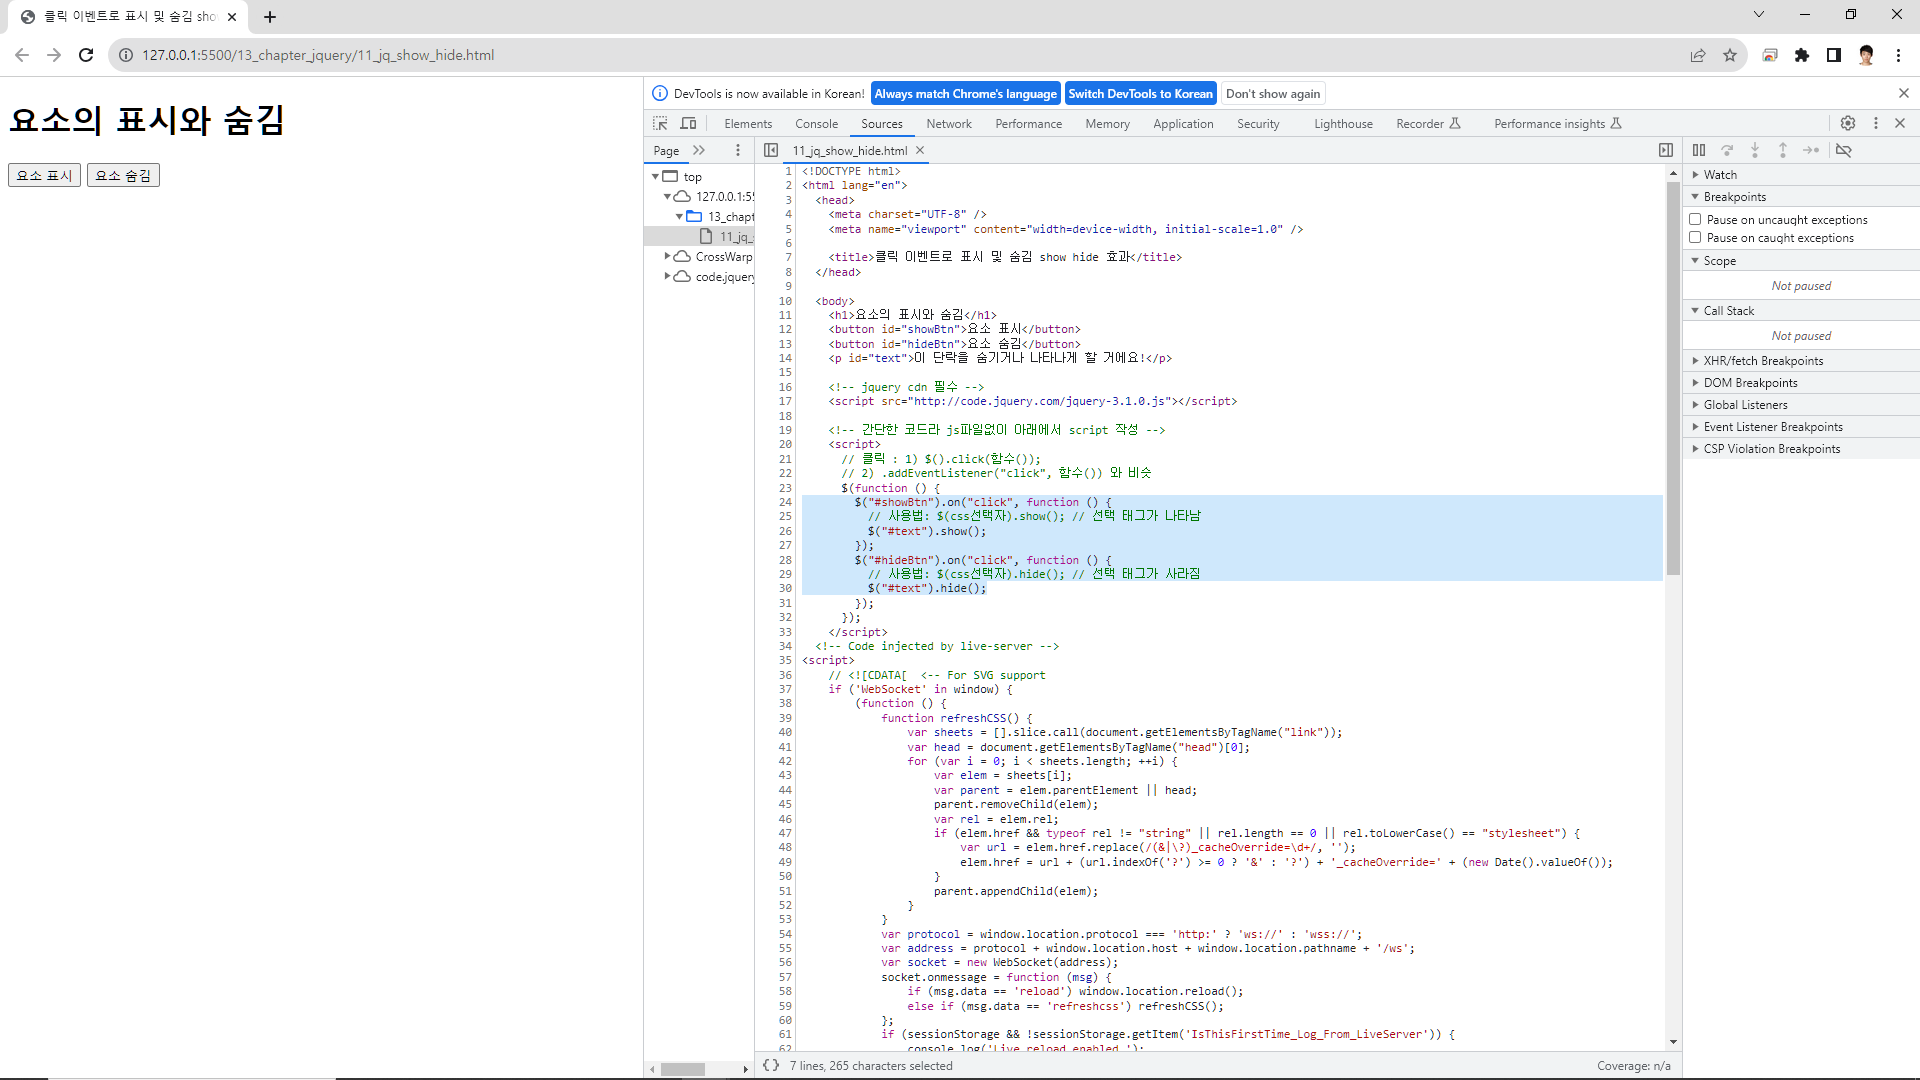
11_jq_show_hide
클릭 이벤트로 사라지게 효과 show hide 효과 사용법 :
$(css선택자).show(); // 선택 태그가 나타남
$(css선택자).hide(); // 선택 태그가 사라짐
더보기
<!DOCTYPE html>
<html lang="en">
<head>
<meta charset="UTF-8" />
<meta name="viewport" content="width=device-width, initial-scale=1.0" />
<title>클릭 이벤트로 표시 및 숨김 show hide 효과</title>
</head>
<body>
<h1>요소의 표시와 숨김</h1>
<button id="showBtn">요소 표시</button>
<button id="hideBtn">요소 숨김</button>
<p id="text">이 단락을 숨기거나 나타나게 할 거에요!</p>
<!-- jquery cdn 필수 -->
<!-- 간단한 코드라 js파일없이 아래에서 script 작성 -->
<script>
// 클릭 : 1) $().click(함수());
// 2) .addEventListener("click", 함수()) 와 비슷
$(function () {
$("#showBtn").on("click", function () {
// 사용법: $(css선택자).show(); // 선택 태그가 나타남
$("#text").show();
});
$("#hideBtn").on("click", function () {
// 사용법: $(css선택자).hide(); // 선택 태그가 사라짐
$("#text").hide();
});
});
</script>
</body>
</html>

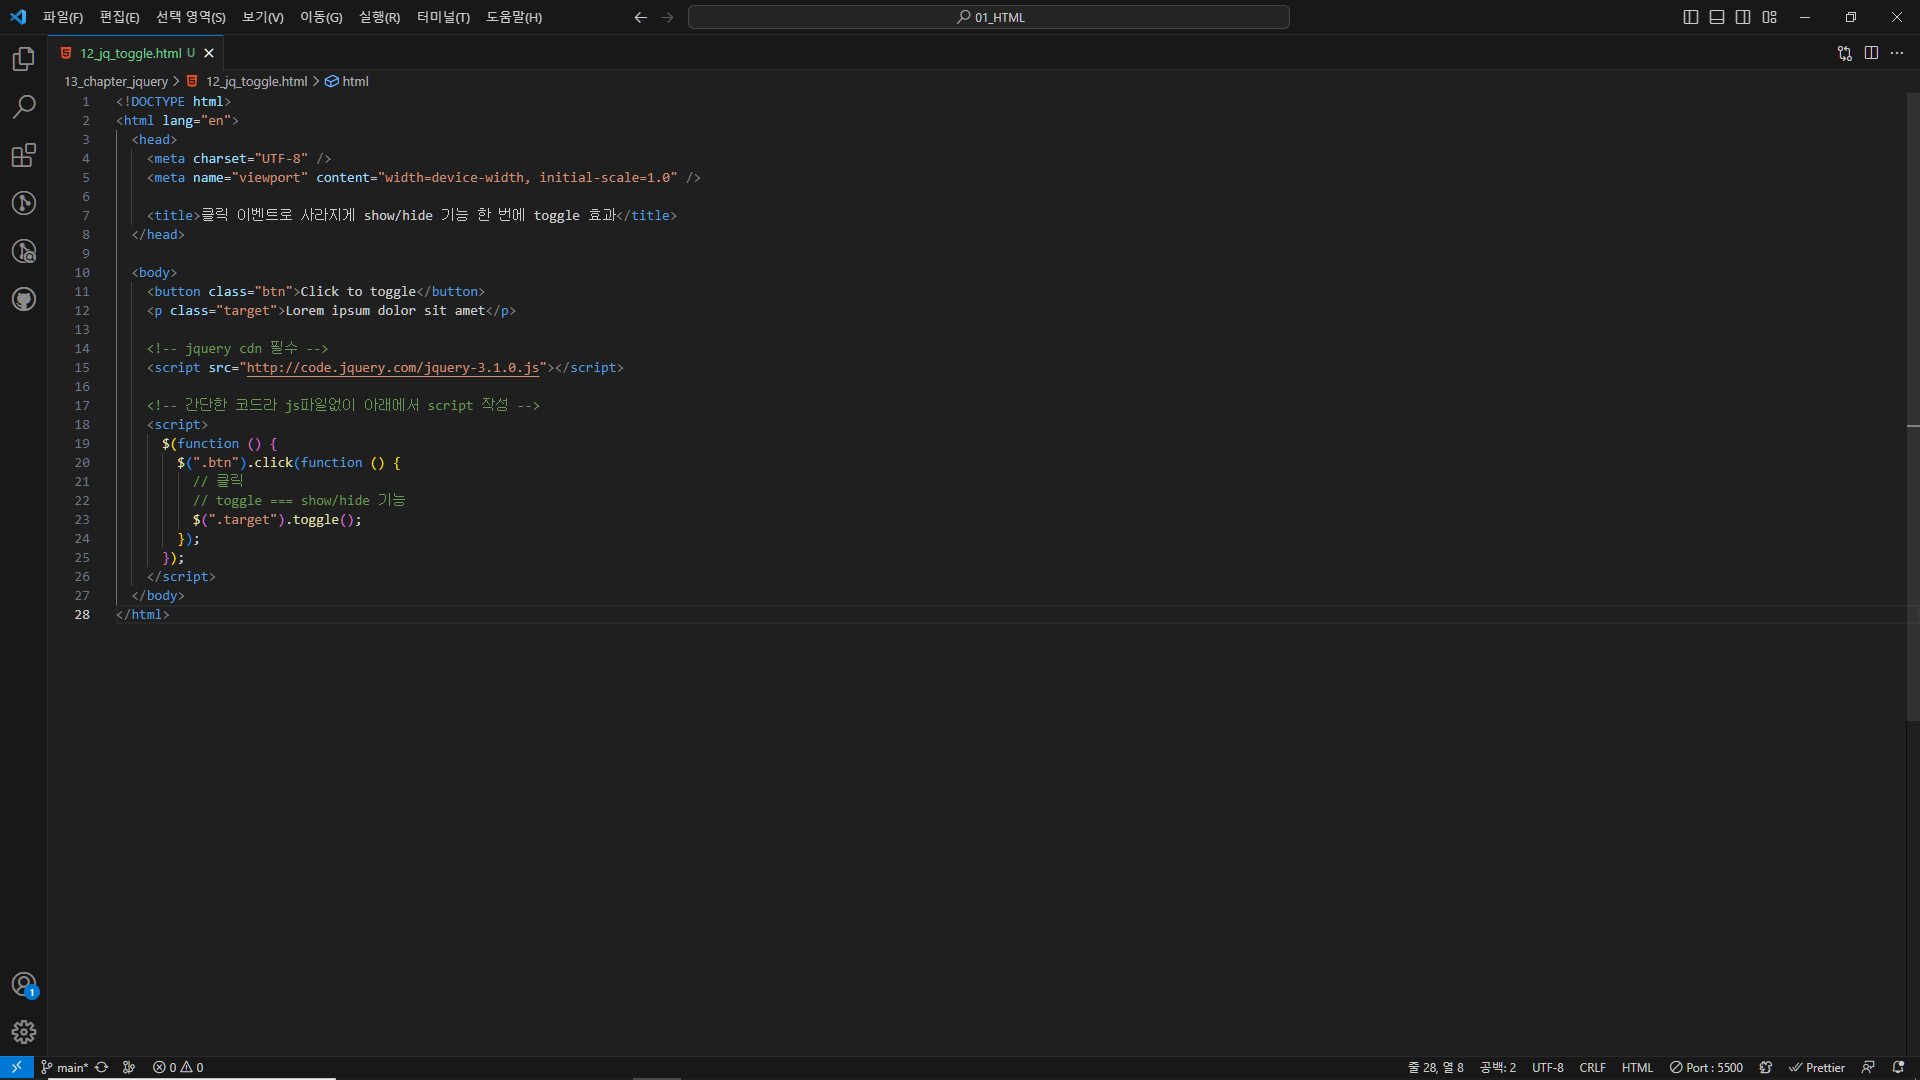
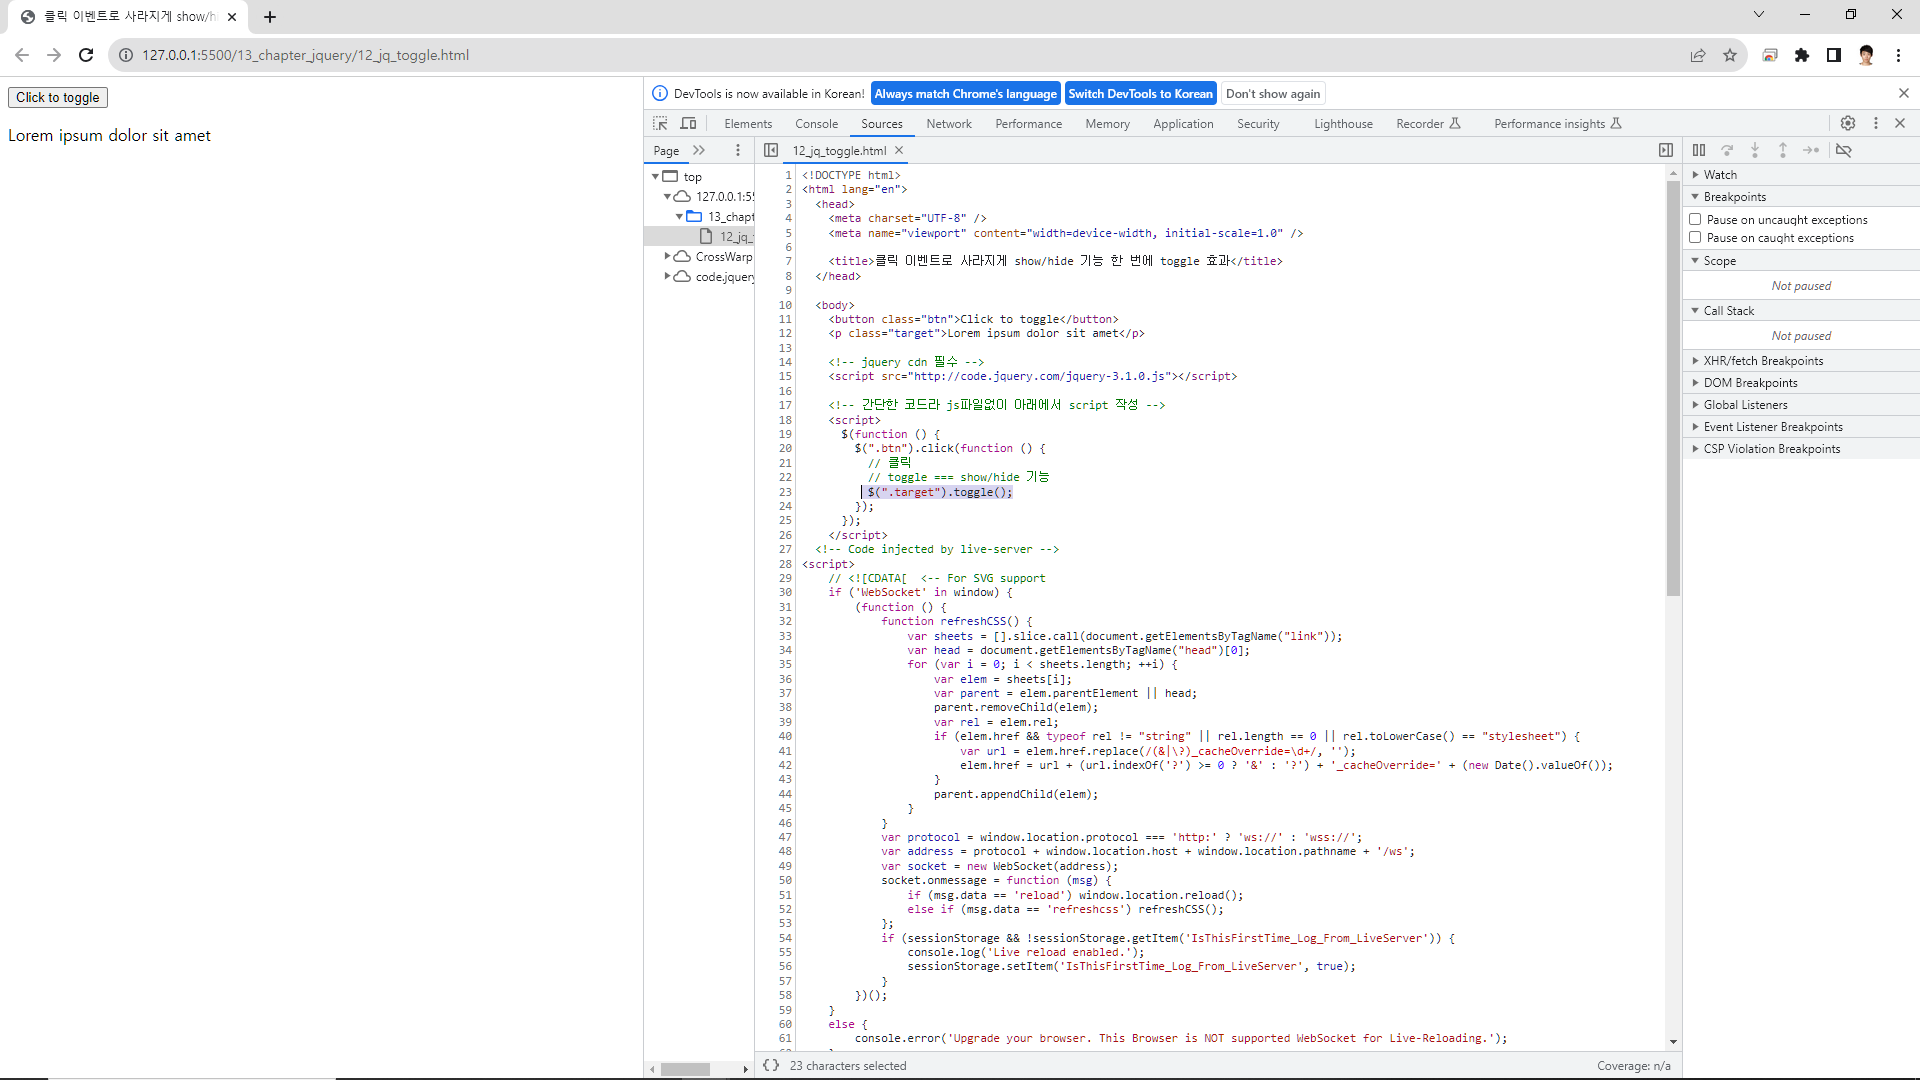
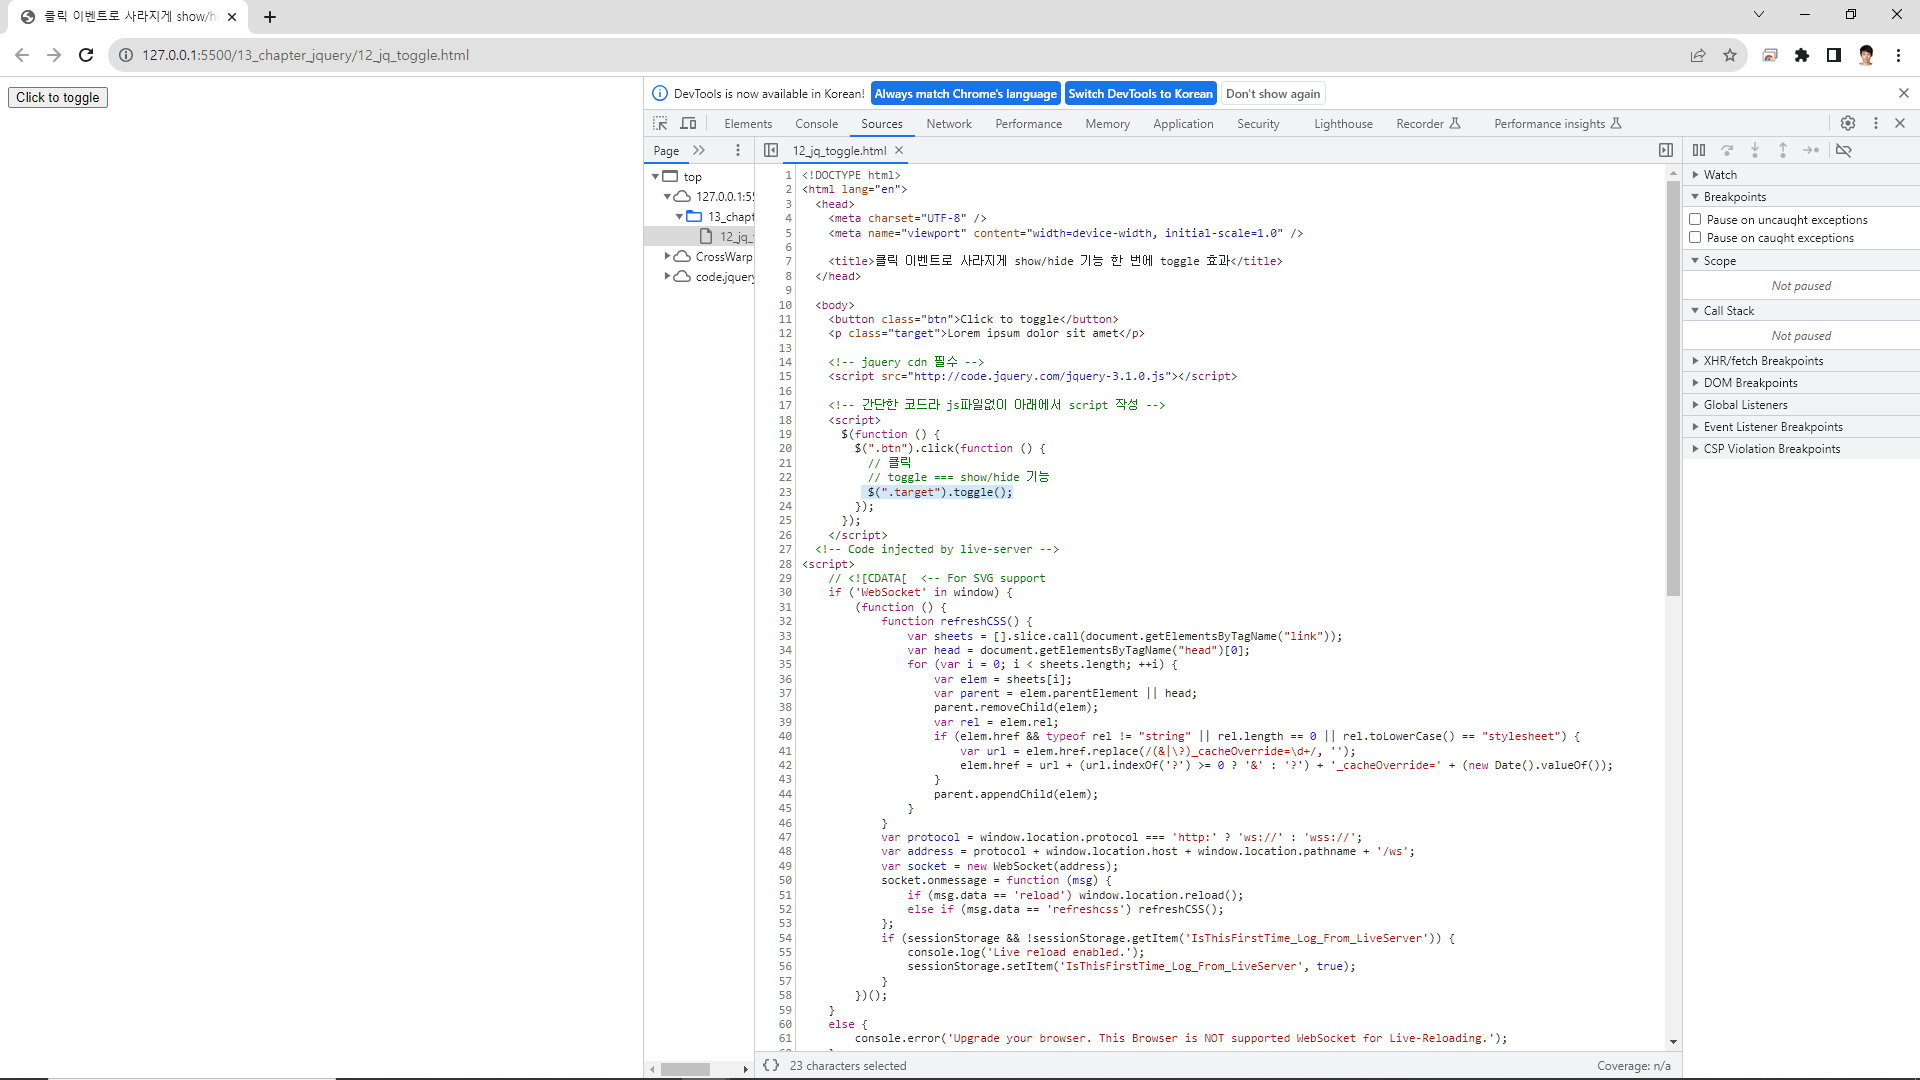
12_jq_toggle
클릭 이벤트로 사라지게 show/hide 기능 한 번에 toggle 효과 사용법 :
$(".target").toggle();
더보기
<!DOCTYPE html>
<html lang="en">
<head>
<meta charset="UTF-8" />
<meta name="viewport" content="width=device-width, initial-scale=1.0" />
<title>클릭 이벤트로 사라지게 show/hide 기능 한 번에 toggle 효과</title>
</head>
<body>
<button class="btn">Click to toggle</button>
<p class="target">Lorem ipsum dolor sit amet</p>
<!-- jquery cdn 필수 -->
<!-- 간단한 코드라 js파일없이 아래에서 script 작성 -->
<script>
$(function () {
$(".btn").click(function () {
// 클릭
// toggle === show/hide 기능
$(".target").toggle();
});
});
</script>
</body>
</html>
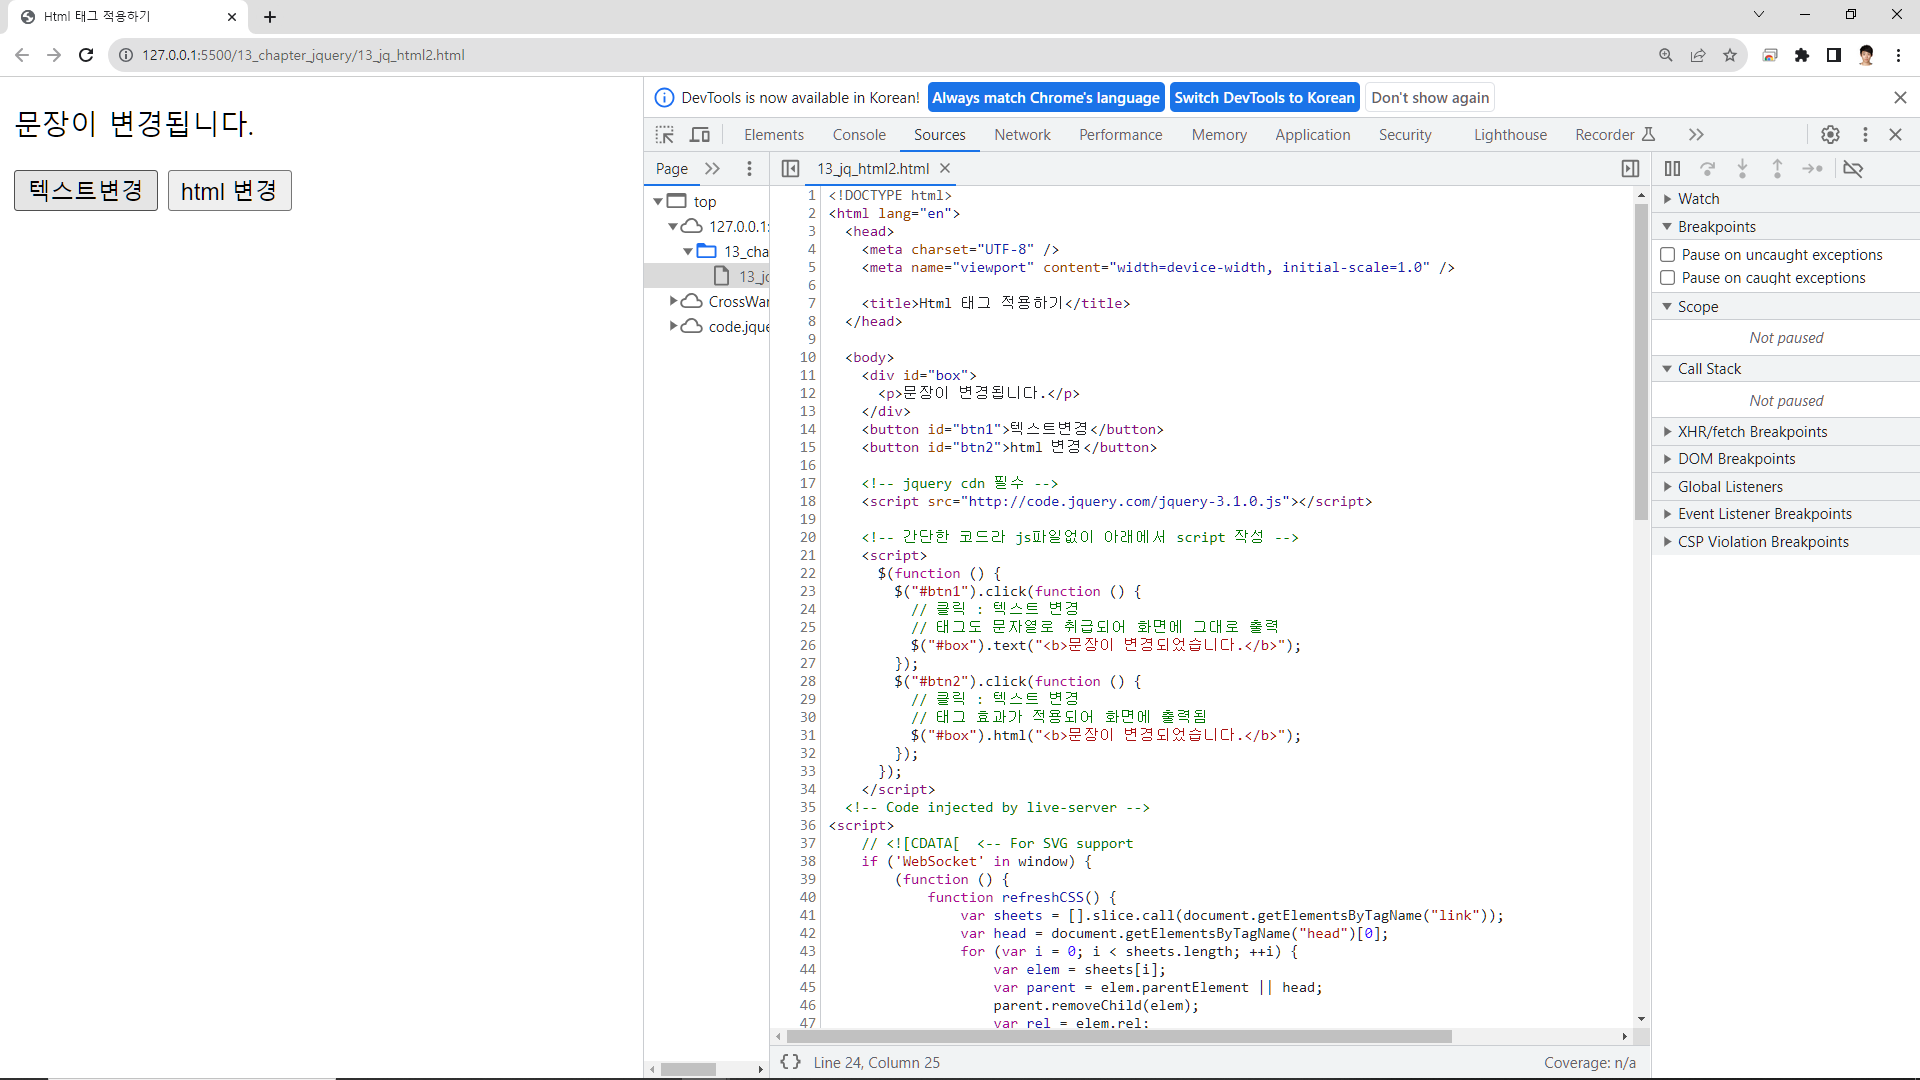
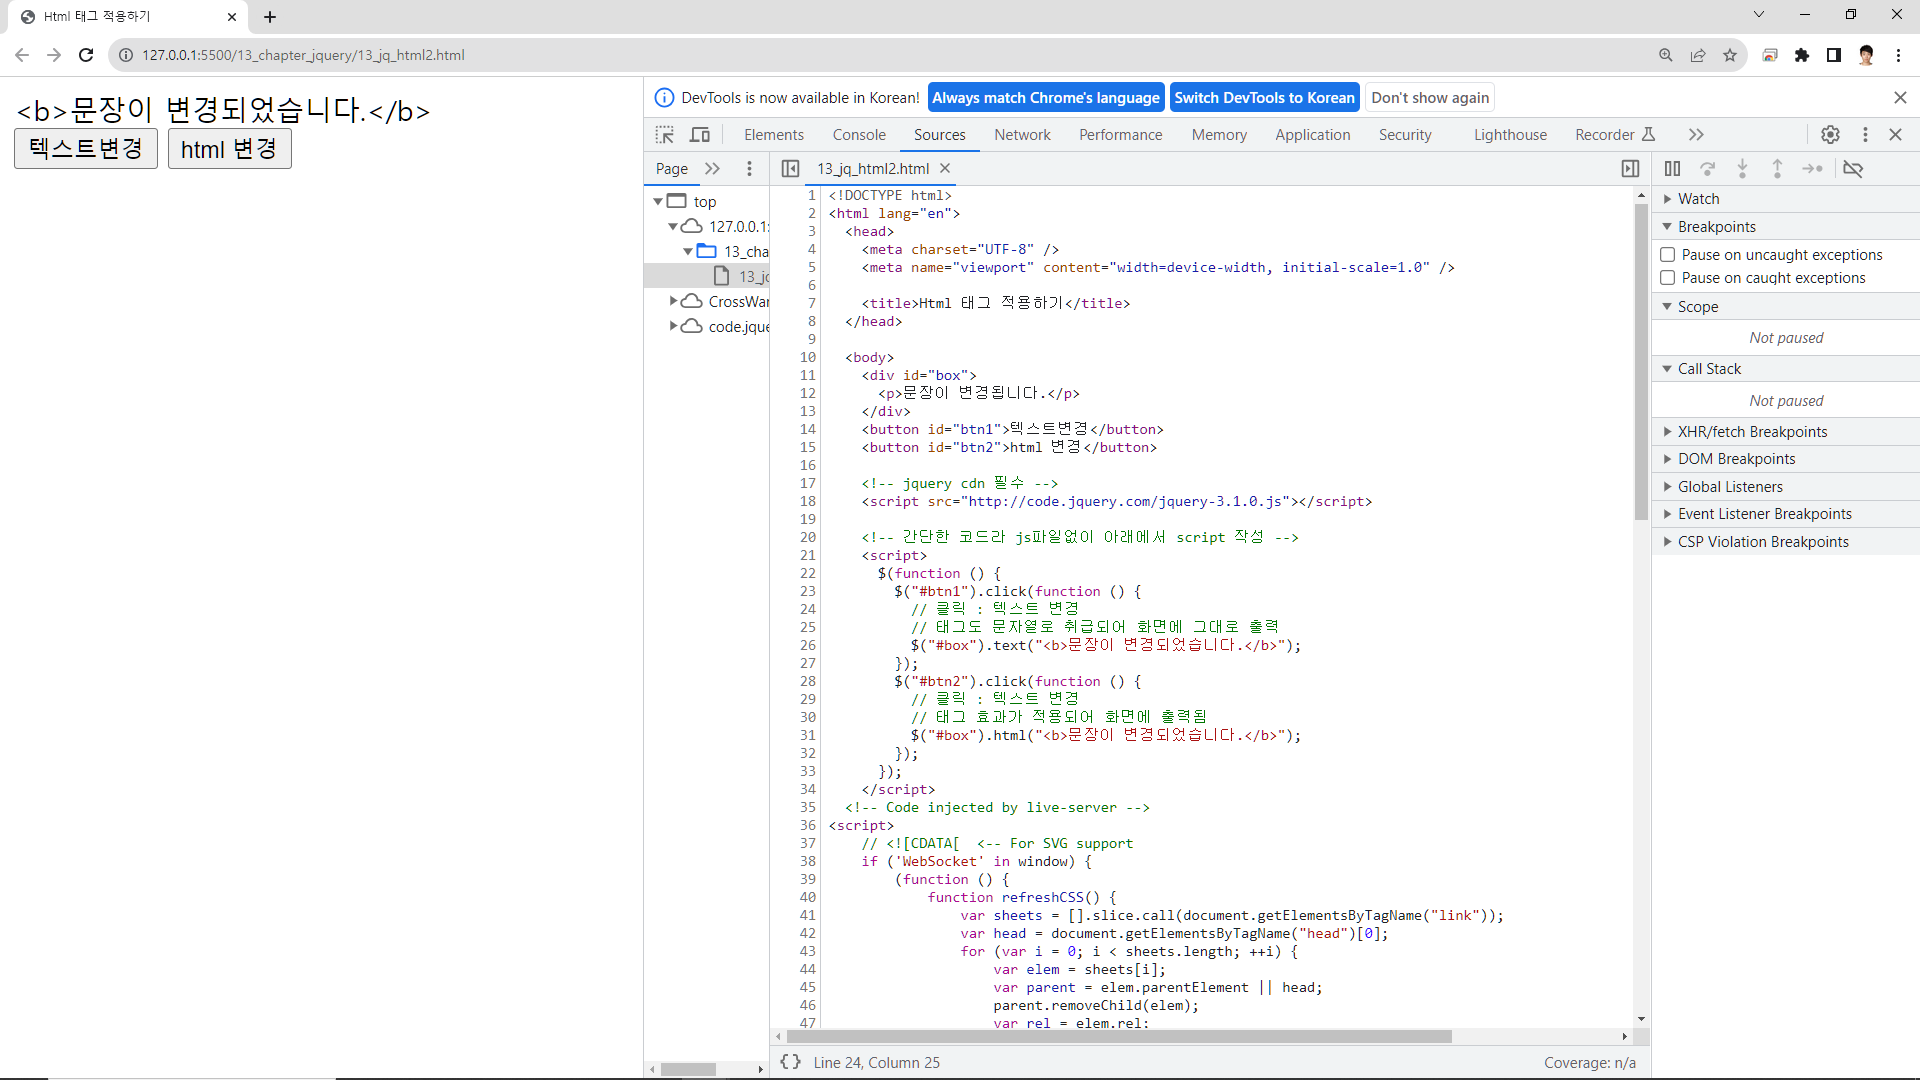
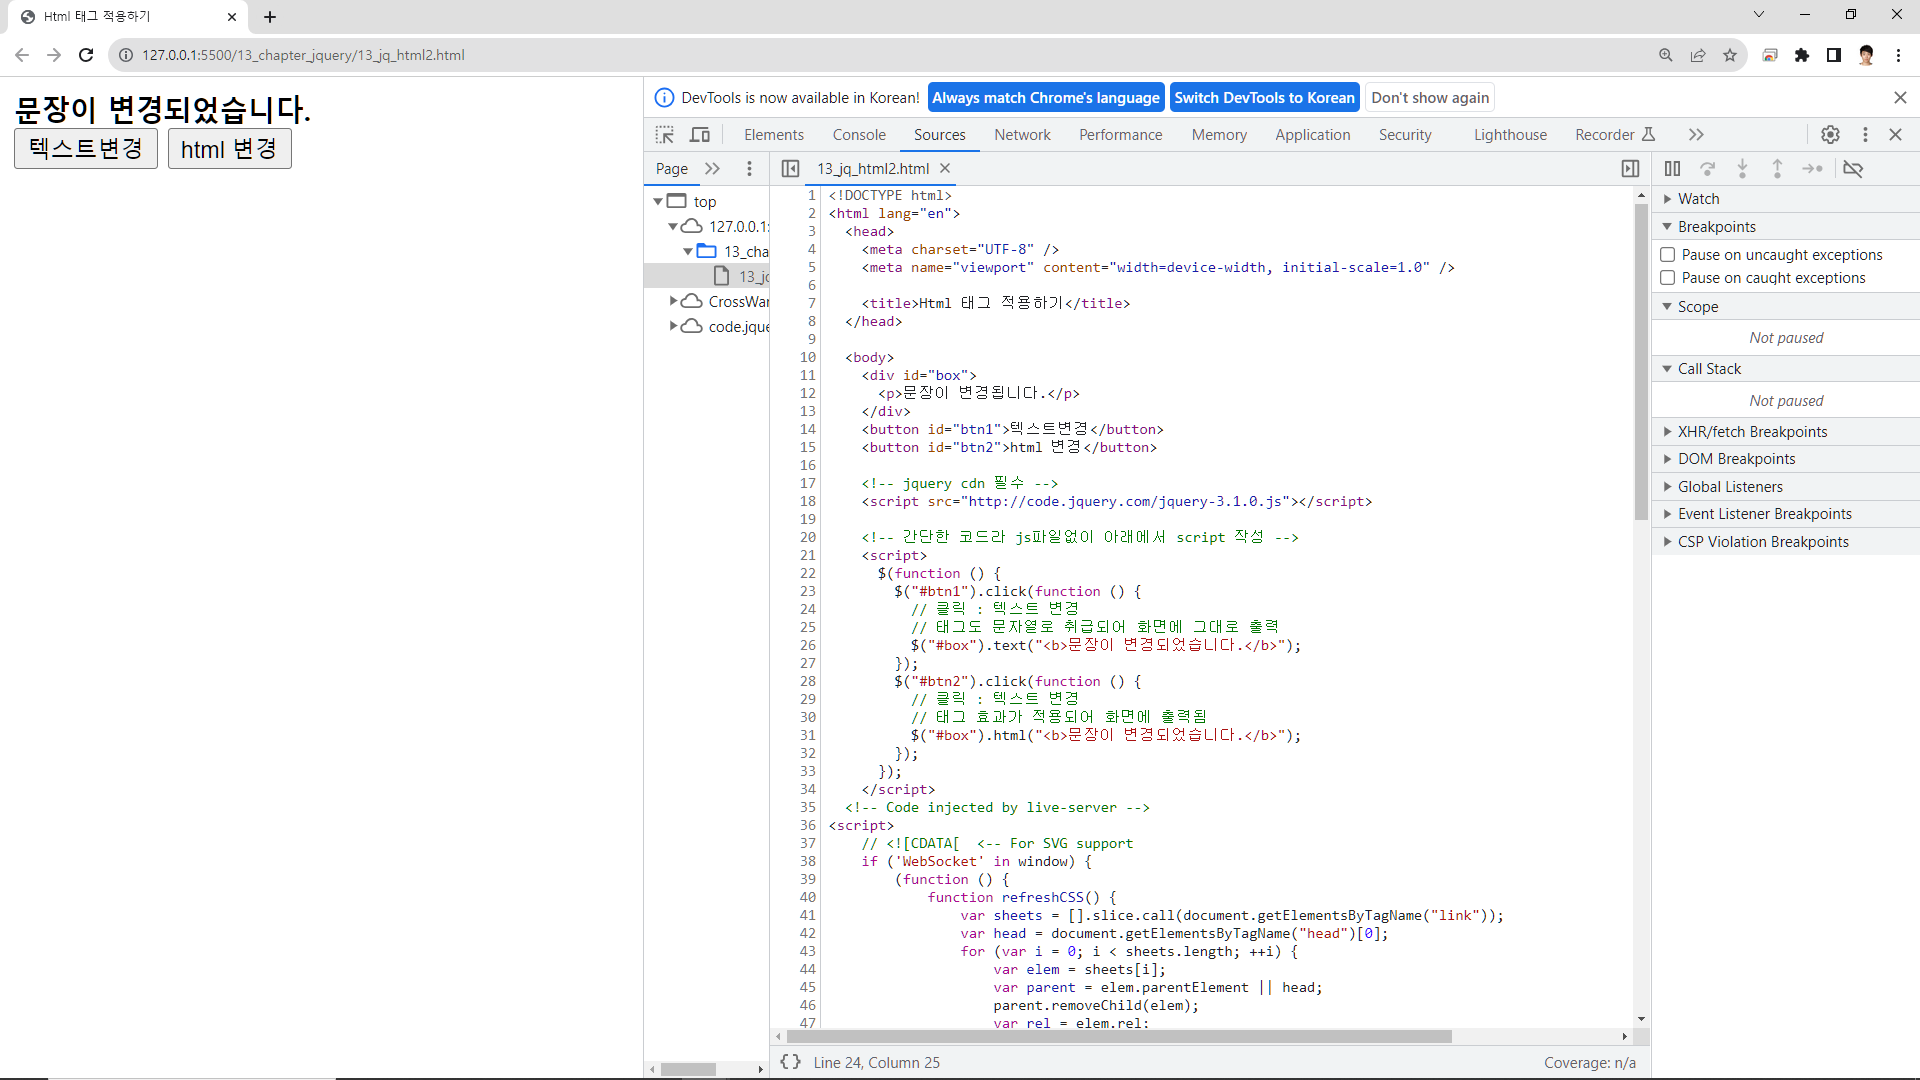
13_jq_html2
Html 태그 적용하기
.text
.html
더보기
<!DOCTYPE html>
<html lang="en">
<head>
<meta charset="UTF-8" />
<meta name="viewport" content="width=device-width, initial-scale=1.0" />
<title>Html 태그 적용하기</title>
</head>
<body>
<div id="box">
<p>문장이 변경됩니다.</p>
</div>
<button id="btn1">텍스트변경</button>
<button id="btn2">html 변경</button>
<!-- jquery cdn 필수 -->
<!-- 간단한 코드라 js파일없이 아래에서 script 작성 -->
<script>
$(function () {
$("#btn1").click(function () {
// 클릭 : 텍스트 변경
// 태그도 문자열로 취급되어 화면에 그대로 출력
$("#box").text("<b>문장이 변경되었습니다.</b>");
});
$("#btn2").click(function () {
// 클릭 : 텍스트 변경
// 태그 효과가 적용되어 화면에 출력됨
$("#box").html("<b>문장이 변경되었습니다.</b>");
});
});
</script>
</body>
</html>
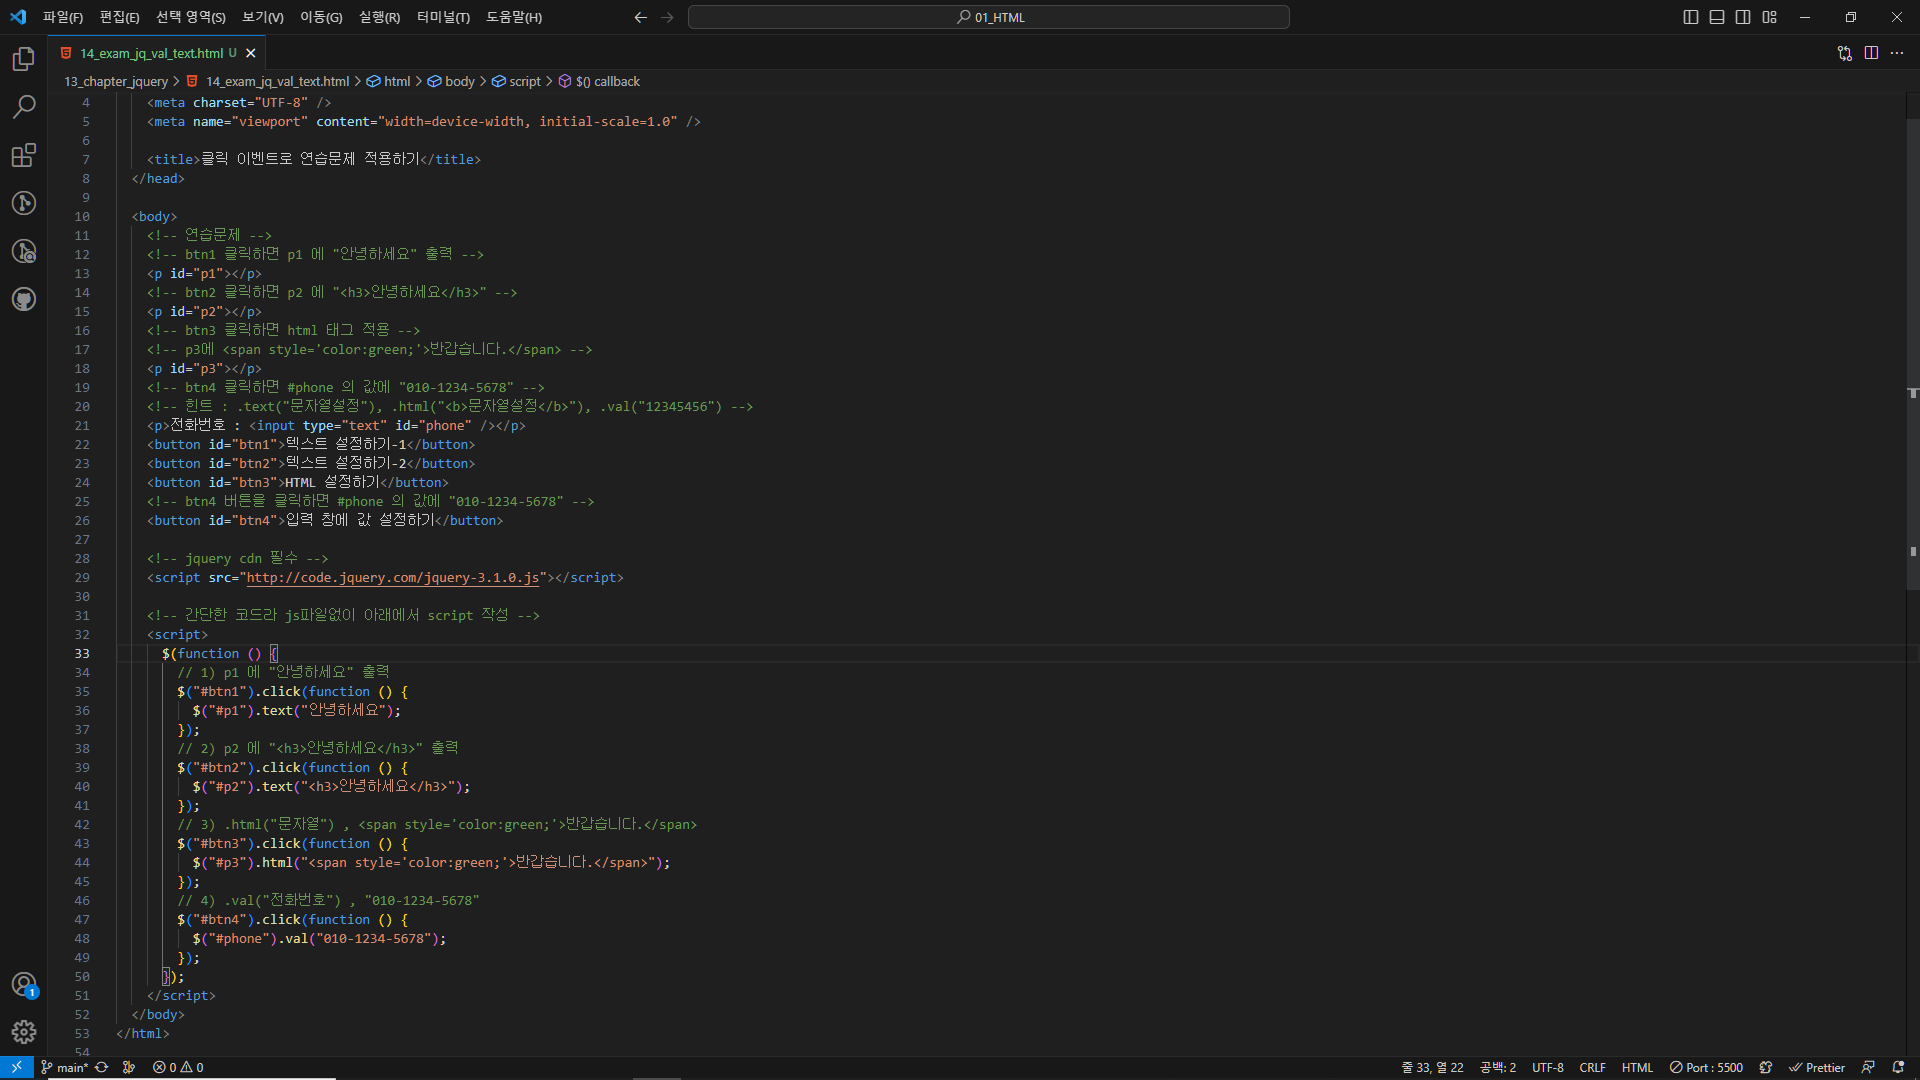
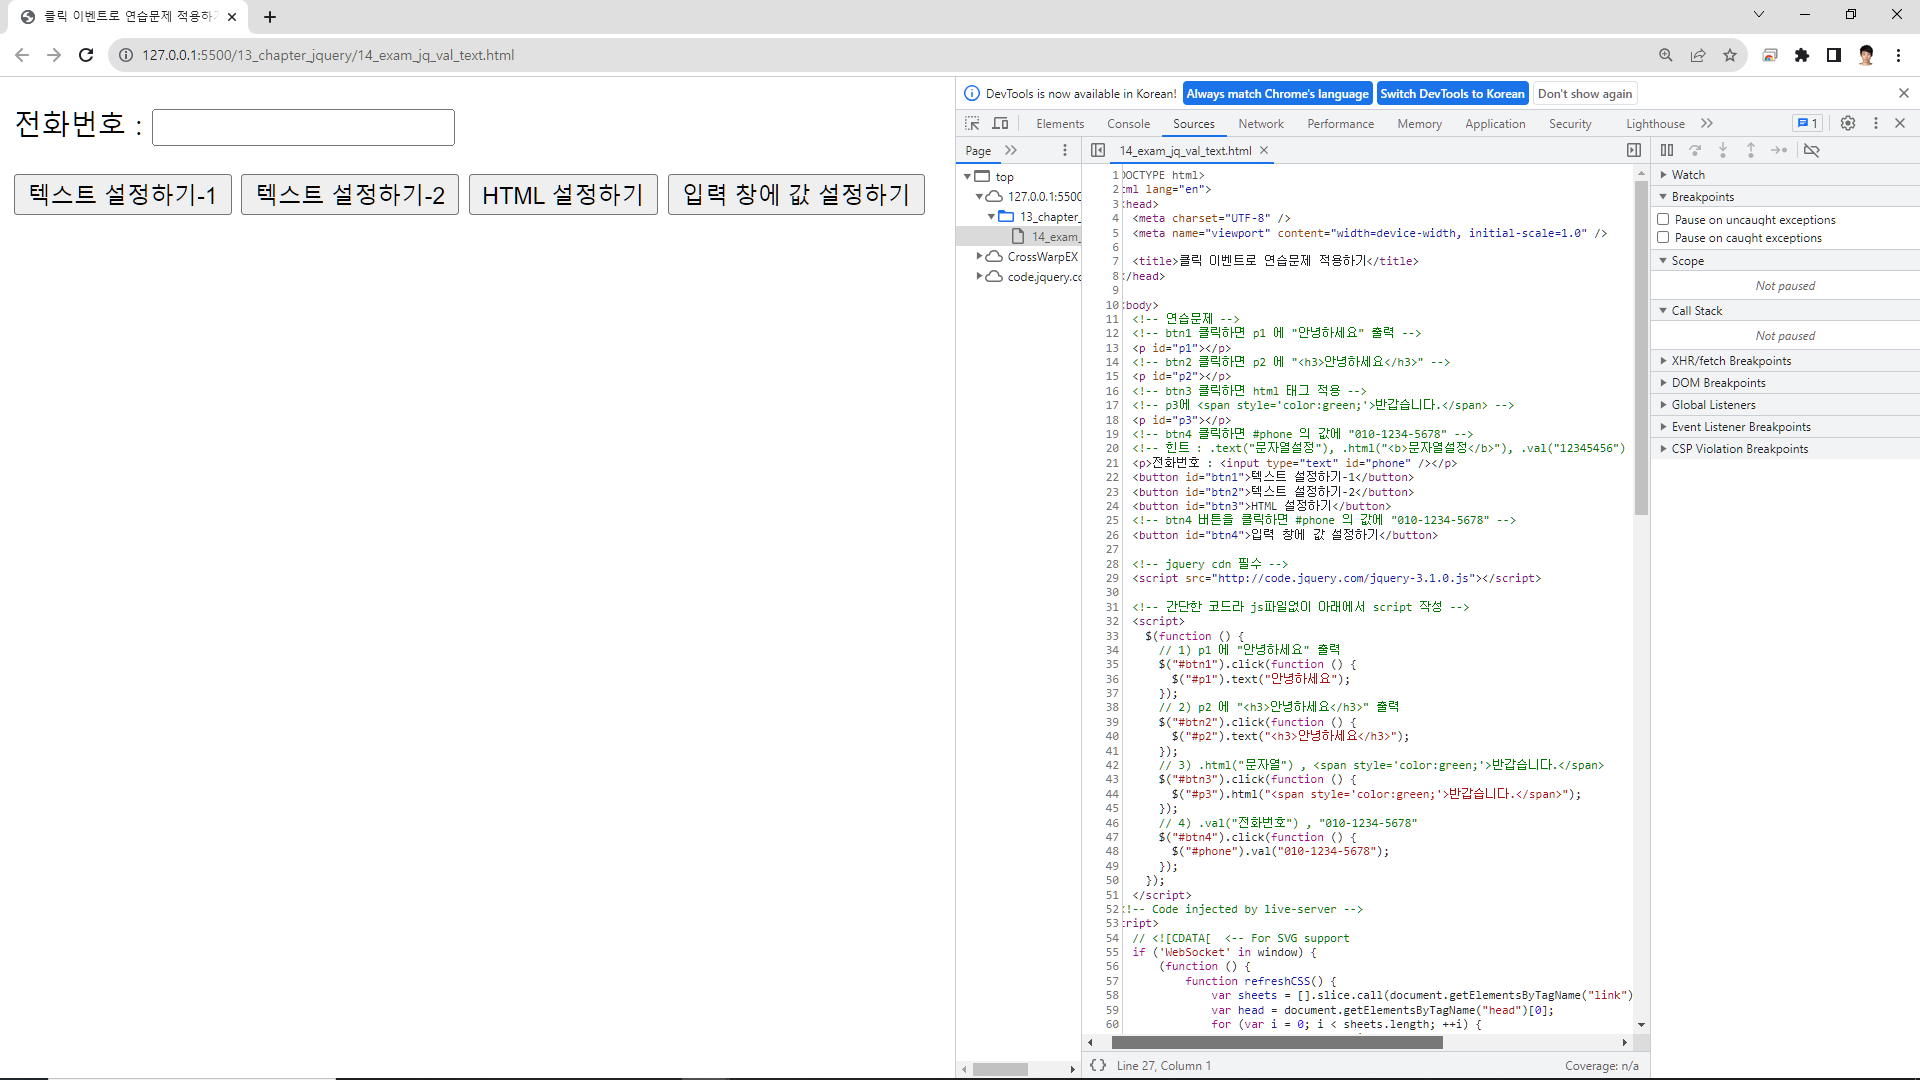
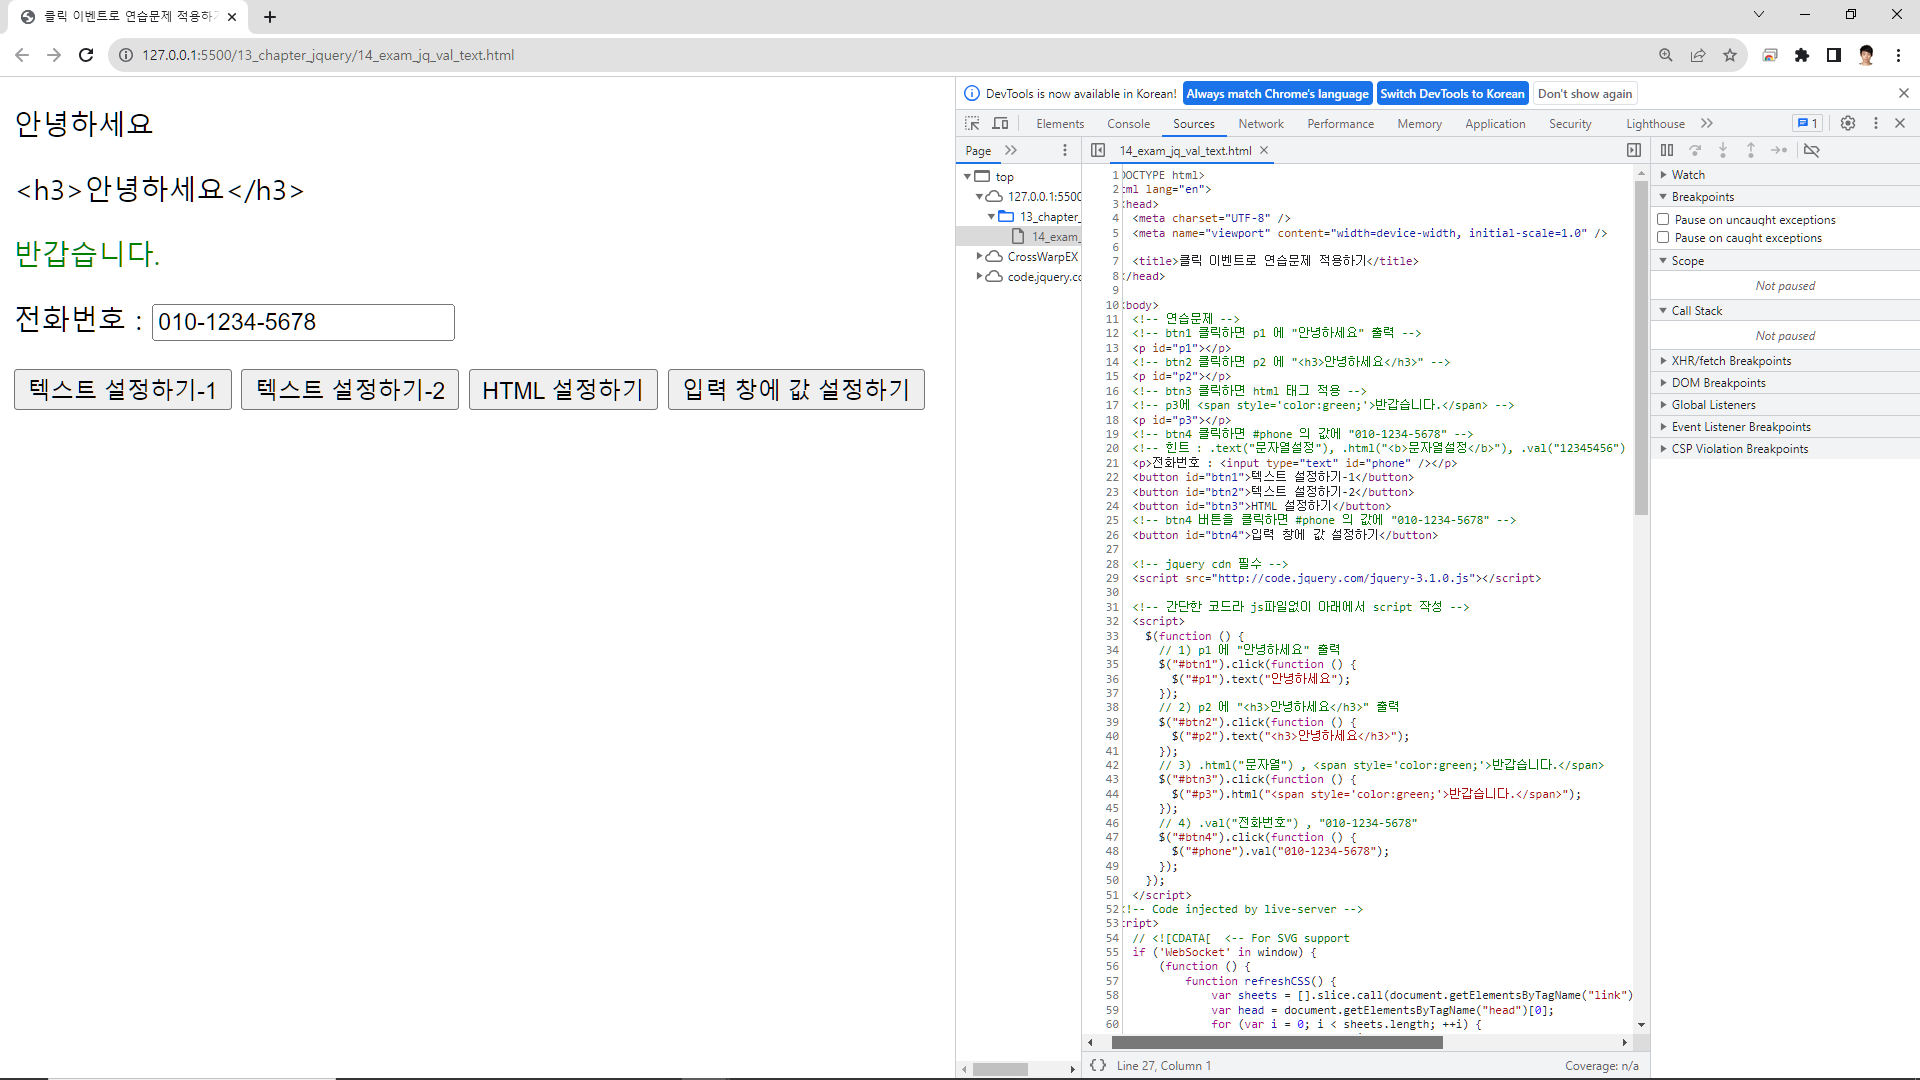
14_exam_jq_val_text
클릭 이벤트로 연습문제 적용하기
더보기
<!DOCTYPE html>
<html lang="en">
<head>
<meta charset="UTF-8" />
<meta name="viewport" content="width=device-width, initial-scale=1.0" />
<title>클릭 이벤트로 연습문제 적용하기</title>
</head>
<body>
<!-- 연습문제 -->
<!-- btn1 클릭하면 p1 에 "안녕하세요" 출력 -->
<p id="p1"></p>
<!-- btn2 클릭하면 p2 에 "<h3>안녕하세요</h3>" -->
<p id="p2"></p>
<!-- btn3 클릭하면 html 태그 적용 -->
<!-- p3에 <span style='color:green;'>반갑습니다.</span> -->
<p id="p3"></p>
<!-- btn4 클릭하면 #phone 의 값에 "010-1234-5678" -->
<!-- 힌트 : .text("문자열설정"), .html("<b>문자열설정</b>"), .val("12345456") -->
<p>전화번호 : <input type="text" id="phone" /></p>
<button id="btn1">텍스트 설정하기-1</button>
<button id="btn2">텍스트 설정하기-2</button>
<button id="btn3">HTML 설정하기</button>
<!-- btn4 버튼을 클릭하면 #phone 의 값에 "010-1234-5678" -->
<button id="btn4">입력 창에 값 설정하기</button>
<!-- jquery cdn 필수 -->
<!-- 간단한 코드라 js파일없이 아래에서 script 작성 -->
<script>
$(function () {
// 1) p1 에 "안녕하세요" 출력
$("#btn1").click(function () {
$("#p1").text("안녕하세요");
});
// 2) p2 에 "<h3>안녕하세요</h3>" 출력
$("#btn2").click(function () {
$("#p2").text("<h3>안녕하세요</h3>");
});
// 3) .html("문자열") , <span style='color:green;'>반갑습니다.</span>
$("#btn3").click(function () {
$("#p3").html("<span style='color:green;'>반갑습니다.</span>");
});
// 4) .val("전화번호") , "010-1234-5678"
$("#btn4").click(function () {
$("#phone").val("010-1234-5678");
});
});
</script>
</body>
</html>
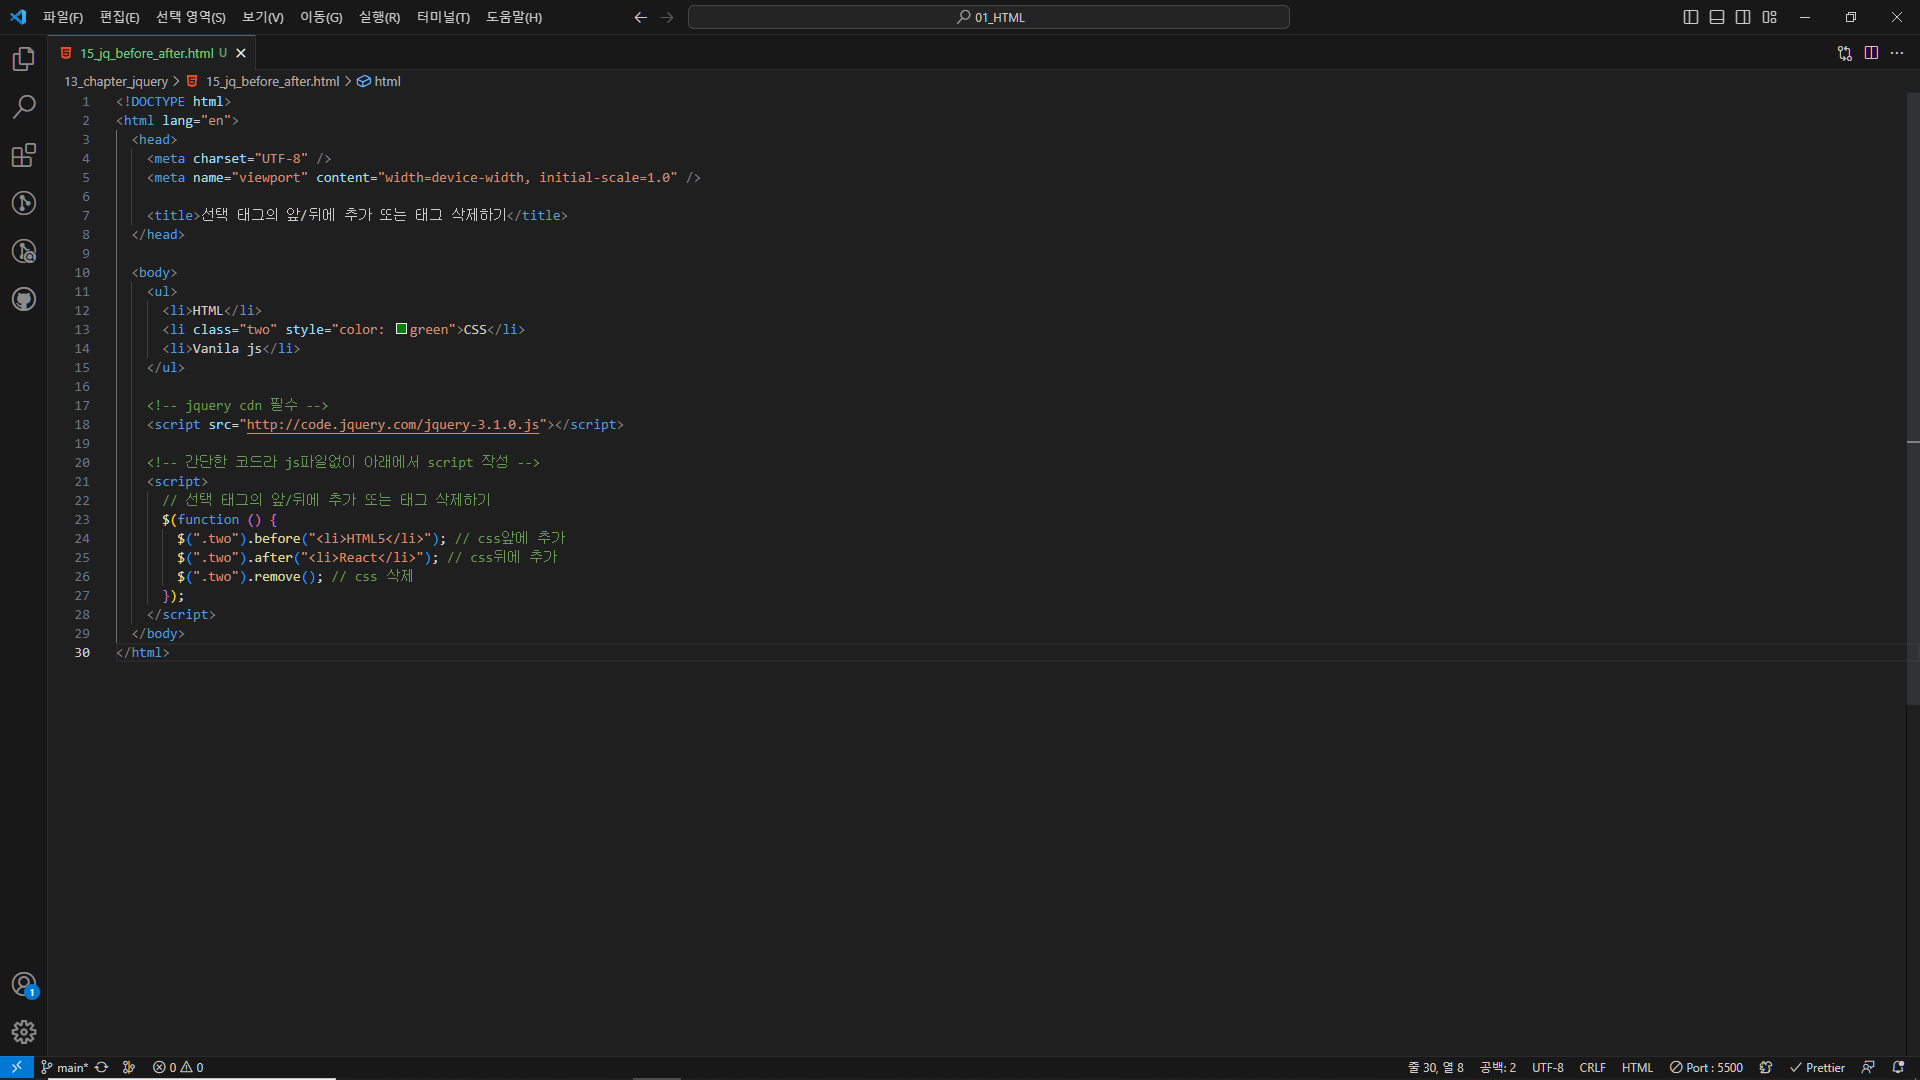
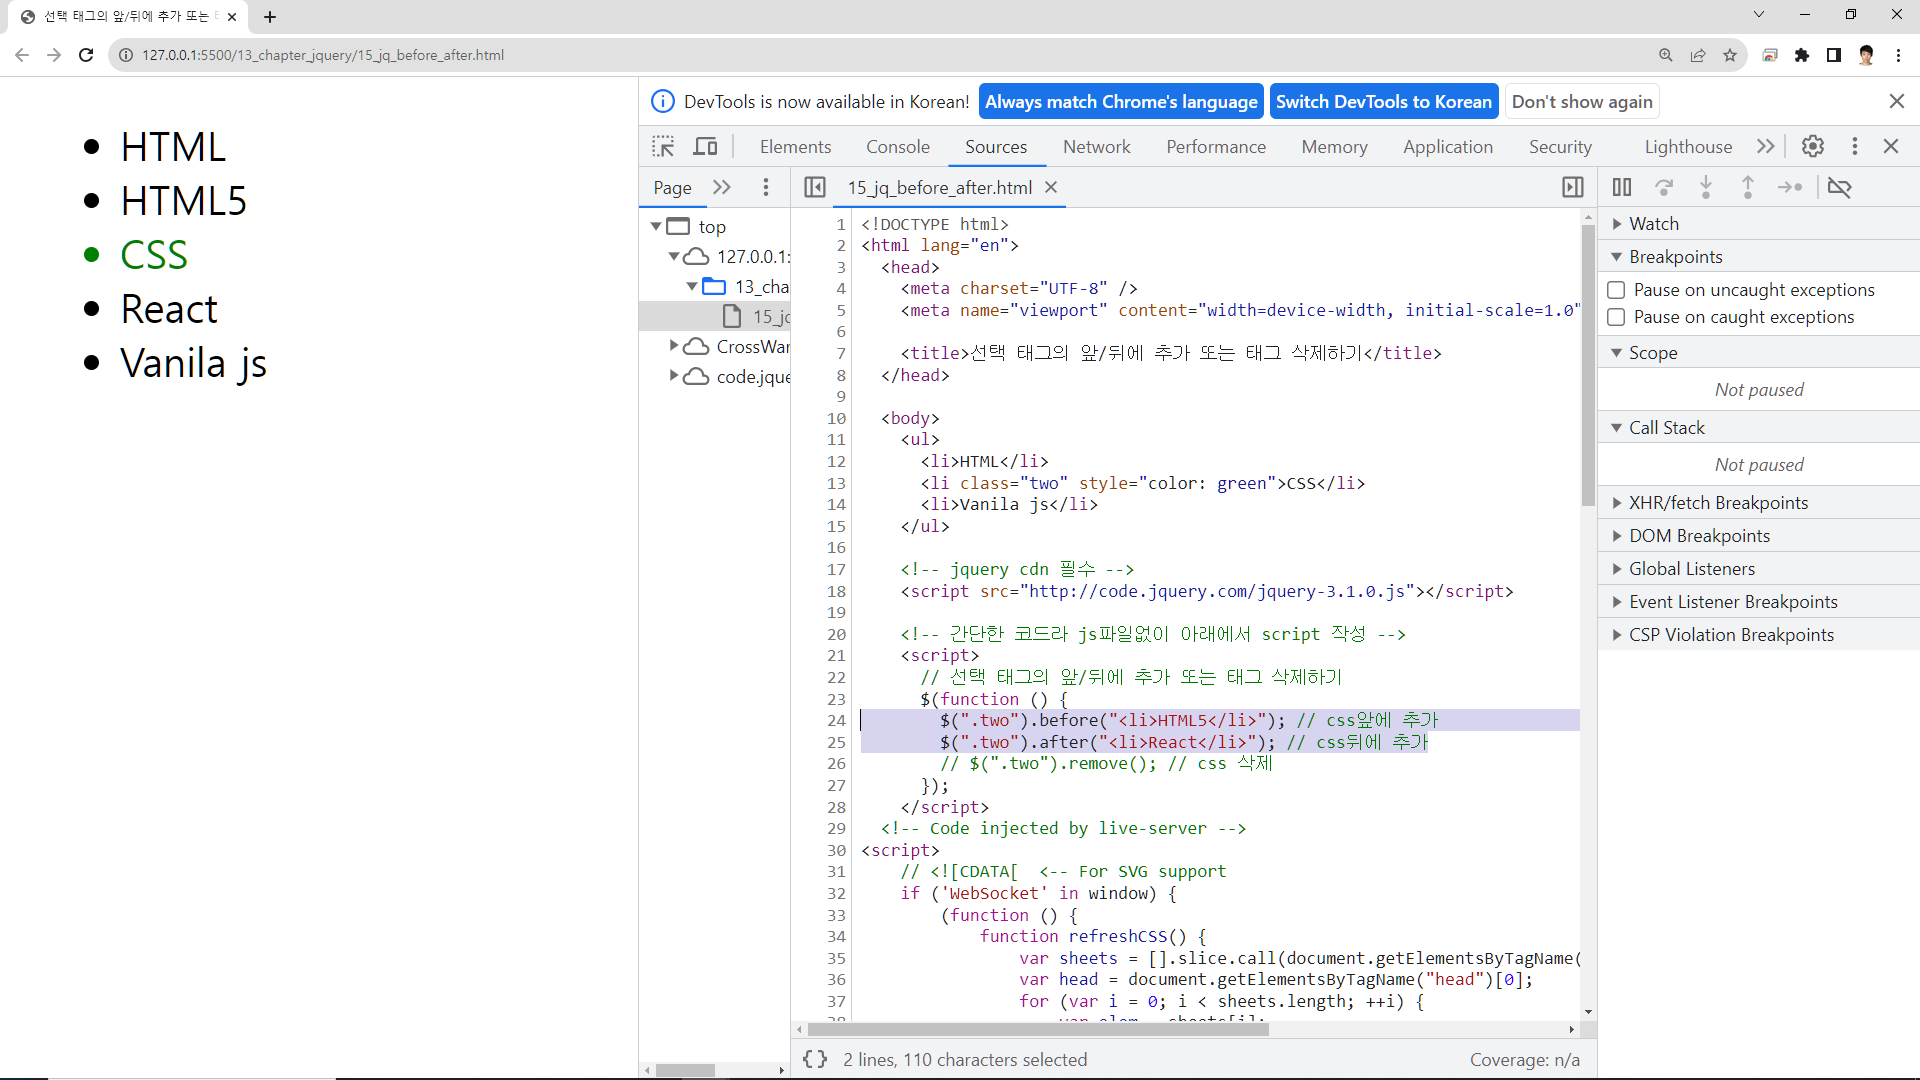
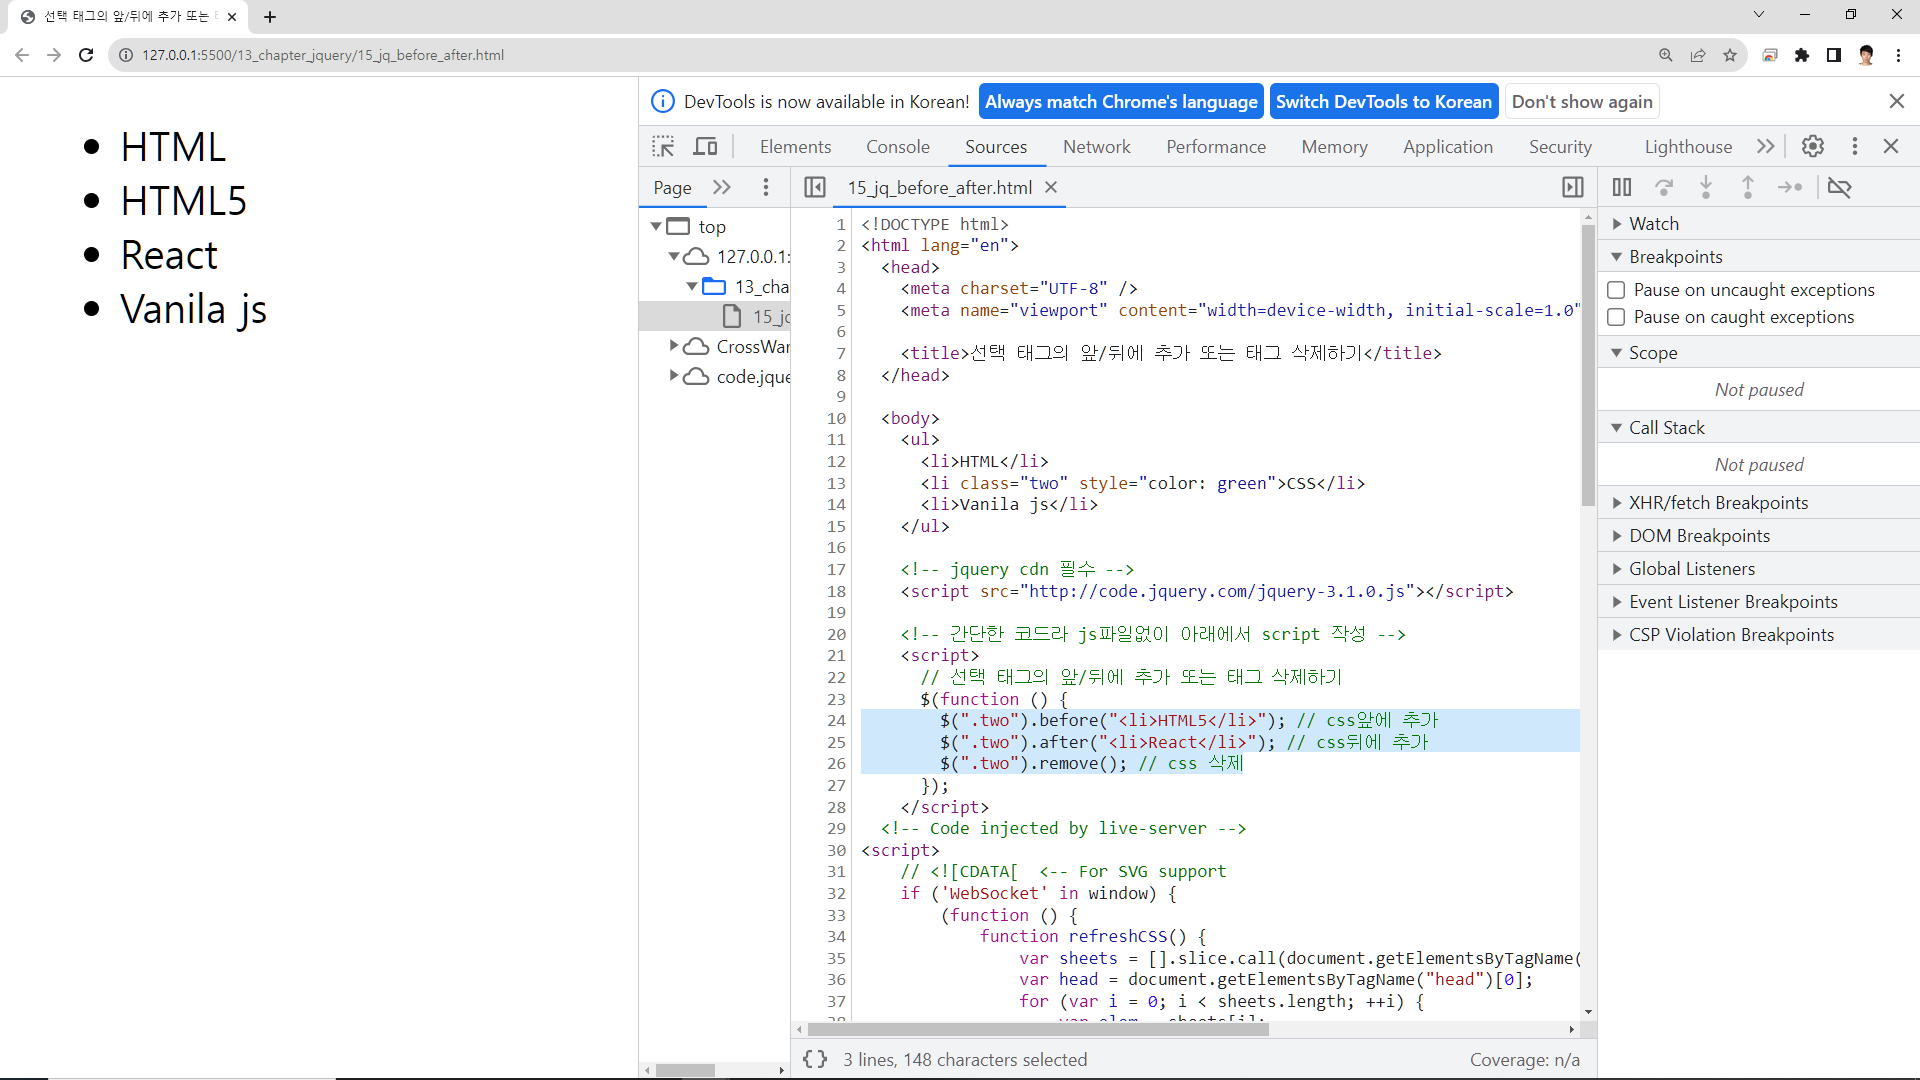
15_jq_before_after
선택 태그의 앞/뒤에 추가 또는 태그 삭제하기
더보기
<!DOCTYPE html>
<html lang="en">
<head>
<meta charset="UTF-8" />
<meta name="viewport" content="width=device-width, initial-scale=1.0" />
<title>선택 태그의 앞/뒤에 추가 또는 태그 삭제하기</title>
</head>
<body>
<ul>
<li>HTML</li>
<li class="two" style="color: green">CSS</li>
<li>Vanila js</li>
</ul>
<!-- jquery cdn 필수 -->
<!-- 간단한 코드라 js파일없이 아래에서 script 작성 -->
<script>
// 선택 태그의 앞/뒤에 추가 또는 태그 삭제하기
$(function () {
$(".two").before("<li>HTML5</li>"); // css앞에 추가
$(".two").after("<li>React</li>"); // css뒤에 추가
$(".two").remove(); // css 삭제
});
</script>
</body>
</html>
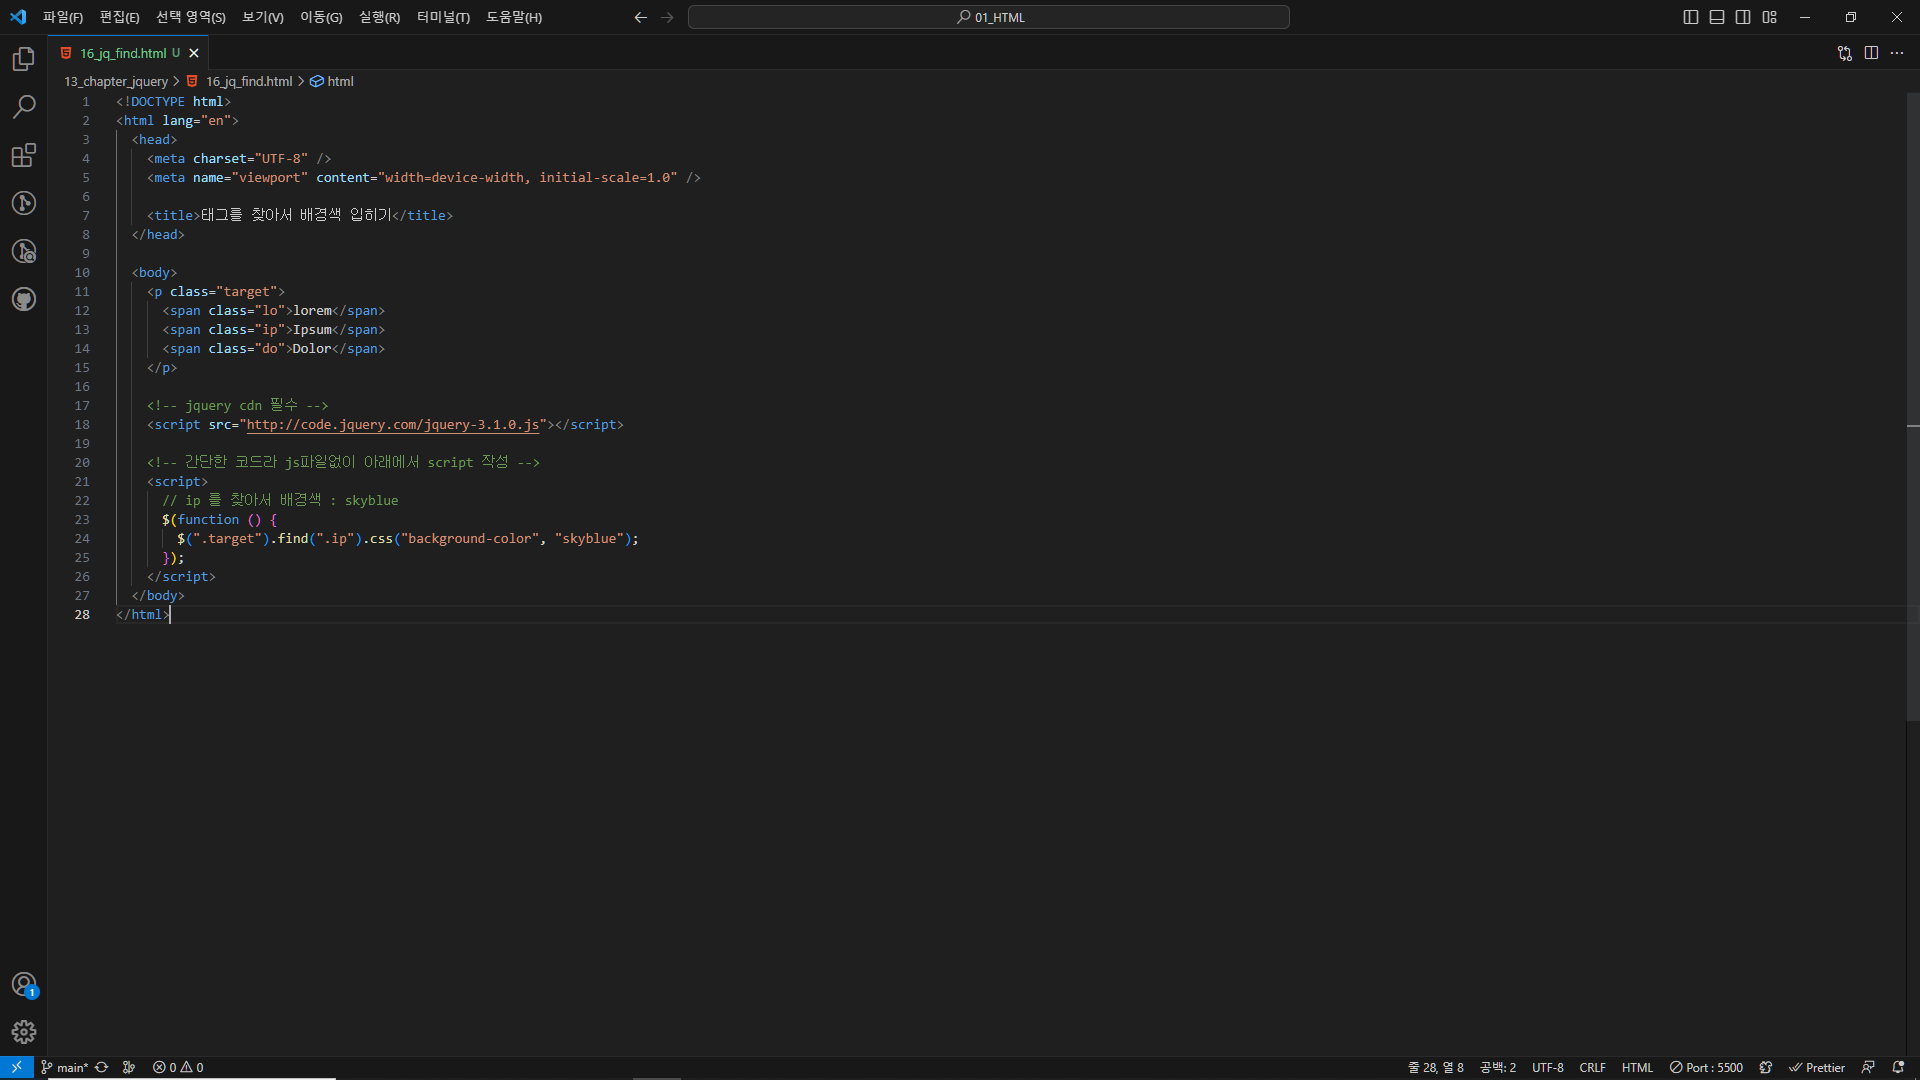
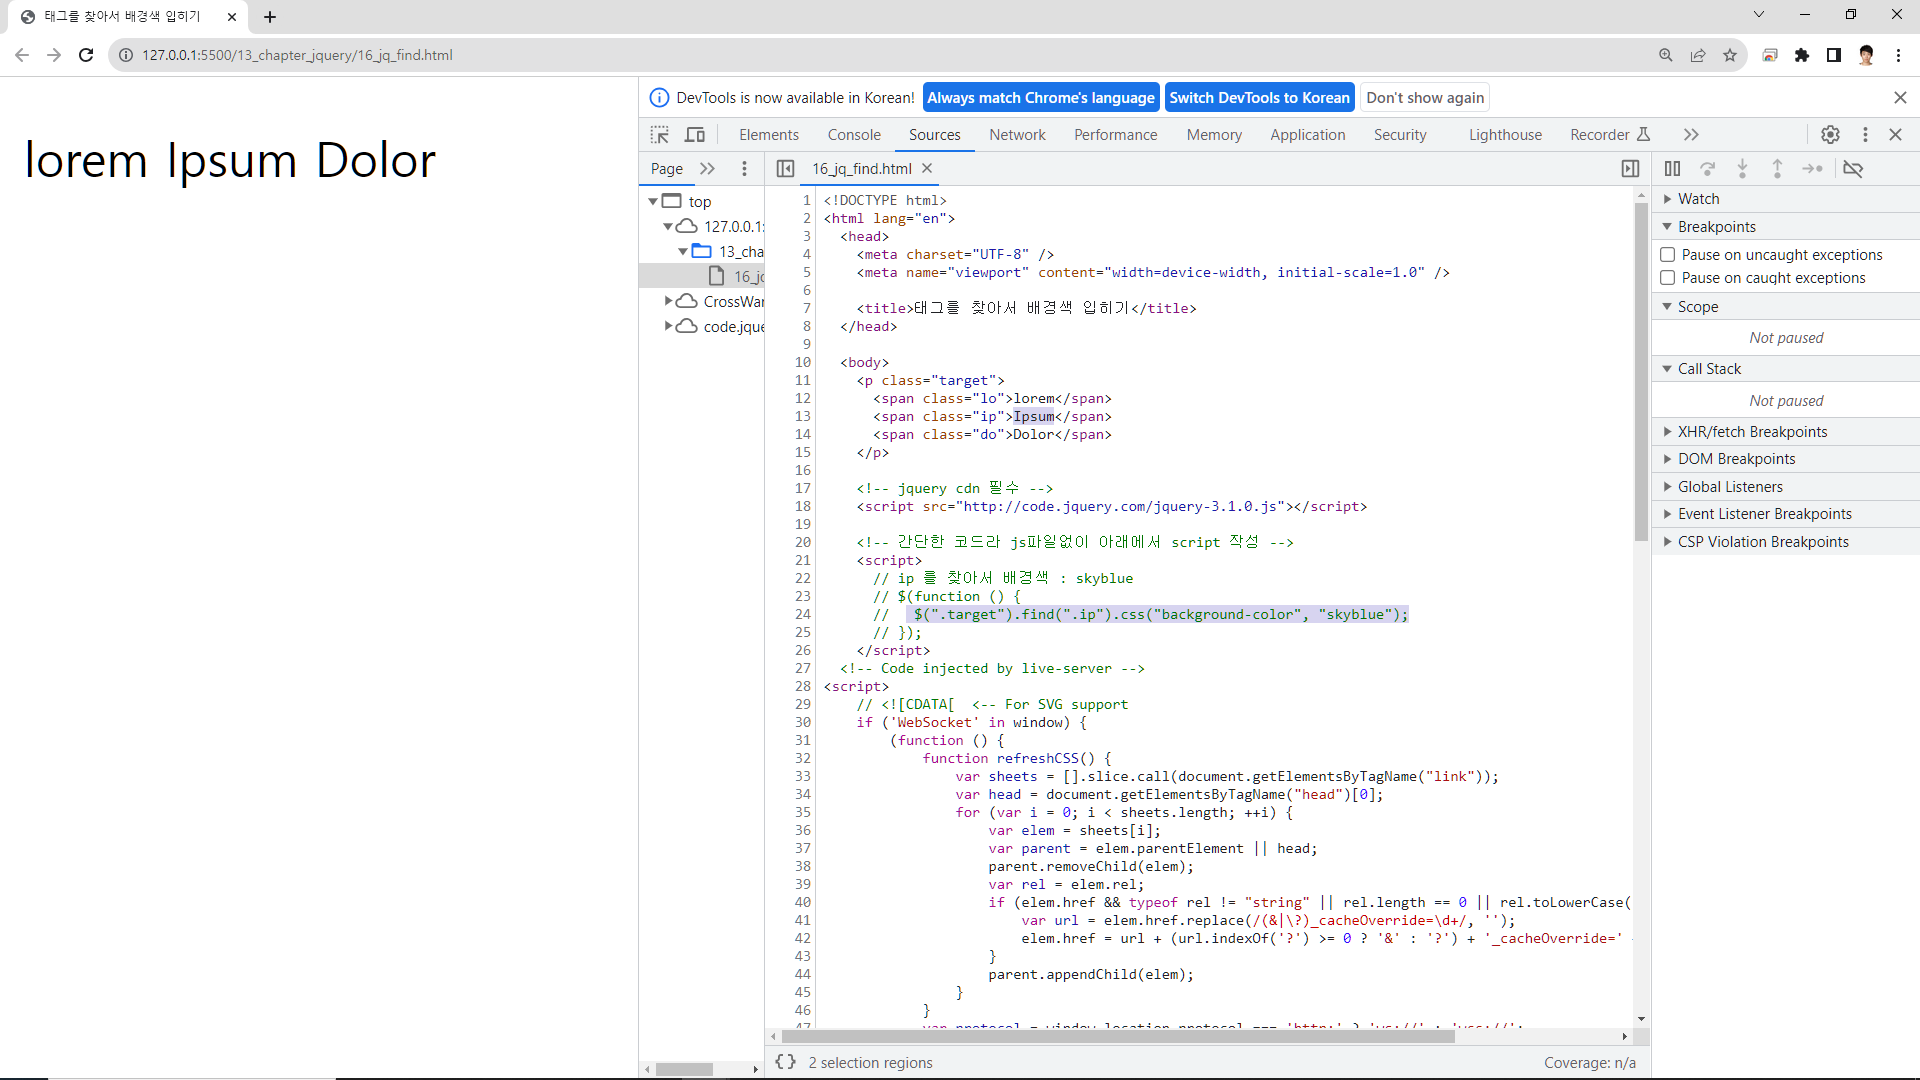
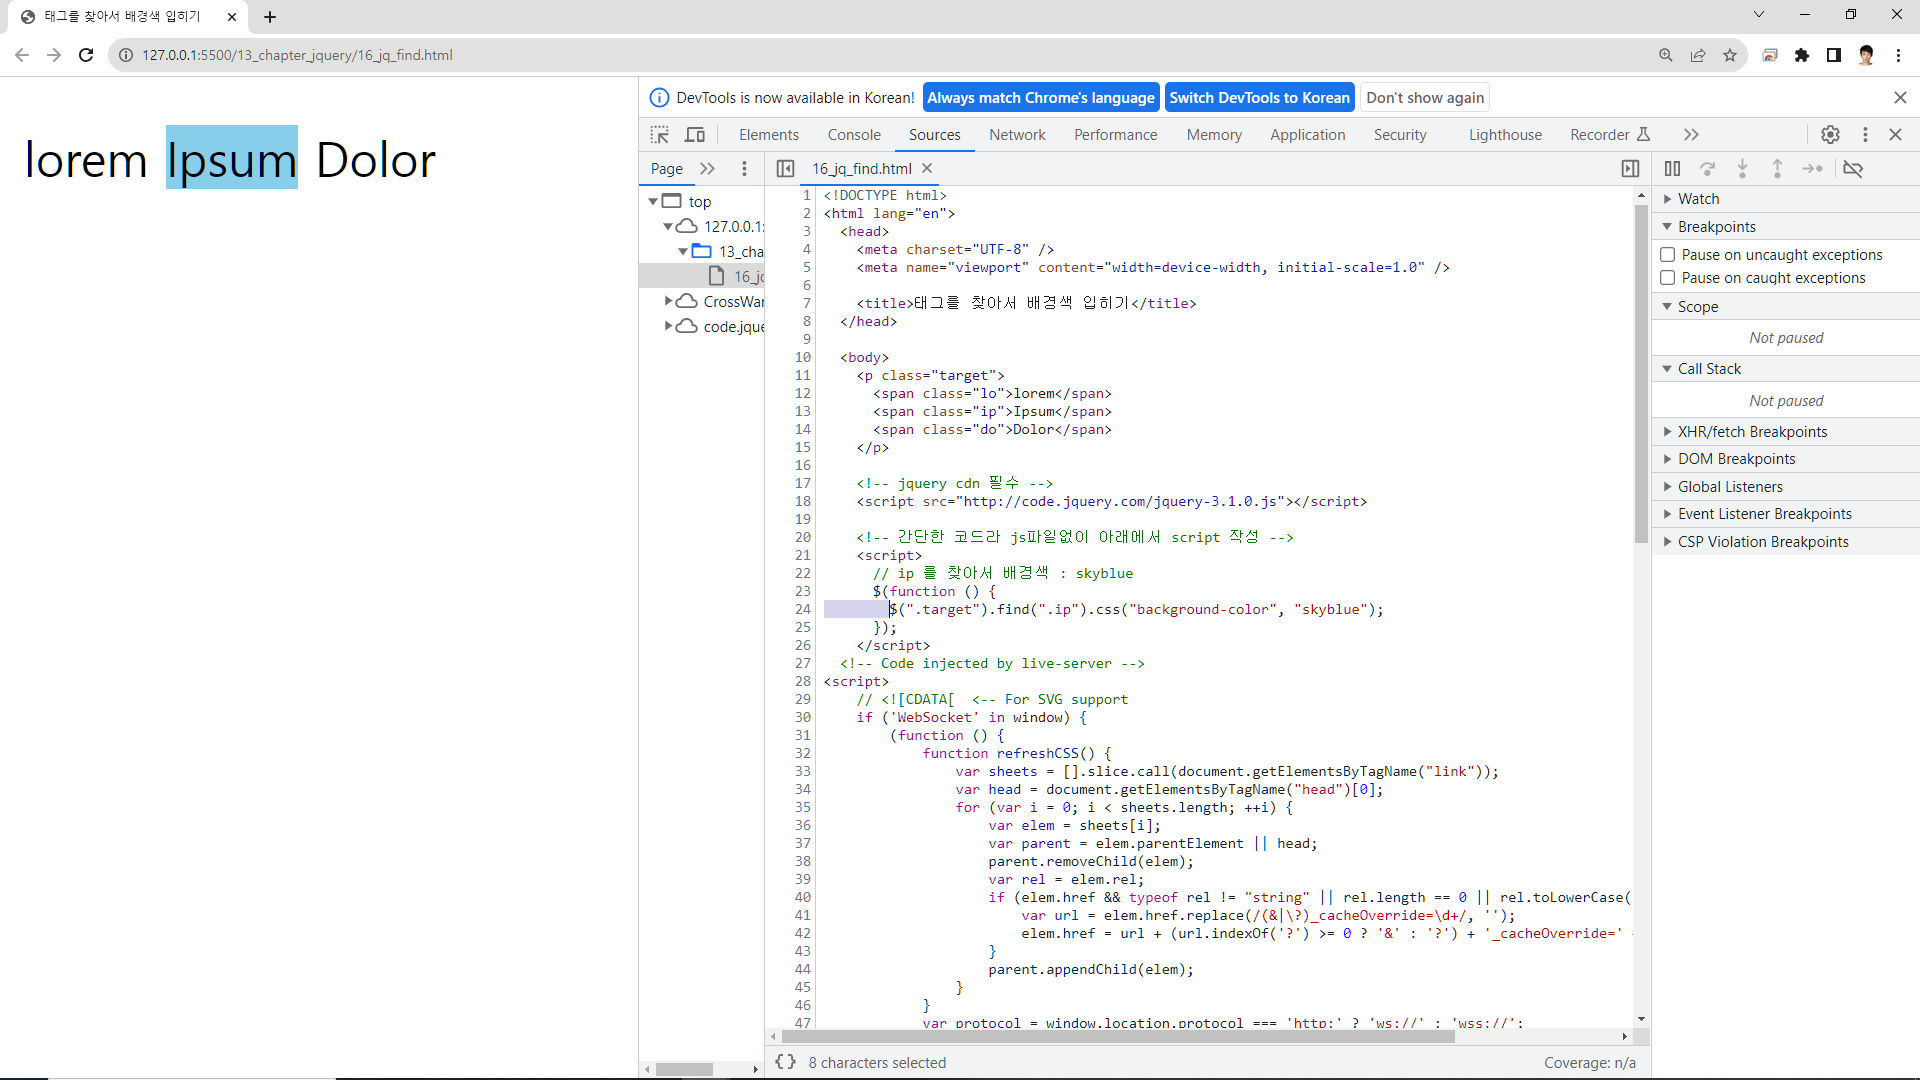
16_jq_find
태그를 찾아서 배경색 입히기
더보기
<!DOCTYPE html>
<html lang="en">
<head>
<meta charset="UTF-8" />
<meta name="viewport" content="width=device-width, initial-scale=1.0" />
<title>태그를 찾아서 배경색 입히기</title>
</head>
<body>
<p class="target">
<span class="lo">lorem</span>
<span class="ip">Ipsum</span>
<span class="do">Dolor</span>
</p>
<!-- jquery cdn 필수 -->
<!-- 간단한 코드라 js파일없이 아래에서 script 작성 -->
<script>
// ip 를 찾아서 배경색 : skyblue
$(function () {
$(".target").find(".ip").css("background-color", "skyblue");
});
</script>
</body>
</html>
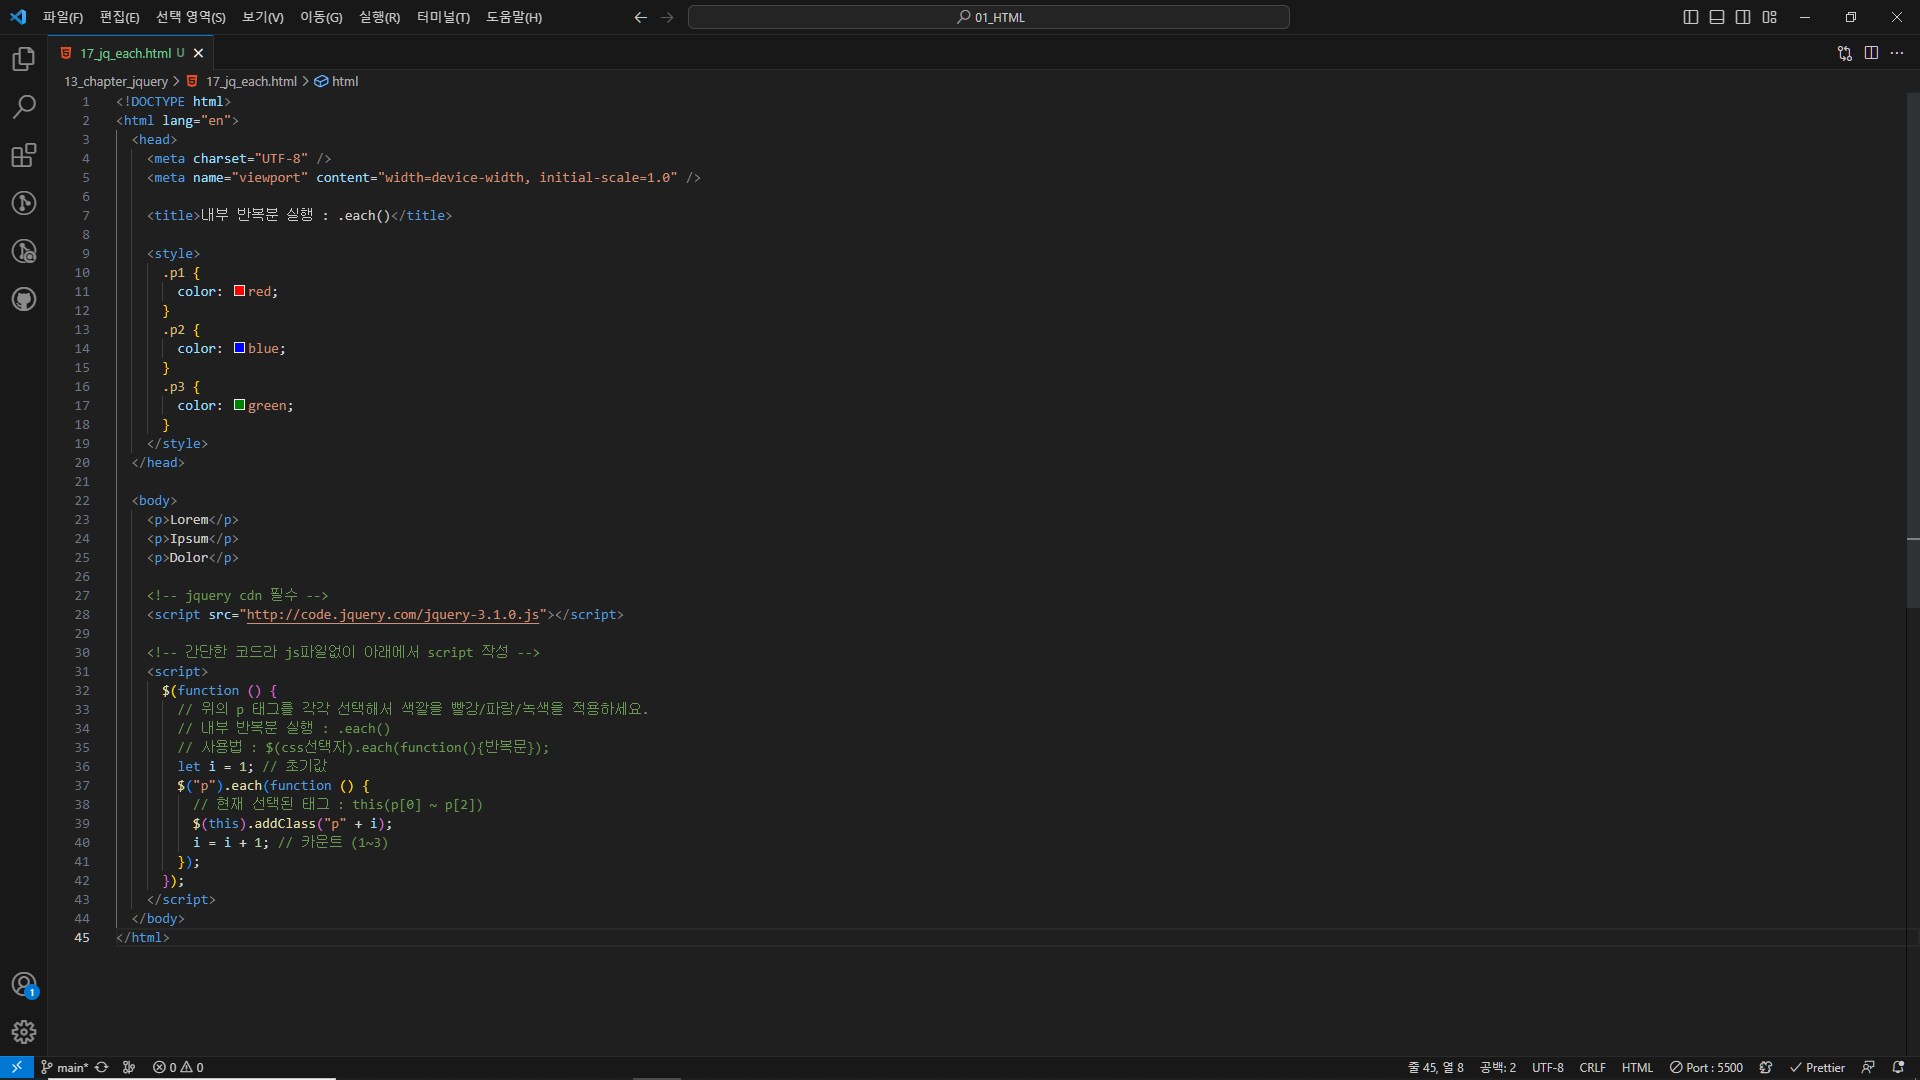
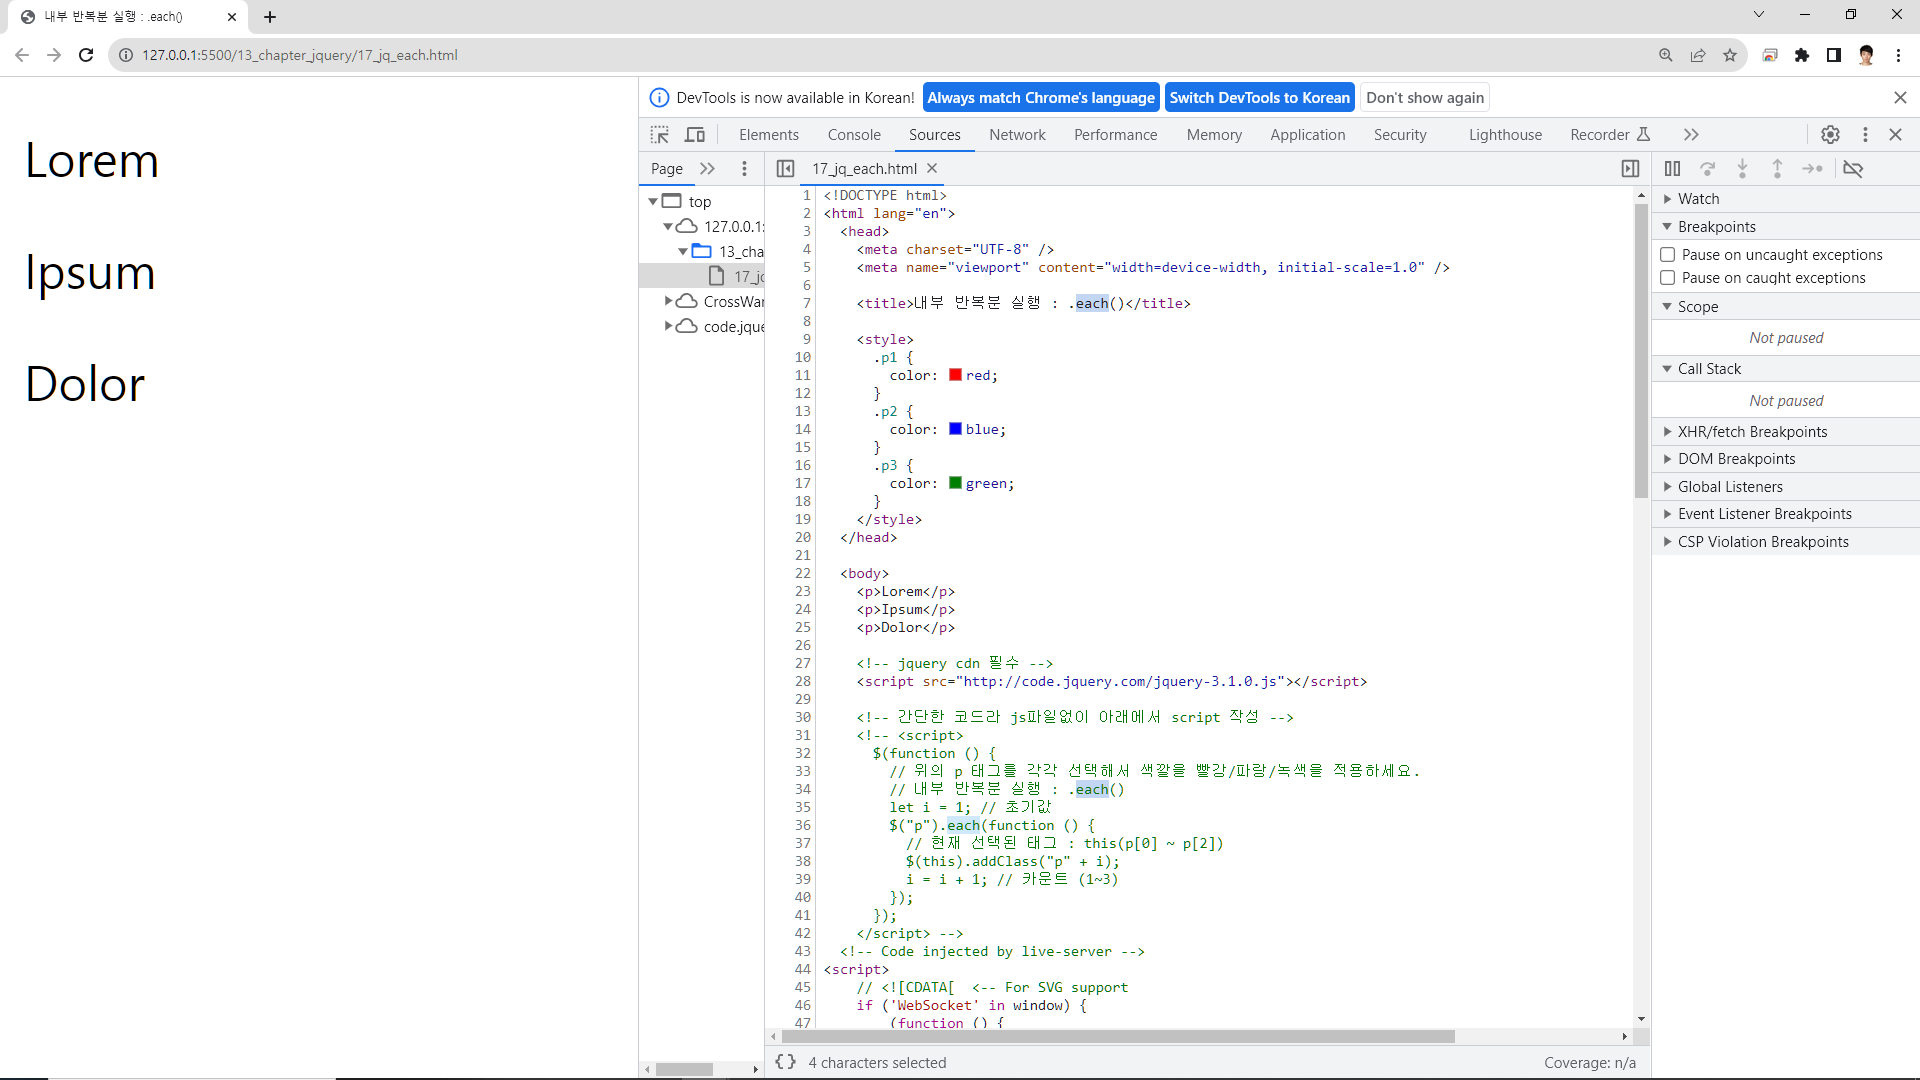
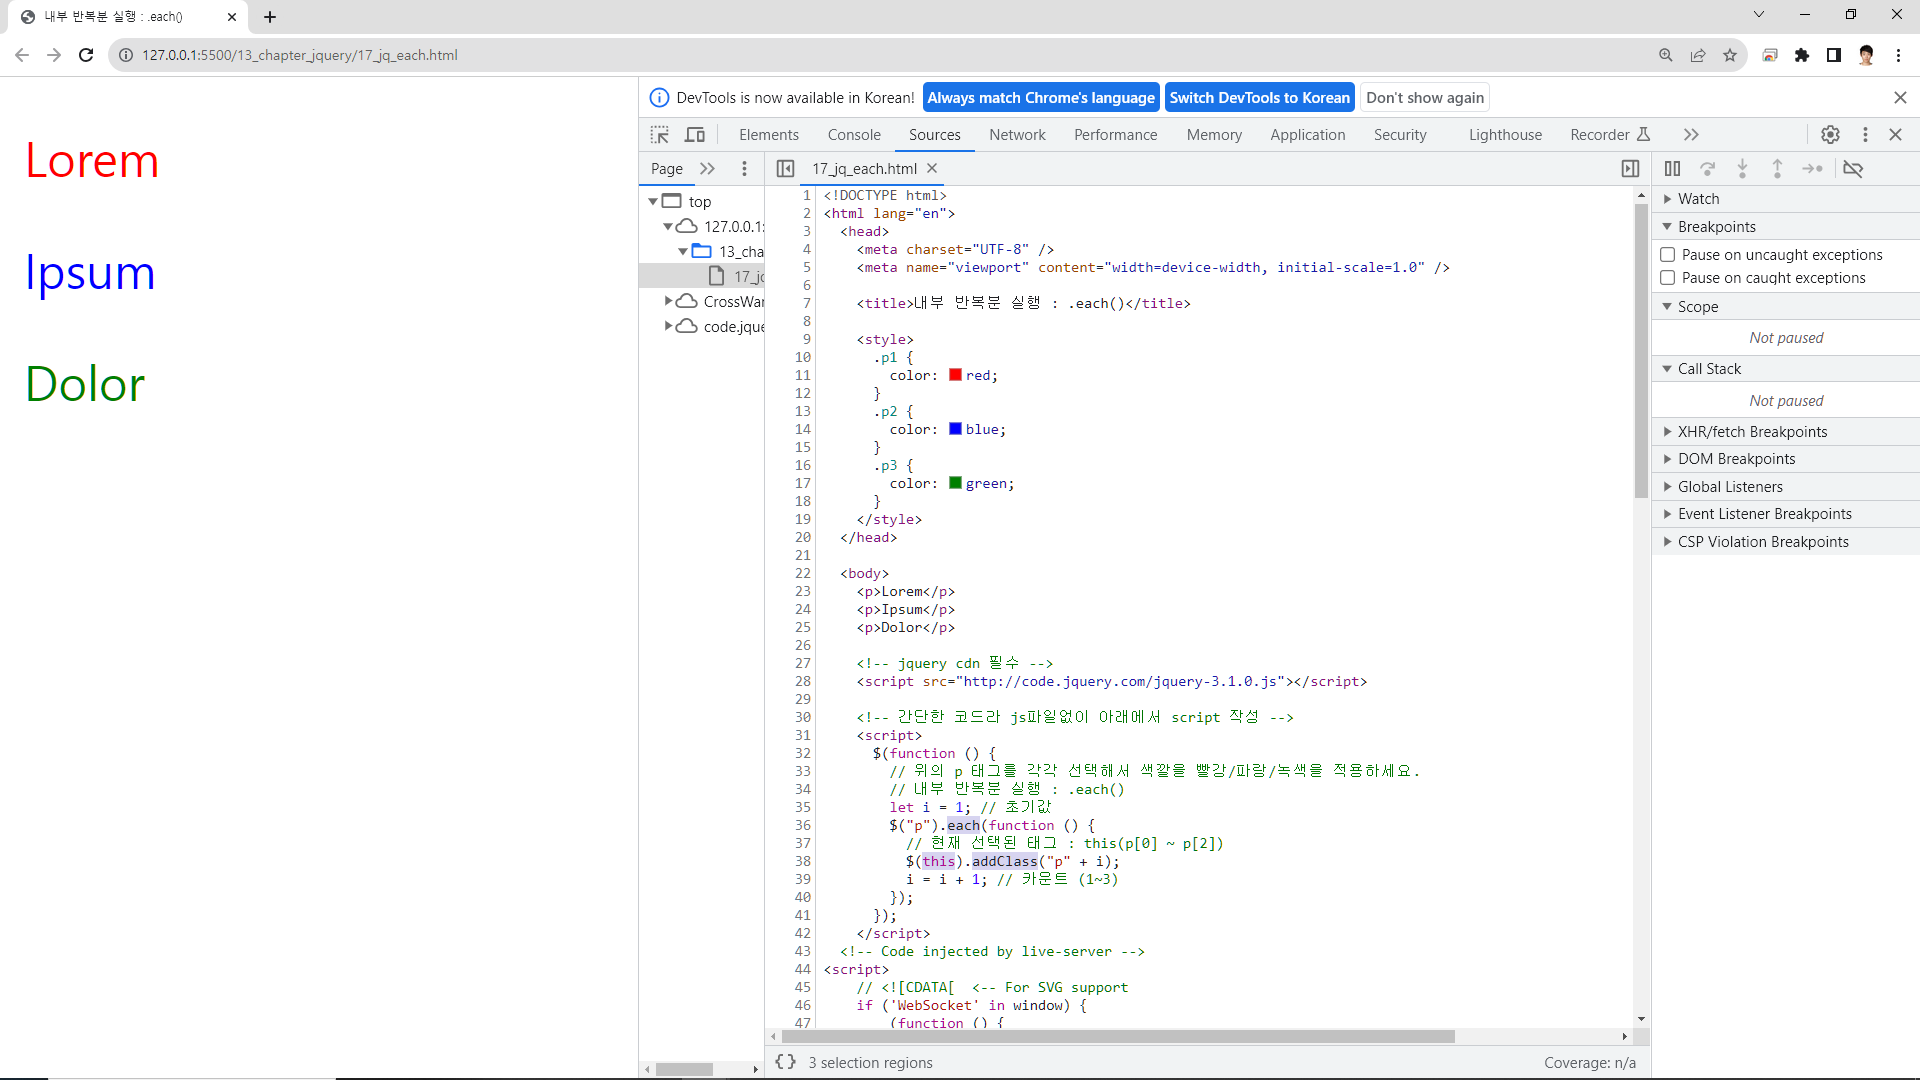
17_jq_each
내부 반복분 실행 방법 사용법 :
사용법 : $(css선택자).each(function(){반복문});
$(this).addClass("p" + i);
this 는 현재 선택된 태그이다. addcLass === this(p[0] ~ p[2])
더보기
<!DOCTYPE html>
<html lang="en">
<head>
<meta charset="UTF-8" />
<meta name="viewport" content="width=device-width, initial-scale=1.0" />
<title>내부 반복분 실행 : .each()</title>
<style>
.p1 {
color: red;
}
.p2 {
color: blue;
}
.p3 {
color: green;
}
</style>
</head>
<body>
<p>Lorem</p>
<p>Ipsum</p>
<p>Dolor</p>
<!-- jquery cdn 필수 -->
<!-- 간단한 코드라 js파일없이 아래에서 script 작성 -->
<script>
$(function () {
// 위의 p 태그를 각각 선택해서 색깔을 빨강/파랑/녹색을 적용하세요.
// 내부 반복분 실행 : .each()
// 사용법 : $(css선택자).each(function(){반복문});
let i = 1; // 초기값
$("p").each(function () {
// 현재 선택된 태그 : this(p[0] ~ p[2])
$(this).addClass("p" + i);
i = i + 1; // 카운트 (1~3)
});
});
</script>
</body>
</html>
'Visual Studio Code' 카테고리의 다른 글
| [Modern JavaScript] chapter_01 (0) | 2023.08.25 |
|---|---|
| [Node] chapter_01 (0) | 2023.08.25 |
| [JQUERY] chapter_01 (0) | 2023.08.24 |
| [WINDOW] chapter_01 (0) | 2023.08.23 |
| [DOM] chapter_01 (0) | 2023.08.21 |